I remember getting asked to write my first Pathfinder adventure. It was the Pathfinder Society Scenario 6-18 From Under Ice. I must have spent 80+ hours writing that thing to make sure every last aspect was as perfect as I could make it in hopes they would ask me to write again (spoiler alert: they did!). But where I really went overboard is when they asked me to run several tables of it at GenCon that year. I made full 3D terrain for the dungeon crawl portion, and it went over amazingly well. (Spoilers to follow)
Planning
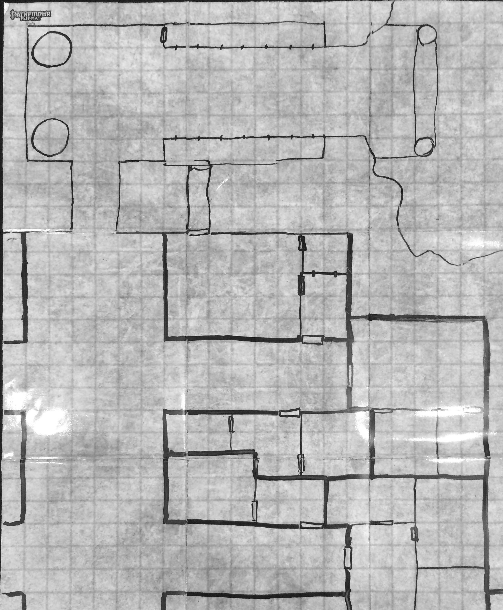
The first thing to do was to draw out the entire map so I knew what I was going to build. This was essentially done in the scenario writing phase anyway, but taking another look at it helped me plan my needs. In From Under Ice, the PCs end up at a dwarven city under a large rocky hill, but the city has been magically whisked away! The first drawings included what the place would have looked like if the city had survived. Then the next stage of the map shows what it looks like present day after it’s been magically carved out of the hill and frozen over for a millennia.

Once I have an idea of the size and scope, I can go buy some material. It’s the size of a standard flip-mat (24″ x 30″) but it also features a 20 foot drop-off. Because this is 3D, I need to worry about height. I’d like to have some ground under the drop off, so I need at least an inch of thickness there, 4″ of thickness for the drop-off, then we’ll carve and add walls to the top after the fact. At my local hardware store I got some huge pieces of 2″ extruded polystyrene and had them cut it into 24″ x 30″ panels. Extruded is important as it’s much more dense and uniform than expanded polystyrene. Expanded is the squishy type of foam you often find packing material. It can also be rigid, but one of the defining characteristics is the little expanded balls of foam that it’s made from. There are a TON of little air pockets in those, so carving and shaping it can give you lots of little fissures. Sometimes you want this, but not for hewn stone walls.
Cutting
For all of the cutting, I used the hotwire cutting tools I purchased from Hot Wire Foam Factory. They work really well! The big straight cuts were done using a scroll table while the more “natural” looking rocky formations were done using a freehand router with the mold-able blade all wiggly.
It’s important to note that if you’re cutting, sanding, or melting foam you need to do so in a well ventilated space and you should wear a face mask. The melted foam is mildly toxic and I had some splitting migraines a few times that I didn’t follow my own advice.
Building
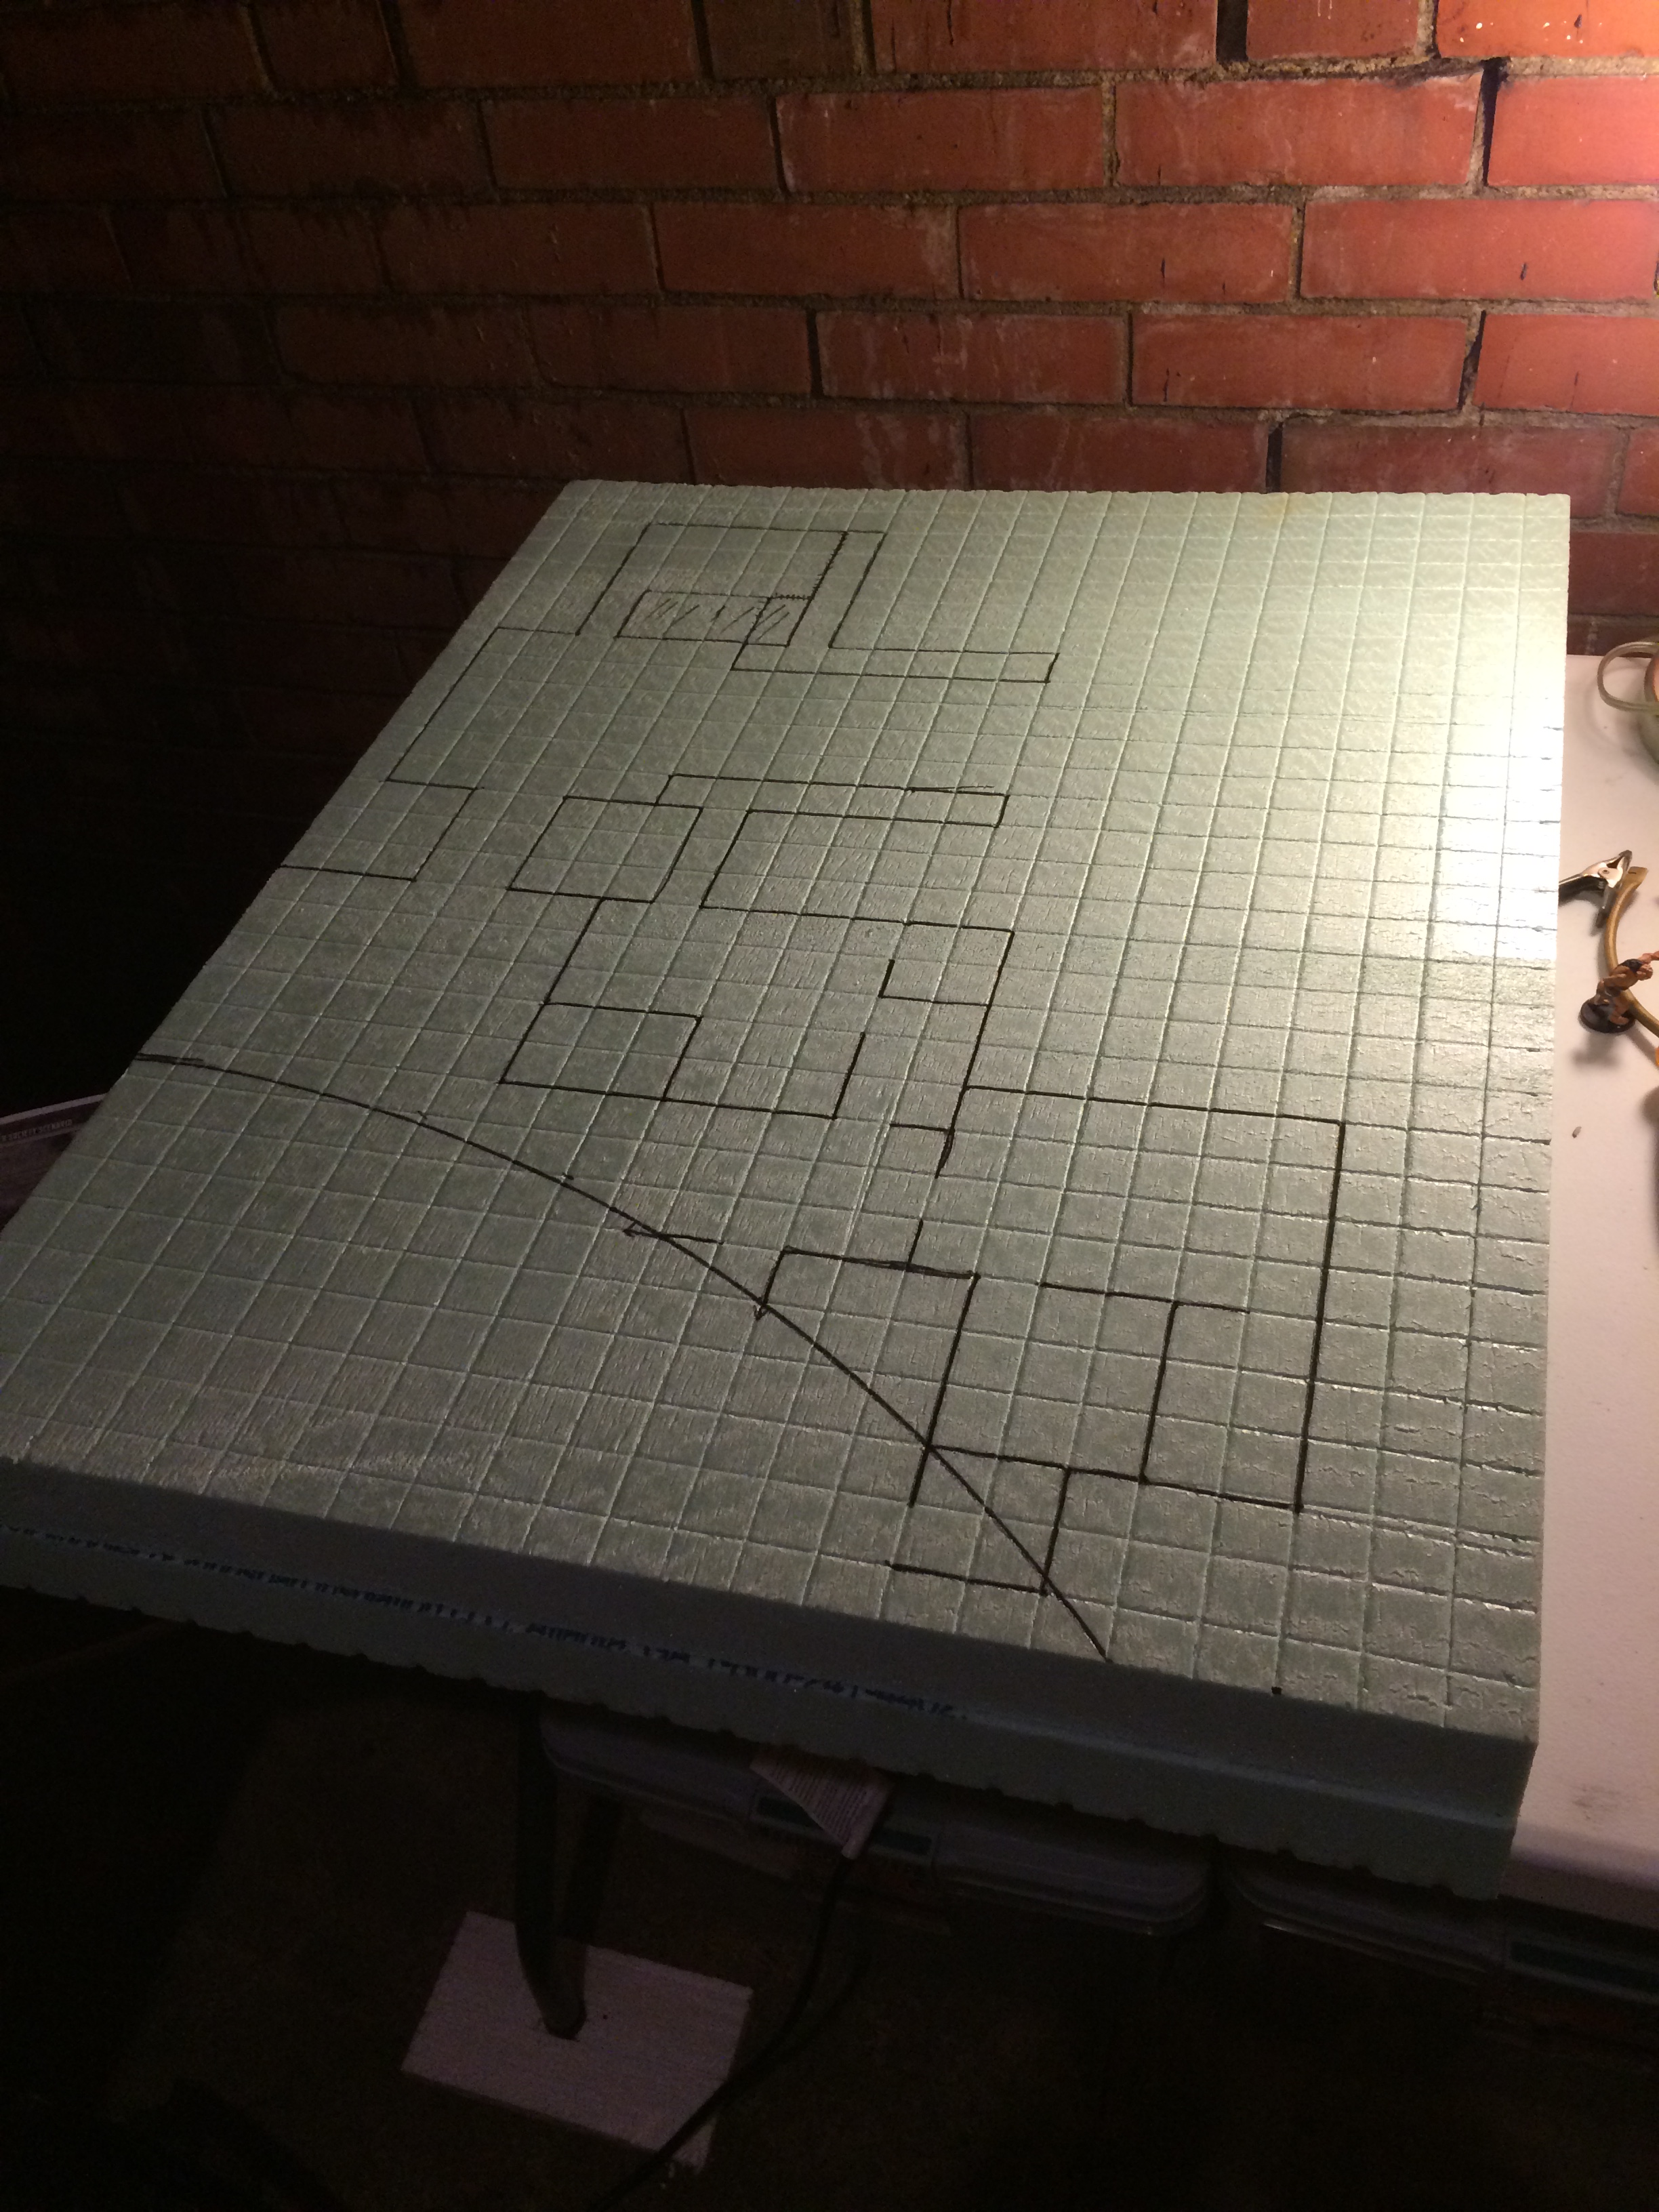
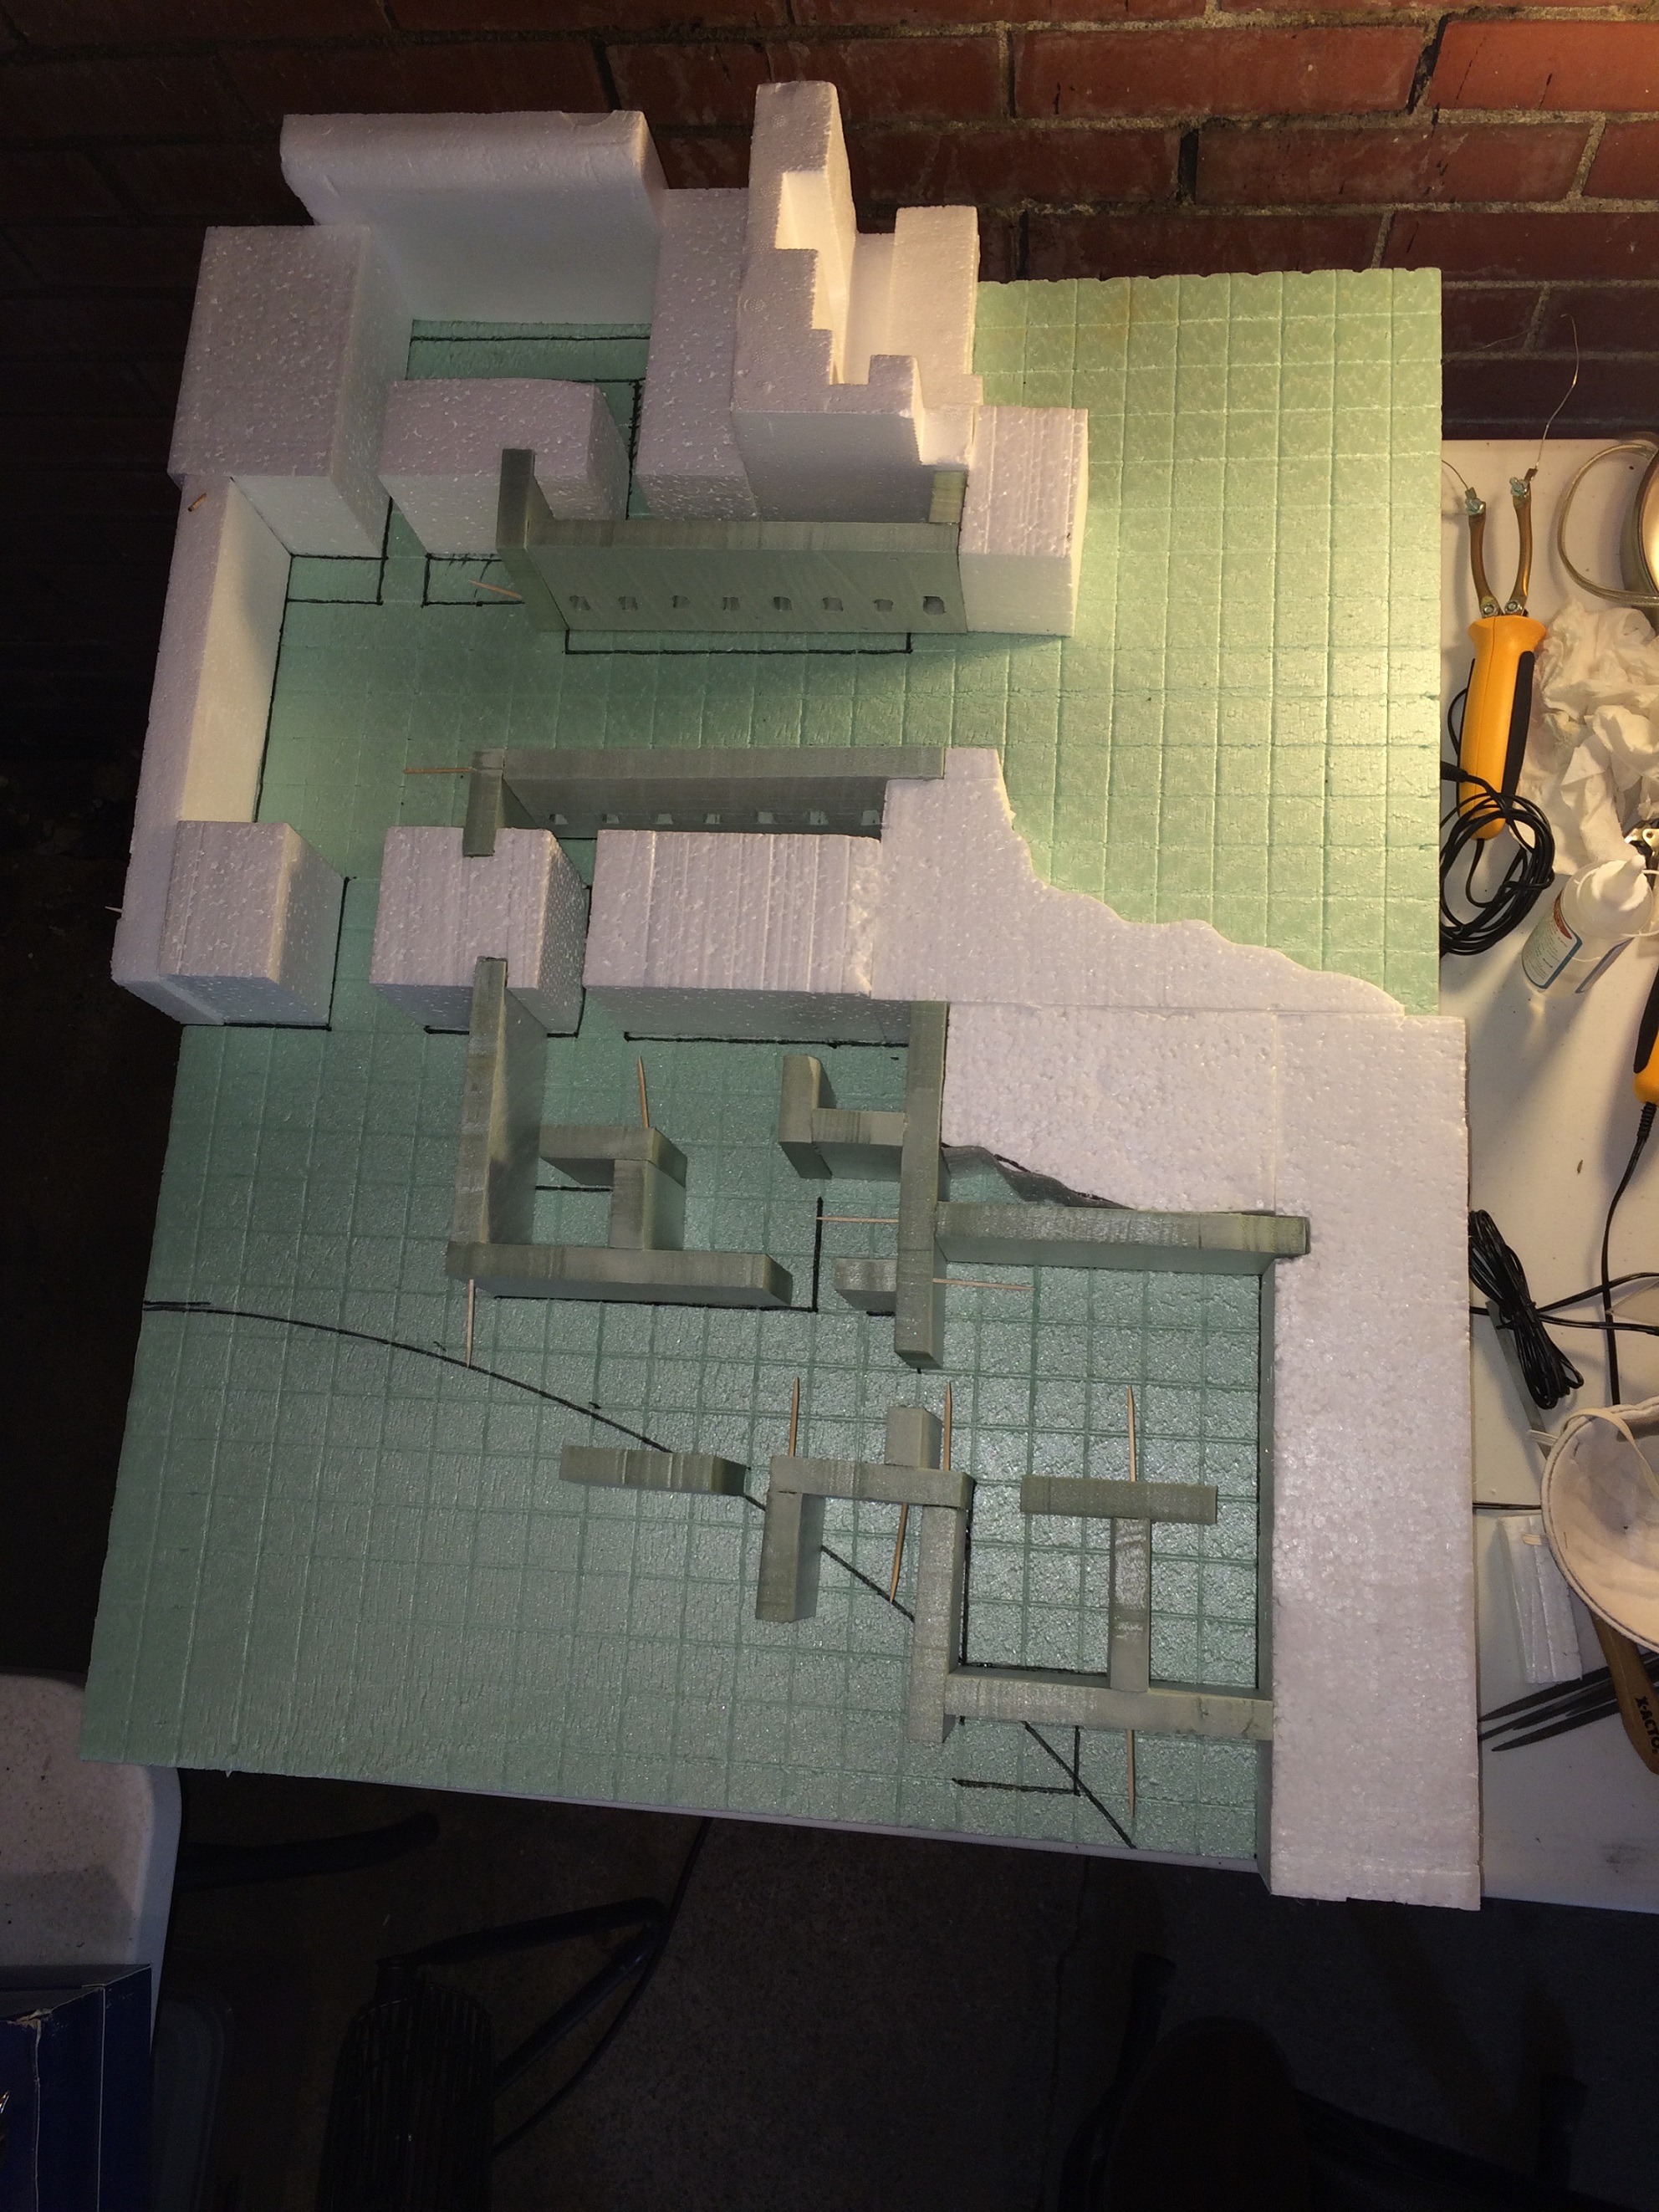
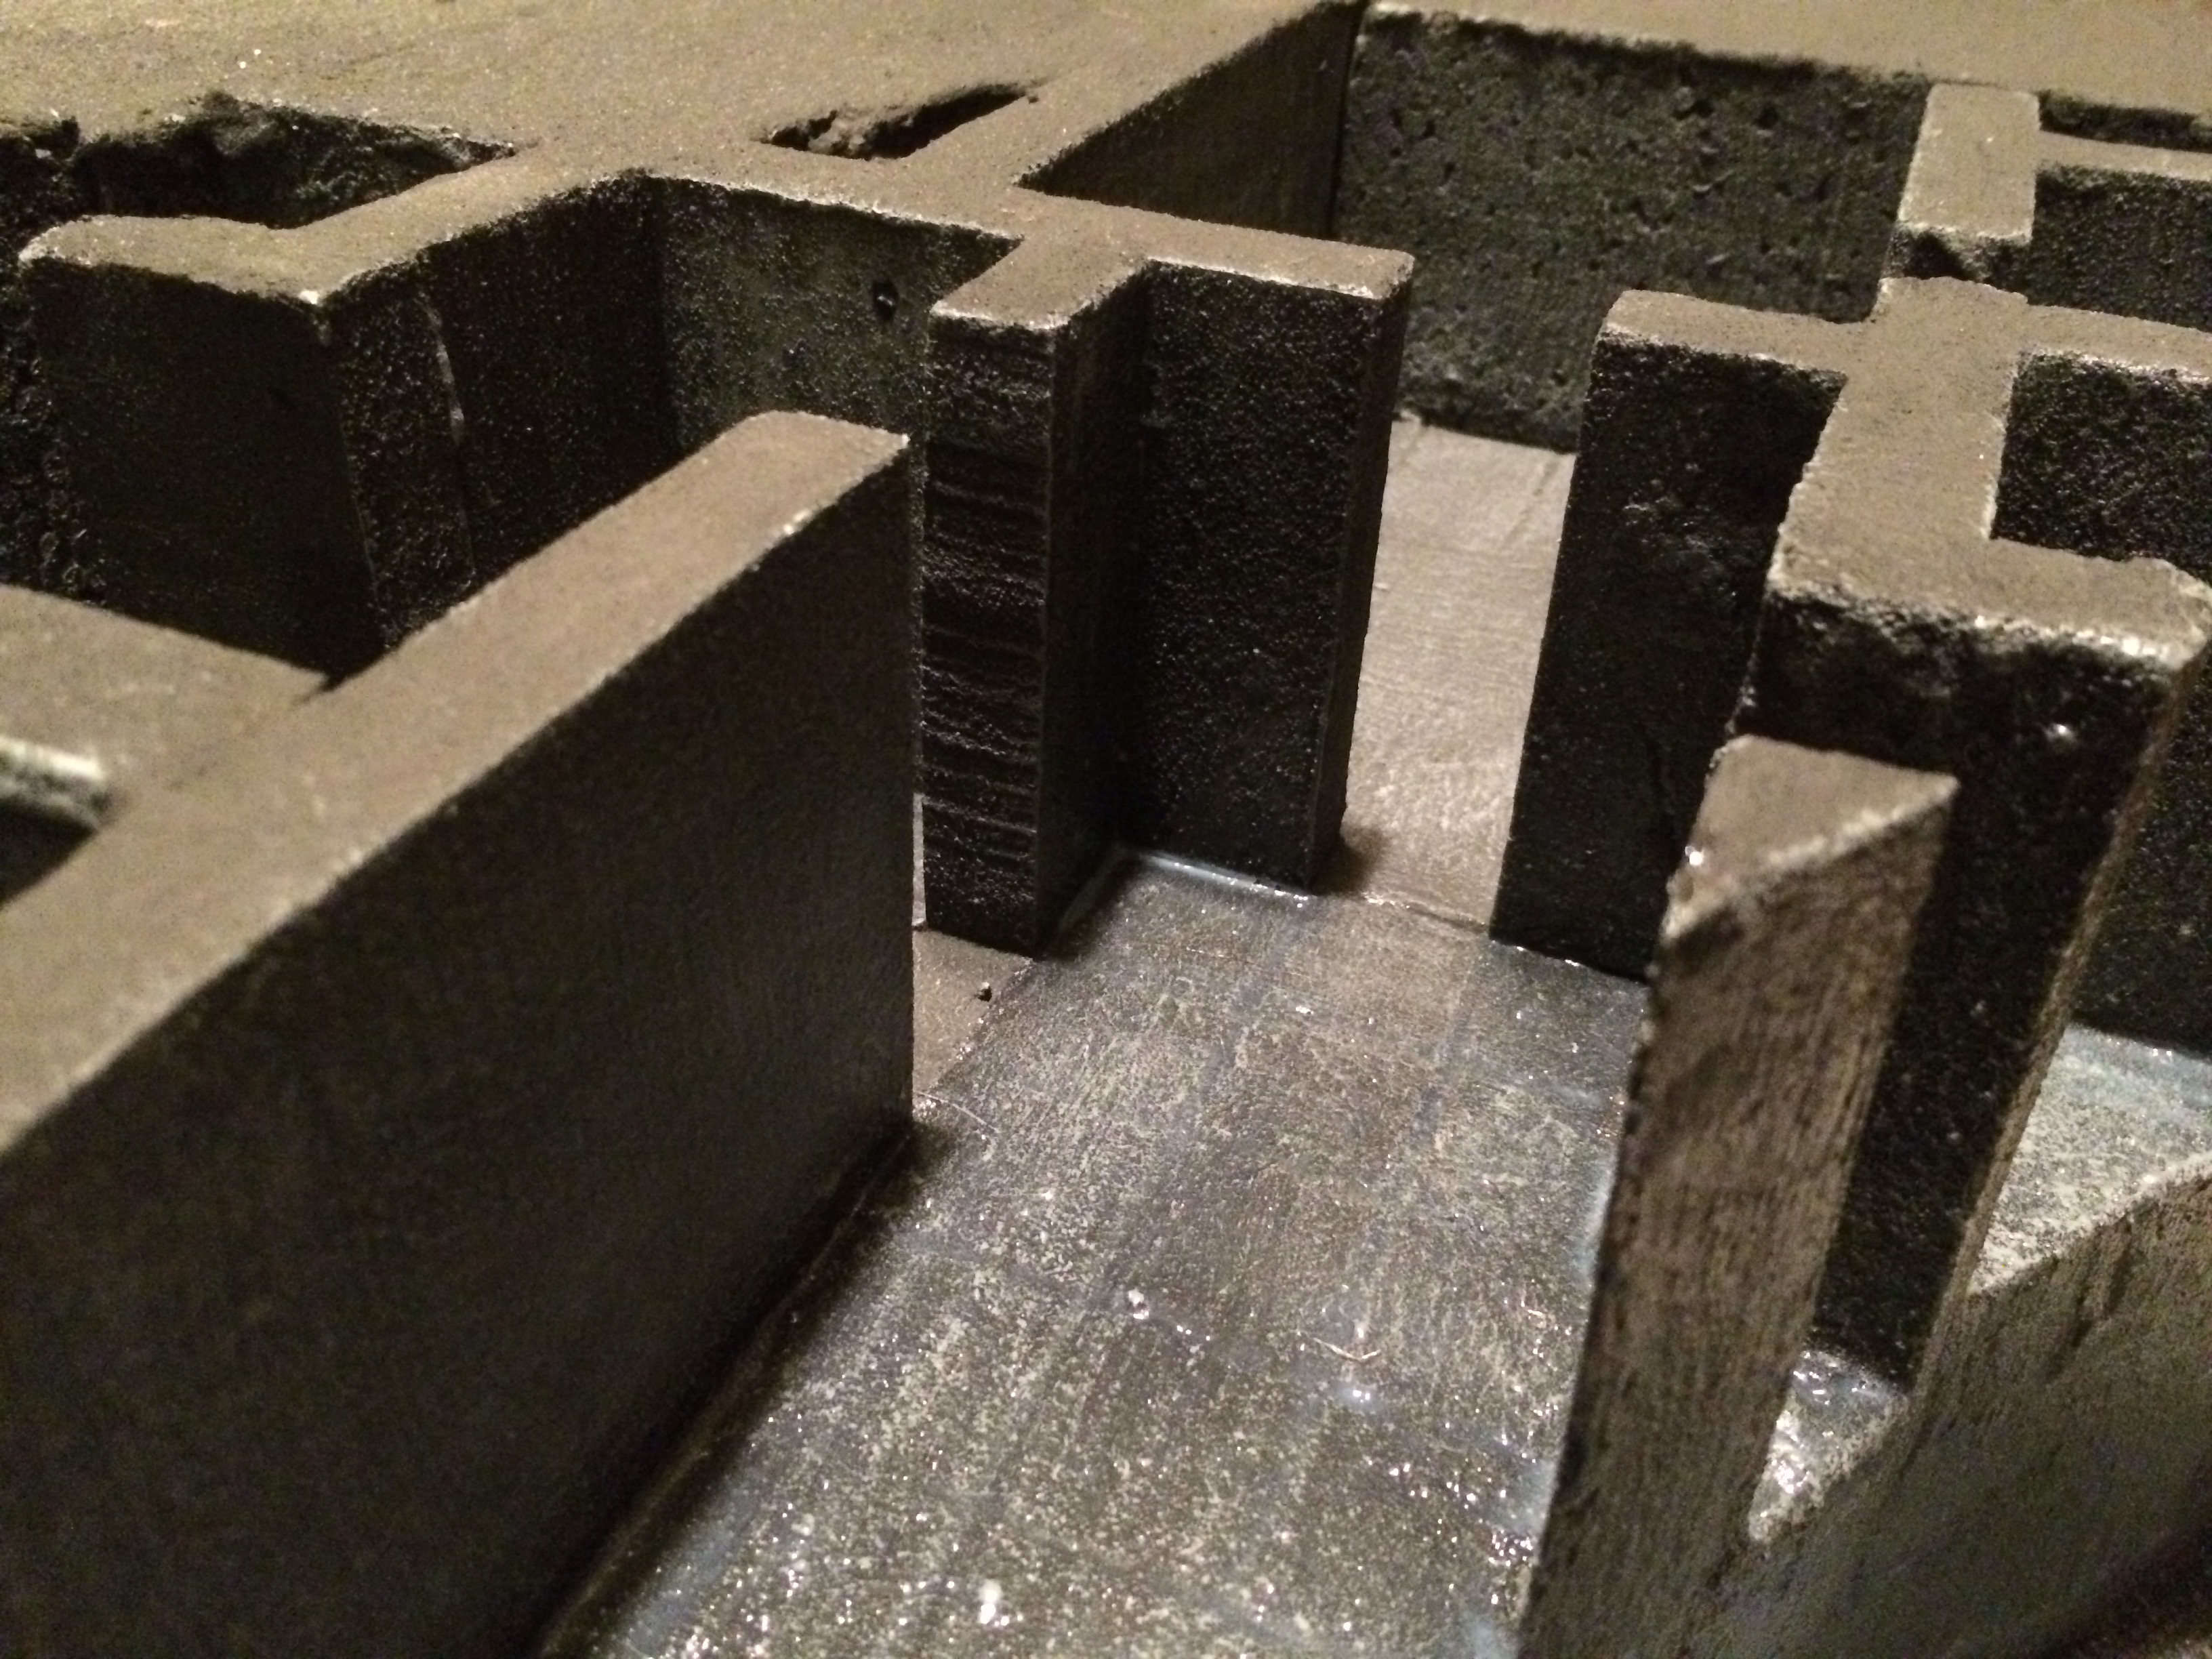
I wanted to carve out a large chunk, so I glued 2 of these larger foam panels together to make a 24″ x 30″ x 4″ block. I then made impressions of the 1″ grid with a t-square and a thick panel of 1/8″ metal (it was the back of a hand-saw). I drew my end map on top of the grid and was ready to place walls.
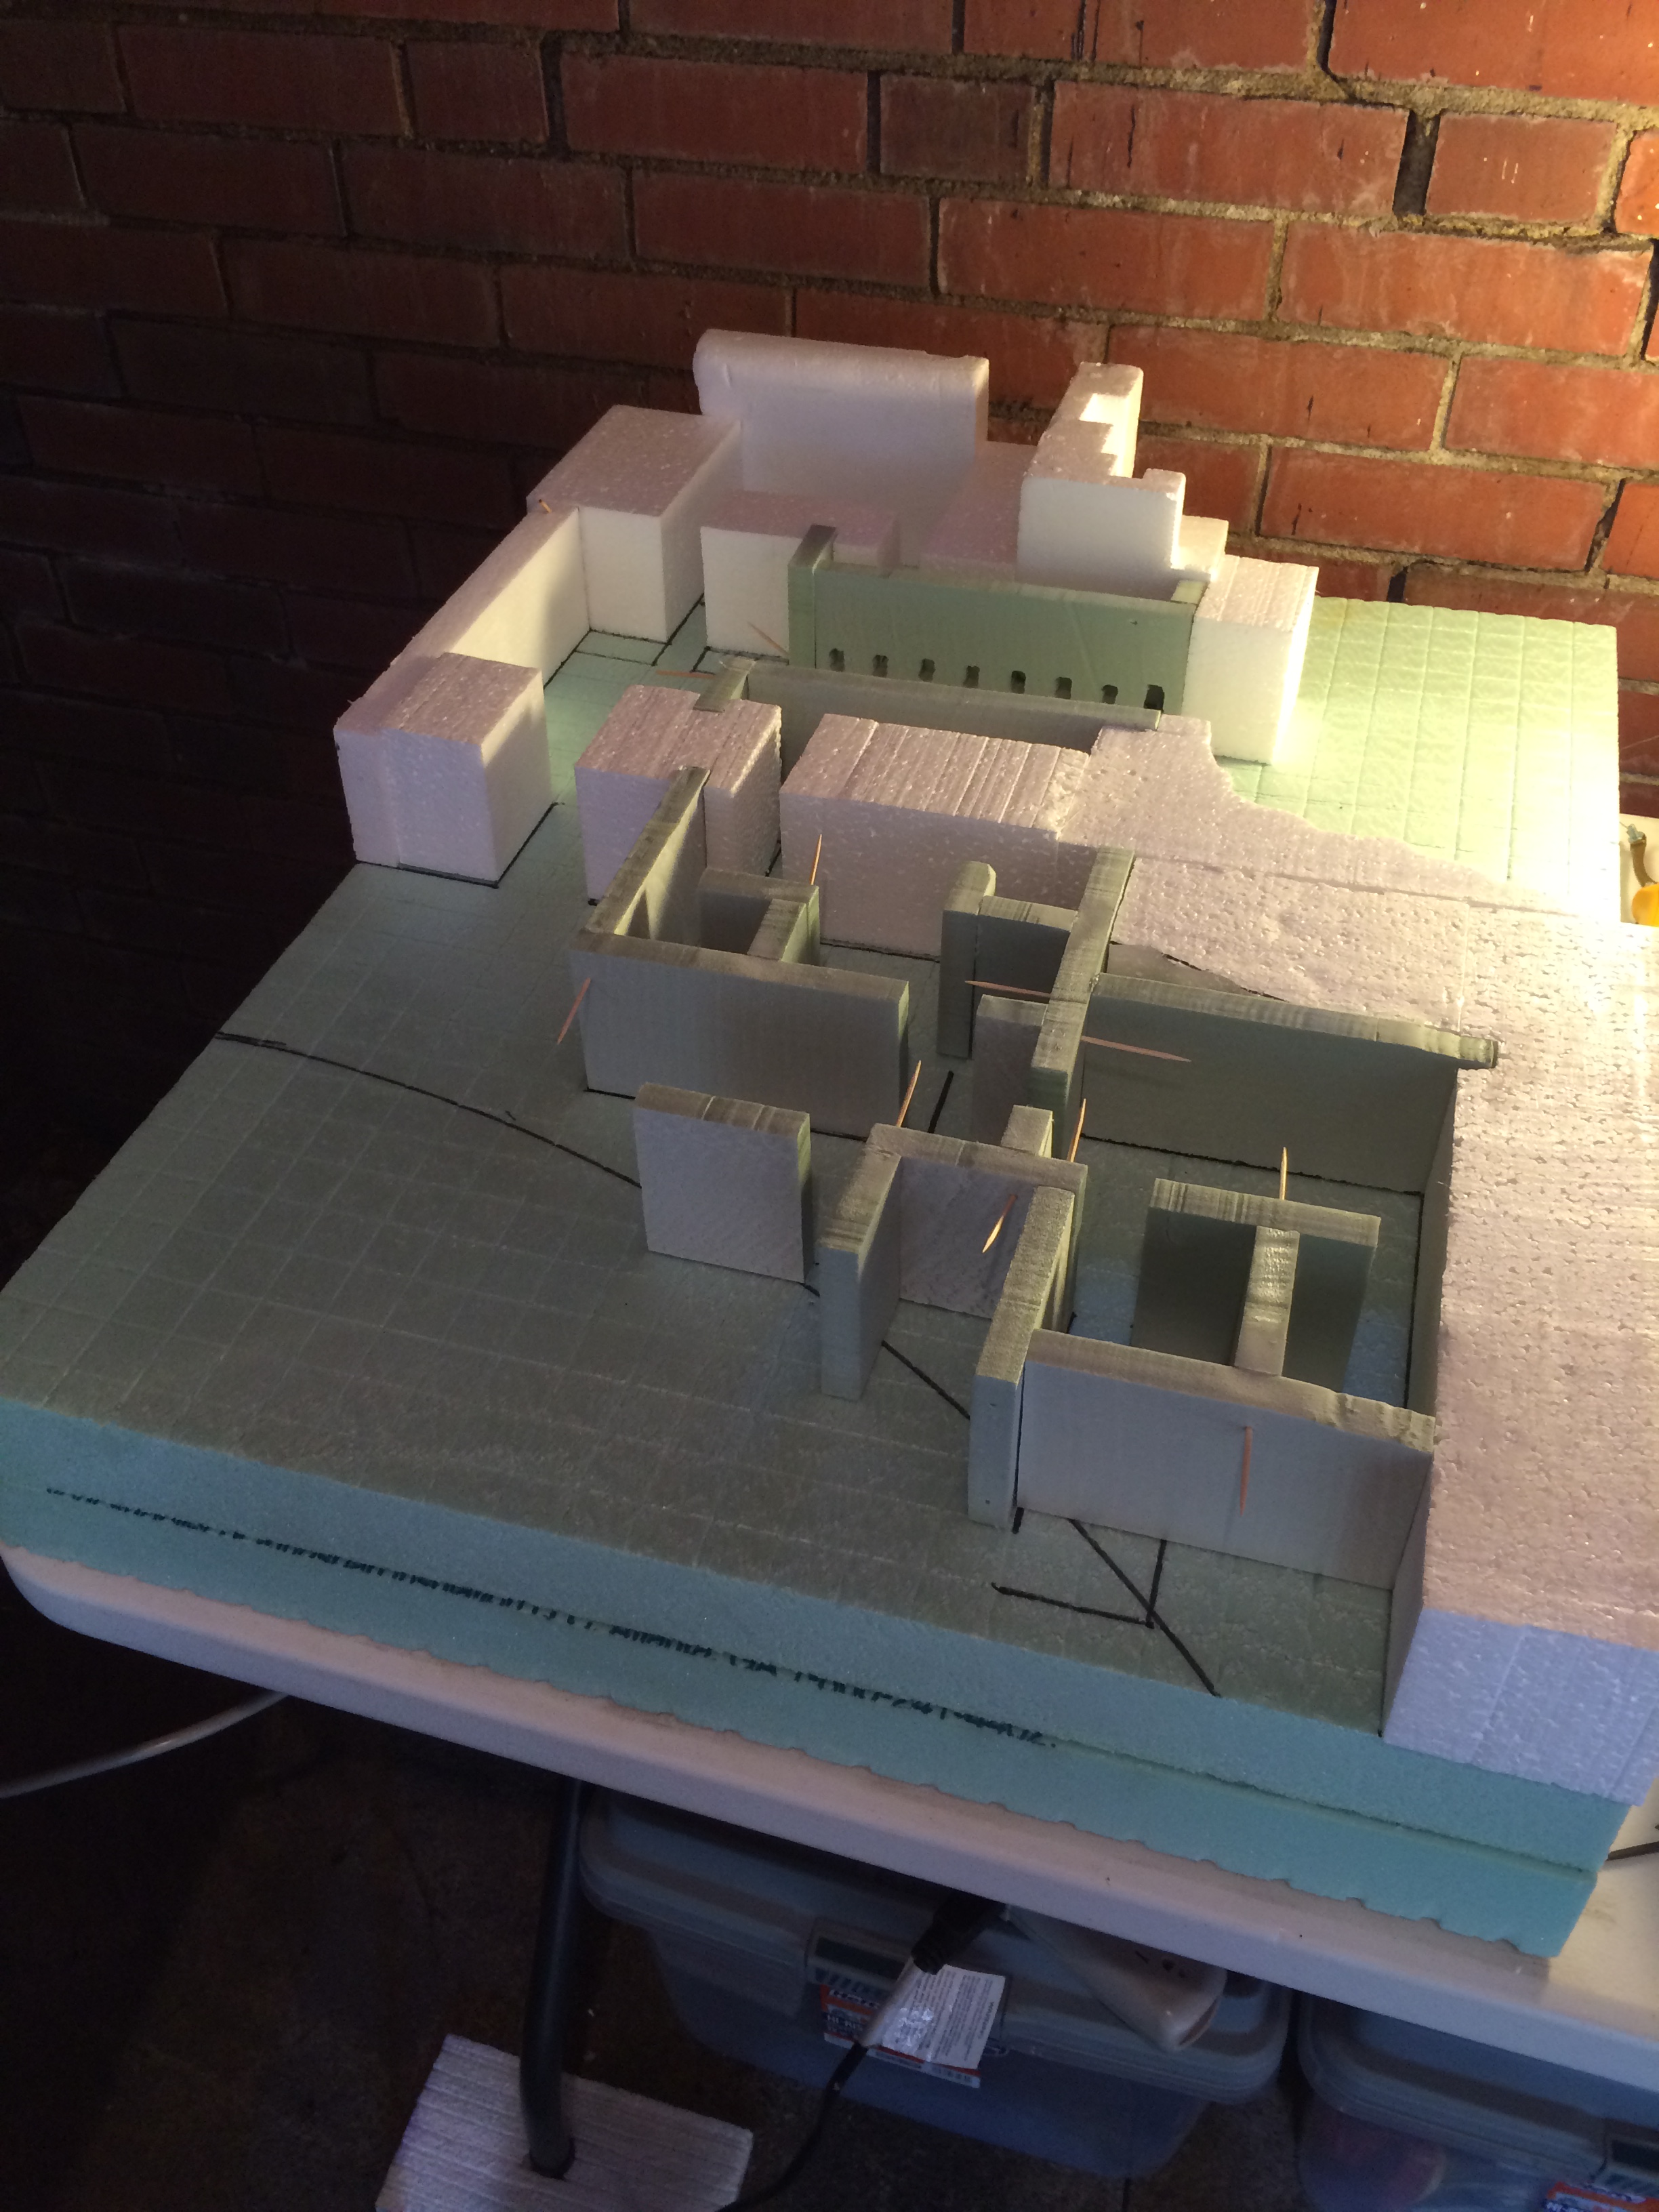
For the walls, I had to measure and cut from a panel of 1/2″ extruded polystyrene then place them in the right locations. I used foam glue to adhere them and tooth picks to keep everything together while the glue cured. Many picks ended up between the walls and sunken into the bottom layer, but we’d never see those again. It was important to place them somewhere I wouldn’t be making any cuts so the wooden tooth pick didn’t get in the way of the cutting.
While building it, I ran out of good extruded foam and had to dig into some expanded foam, but I mostly used those for larger chunks. If I had to do it over again, I’d have gone back to the hardware store and gotten another panel.
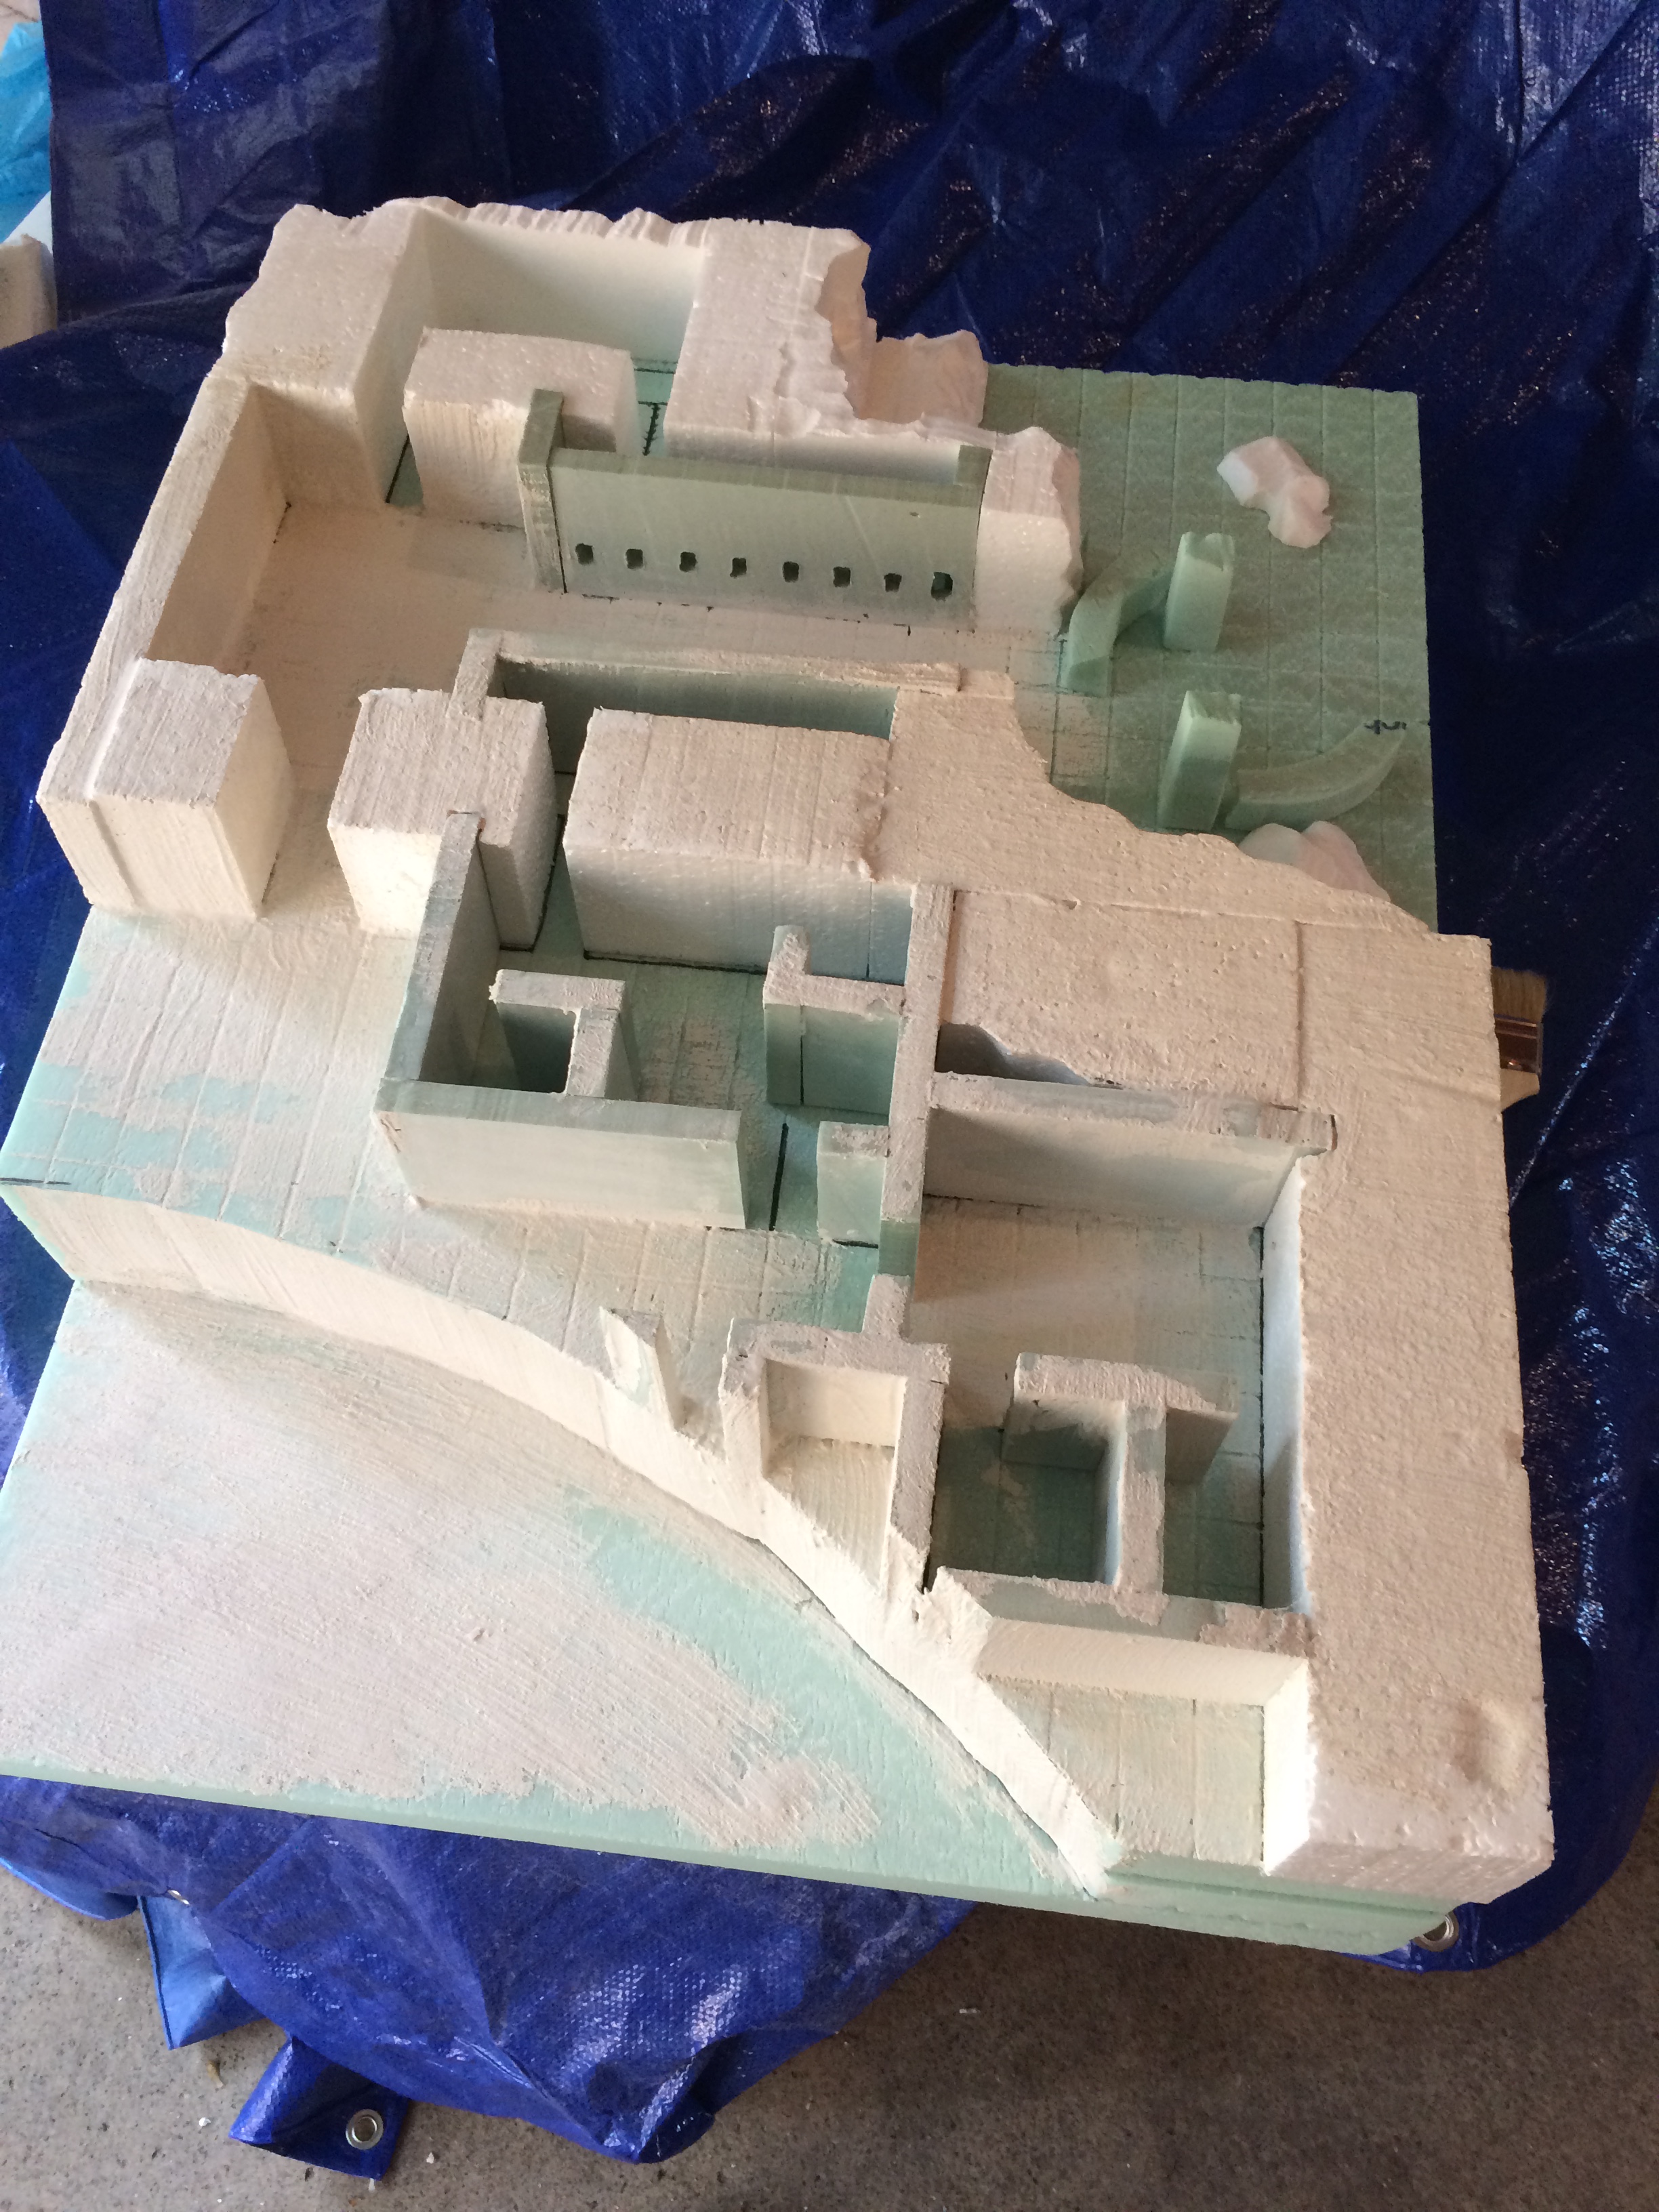
Next I cut out the entire round section on the scroll table, walls and everything! Ideally this would have been perfectly smooth, but I was having a hard time moving slow enough. The more material you cut through, the more it cools down the wire. This means that for thick cuts you need to move much slower than for thin cuts. I also snagged on one of the wooden toothpicks I had placed in the wrong area, so the curve isn’t perfect. I patched it all up with some foam coat and gave the entire thing a good coat. This protects the foam in a layer of cement, preventing the soft foam from dents and damage and making it solid enough to paint. I also glued on my lower 2″ portion making the main part 6″ high and about 10″ high with the walls in place.
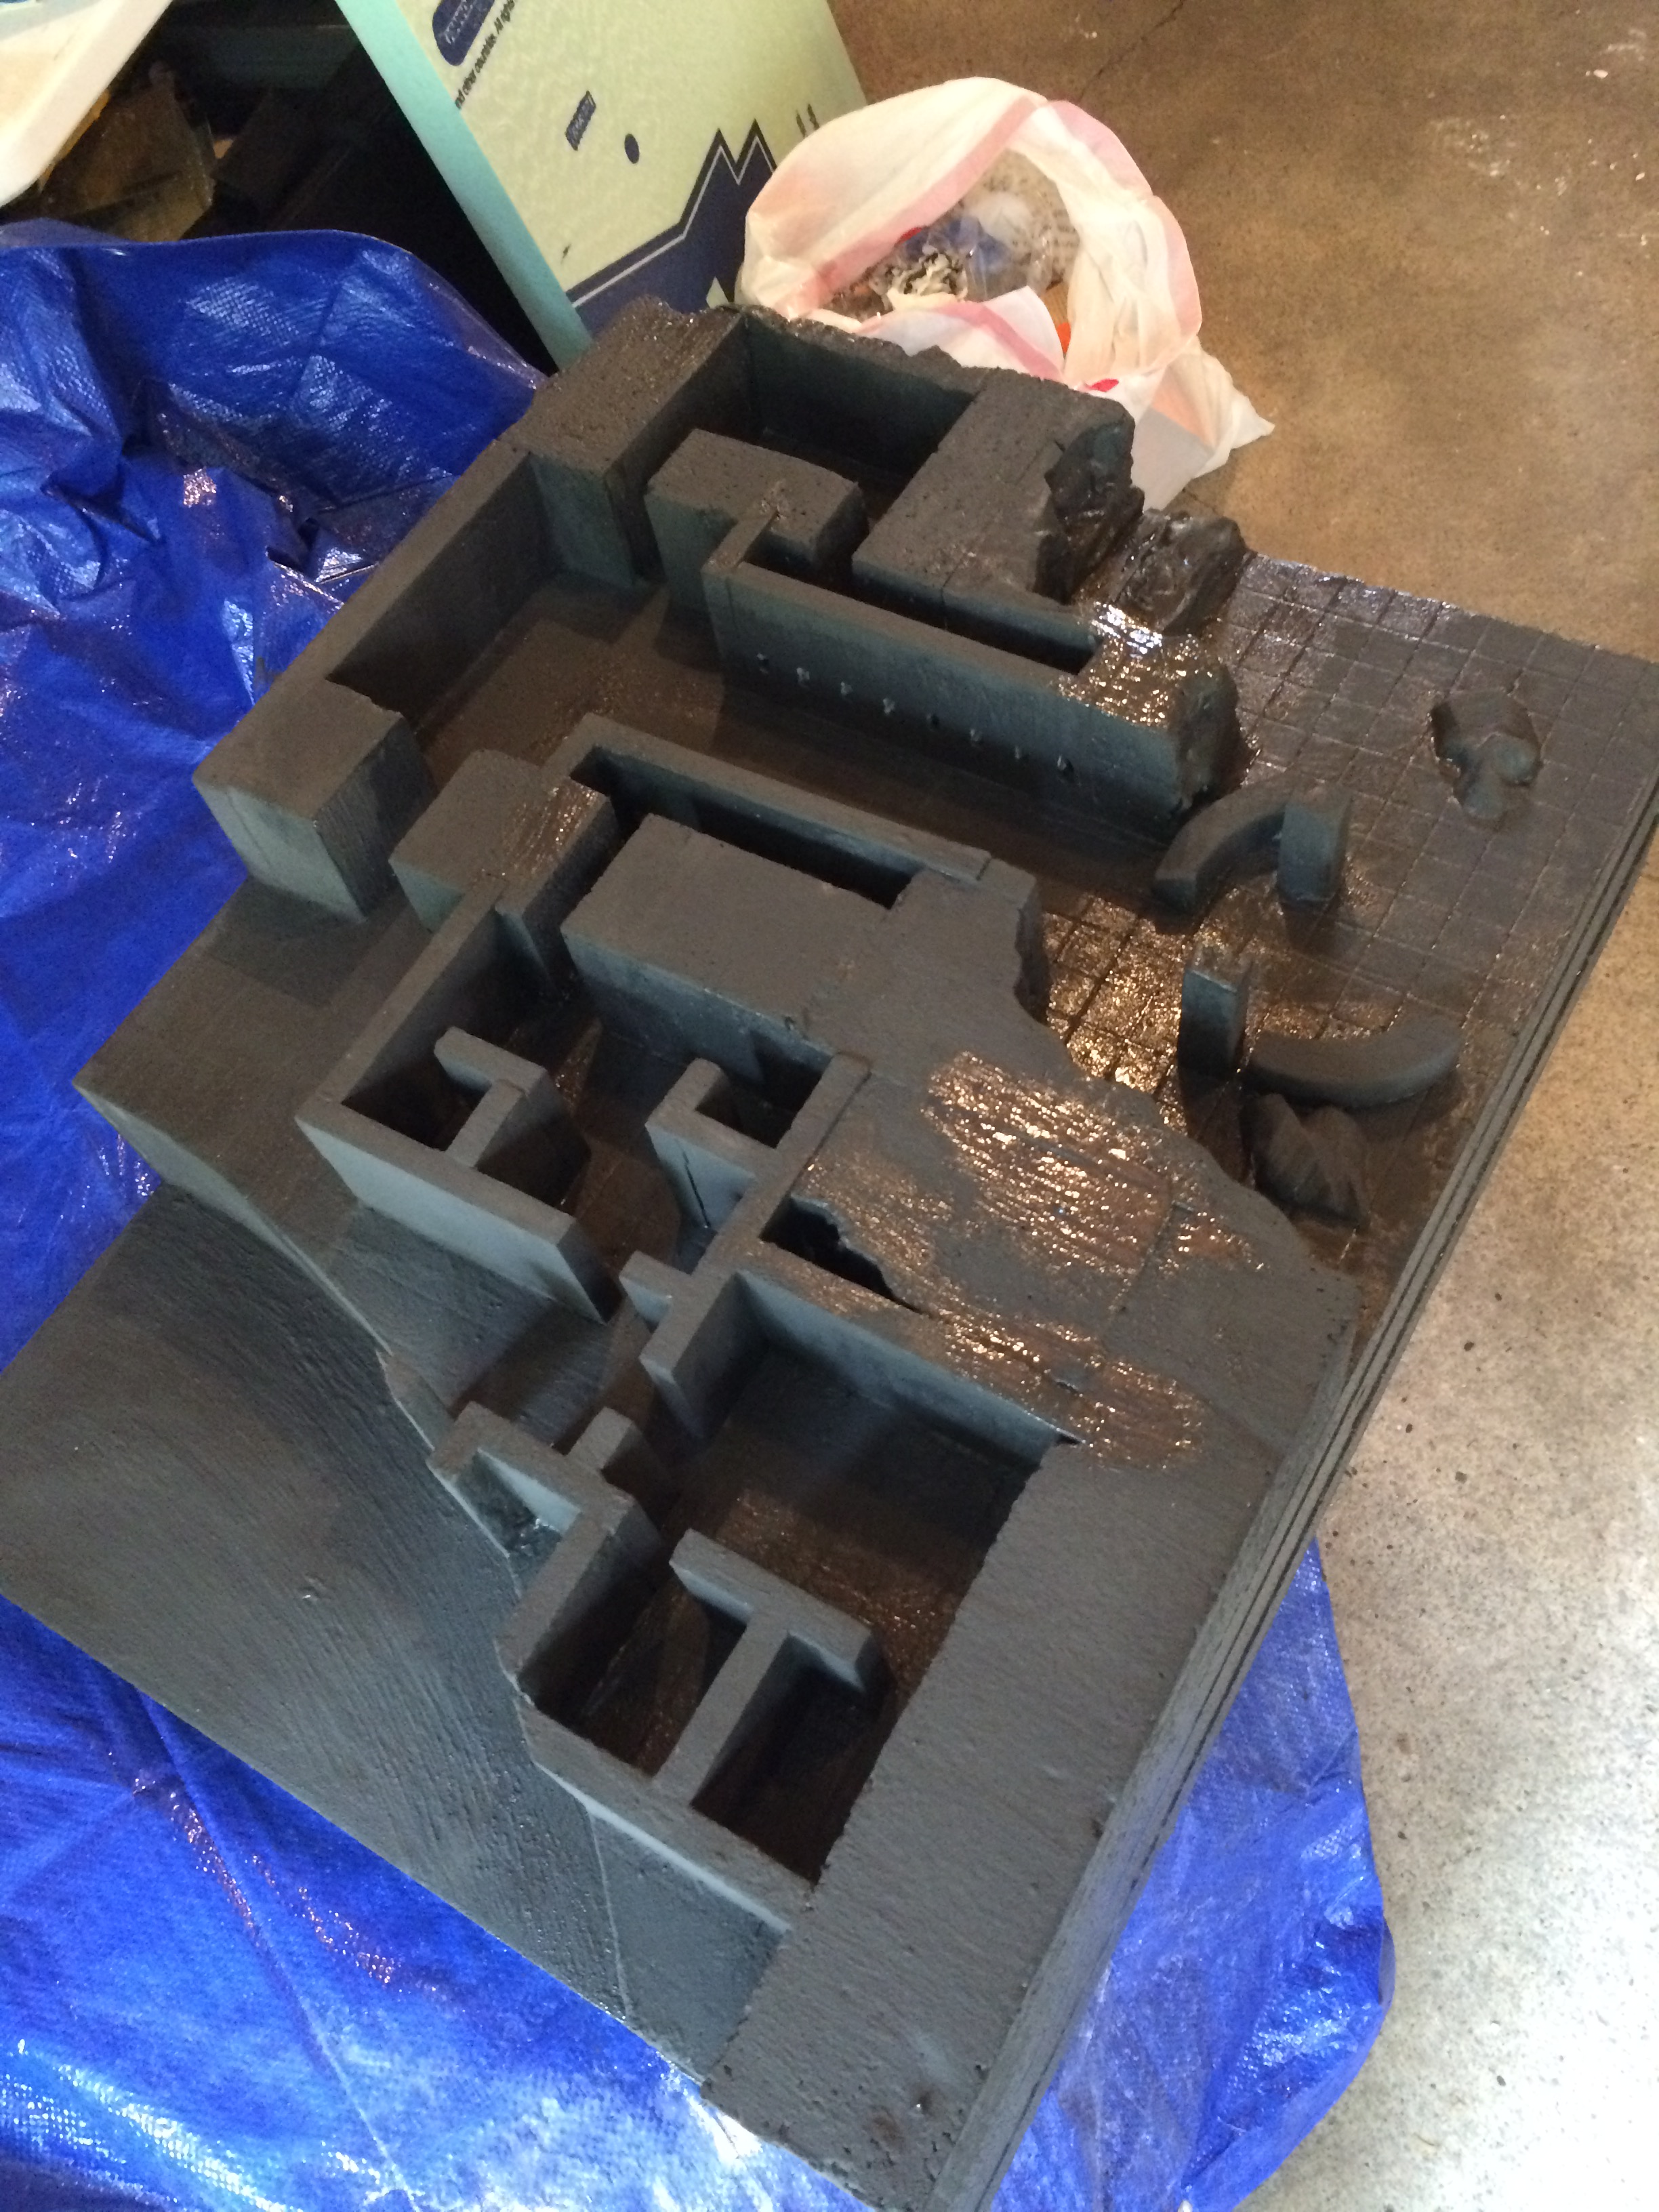
After a base coat, I mixed some of the foam coat with dark grey water-based paint and applied a final coat. The paint helps to get the foam coat to stick better, and gives you a good uniform color. Now when I use foam coat I mix paint in the base coat as well, just to make it easier to apply.
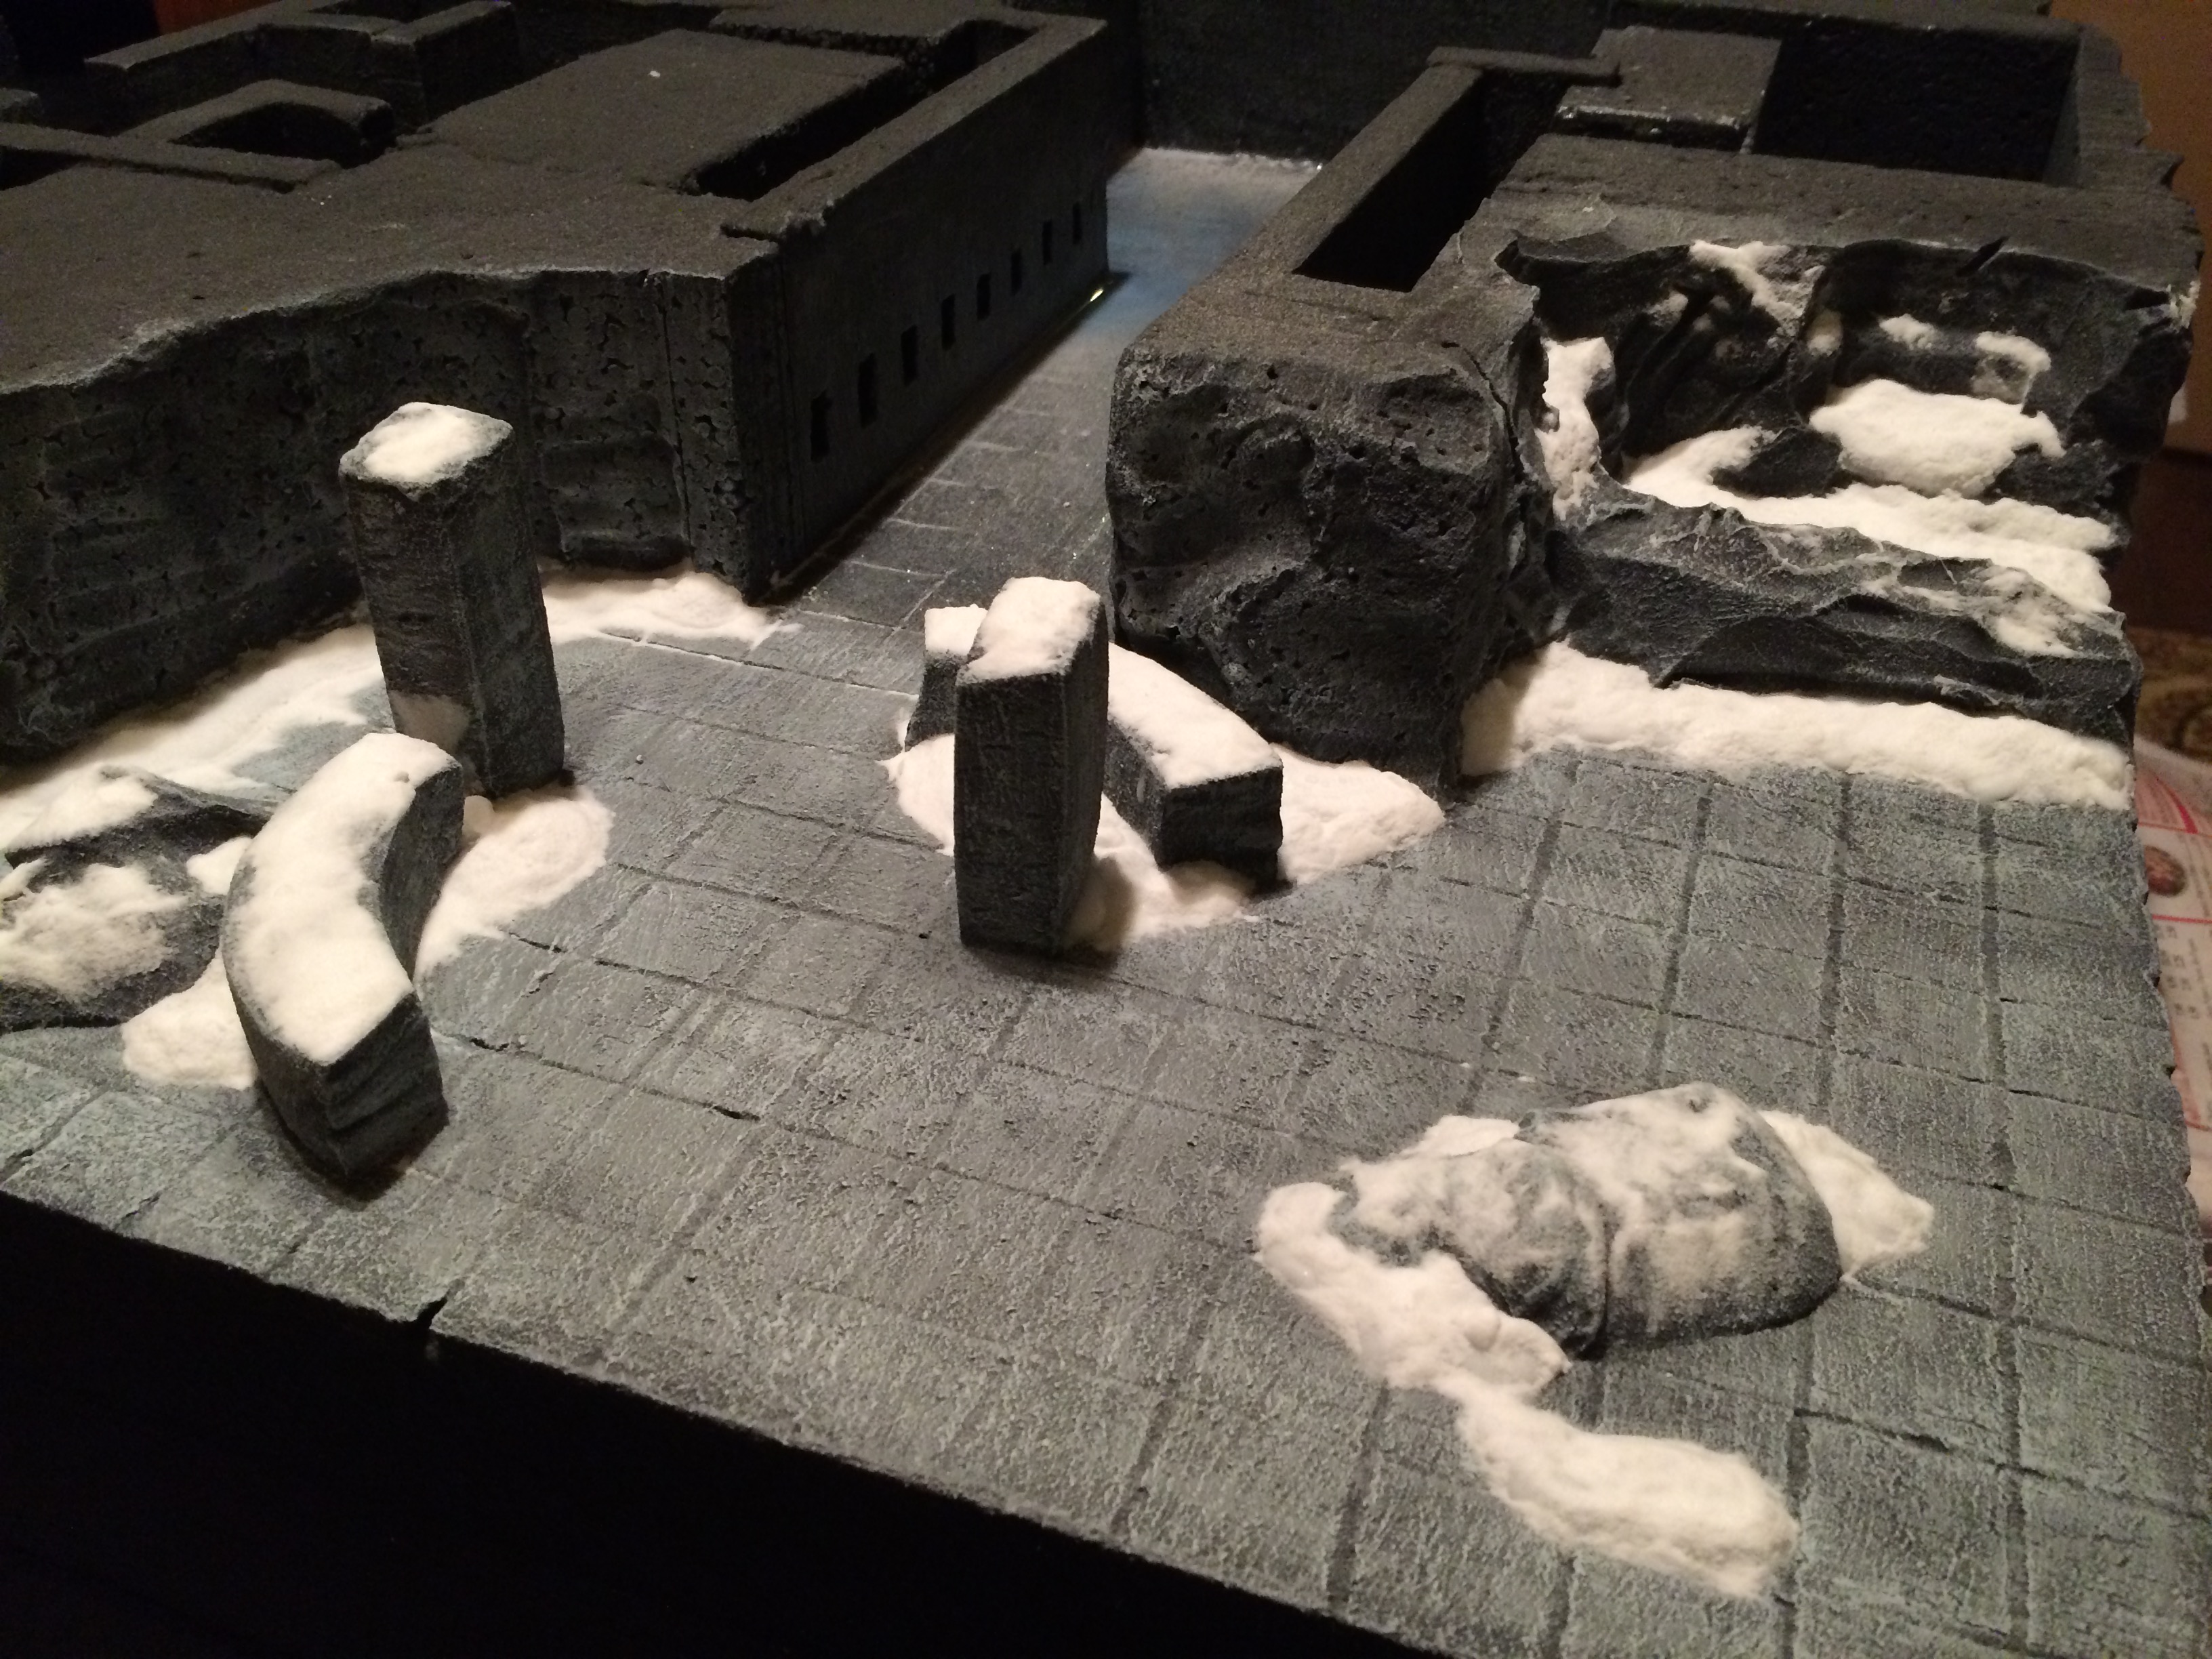
Once the foam coat has fully cured (at least overnight), it’s time to start adding some highlight paint. I dry brushed some white and very light grey over any area I thought should have some frost or snow on it, making sure to keep the grid visible.


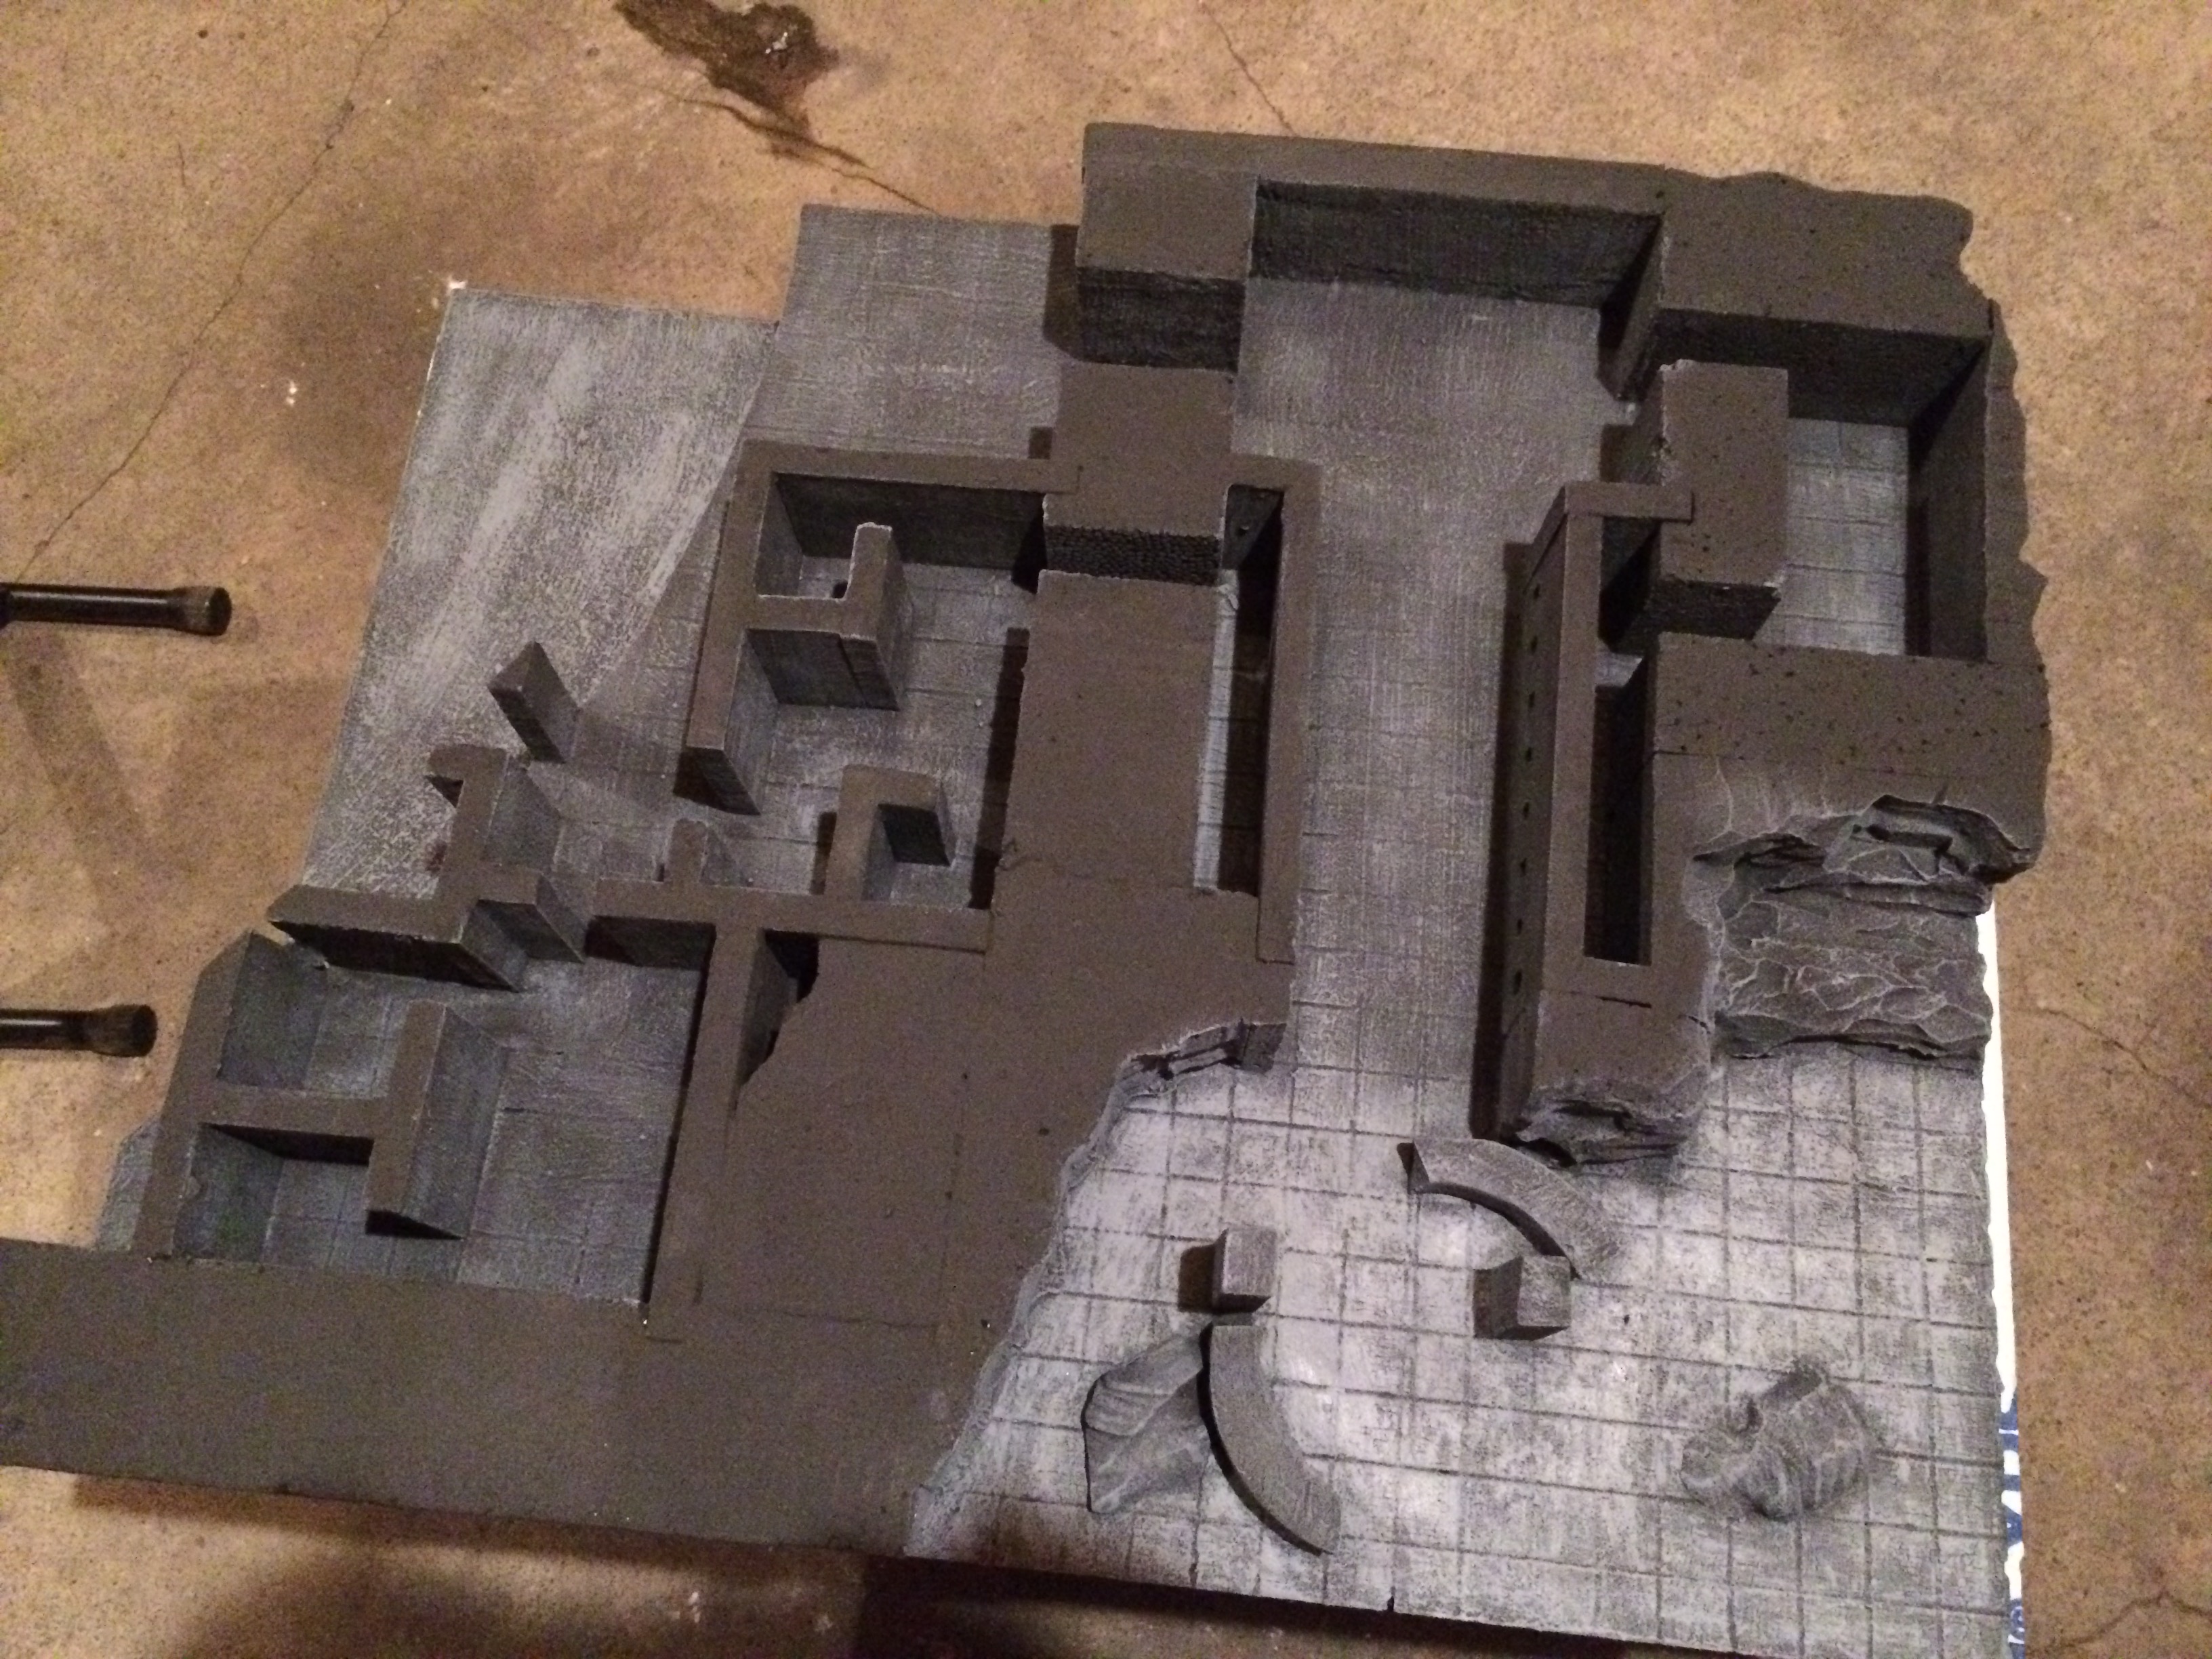
Then, I applied some clear water-based varnish to the inside floor to simulate a ground covered in ice.

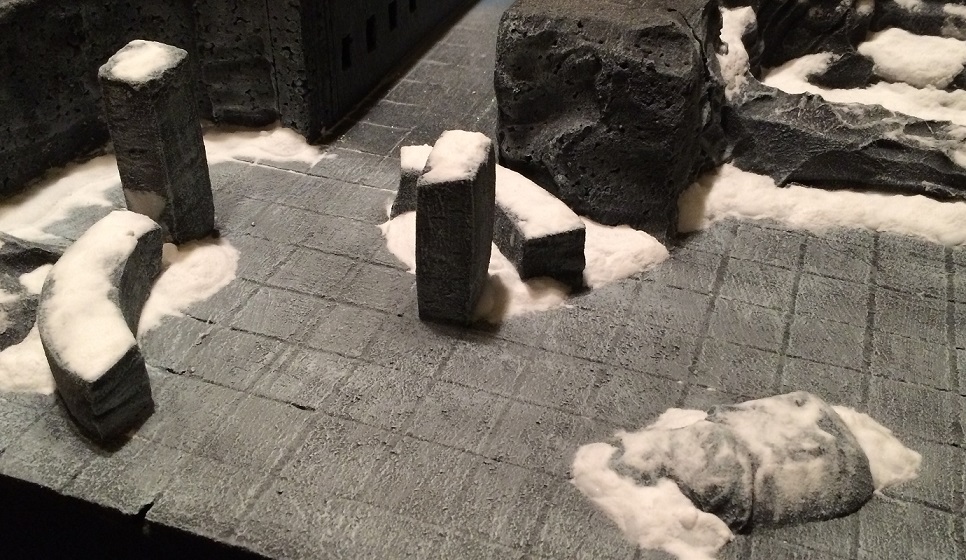
Finally, I added snow. The snow effect is easier than it looks, actually. You put globs of white glue wherever you want a snow bank or dusting, brushing out the areas you want a thinner patch and laying it on the areas you want a bit of a snow bank. Thick areas take a long time to dry, so beware. Once the white glue is down, I dumped a liberal amount of baking soda on the glue. You can also use official miniature snow effect if you want a fancier solution. I think the white glue and baking soda look fine. After the baking soda has set and the glue is fully cured, use a large hand fan (not electric) to blow off the excess powder. This will give nice little pockets of snow effect. Over time, some of the snow is going to fall off, that’s normal.
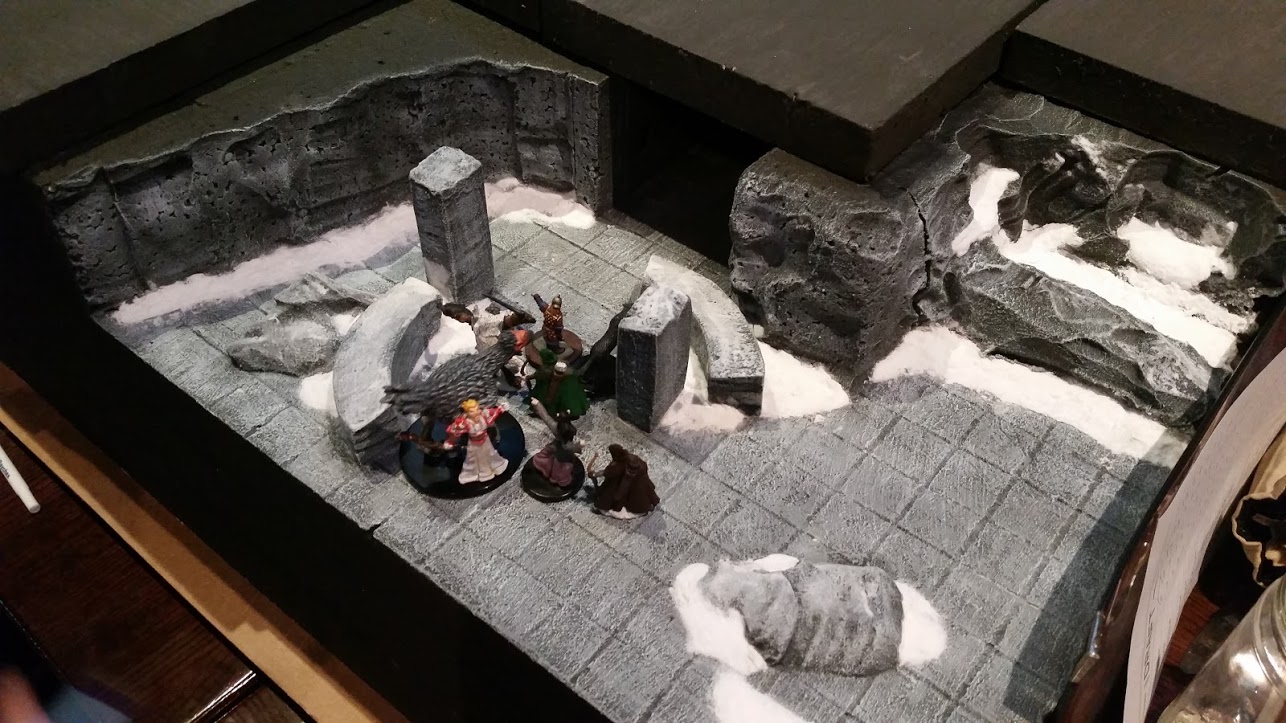
You can see on this overhead shot that some of the clear varnish for the ice effect pooled up on me; I had applied it a bit too liberally. This caused a weird hazy area. In the end it looked fine, but it wasn’t what I was going for.

Presentation
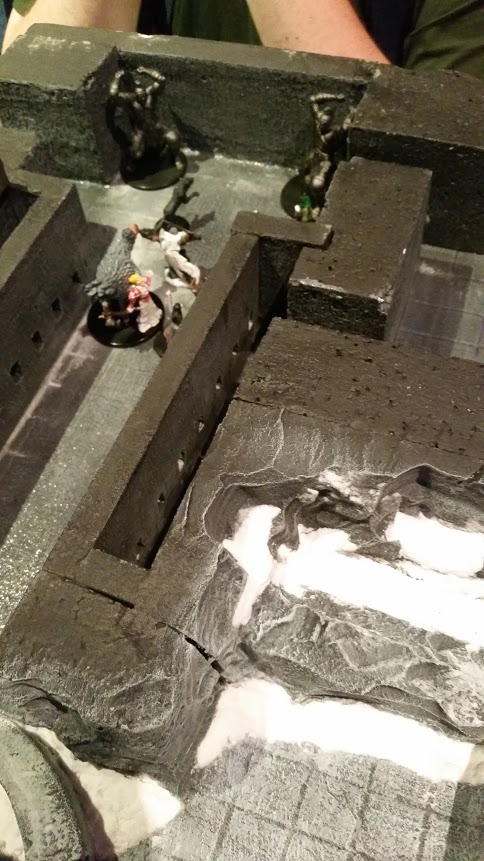
Well, it went better than expected! I brought this monstrosity to GenCon and all of my tables loved it. I created a custom lid for each area that I could pull off all at once when the PCs advanced so far into the dungeon. I used it a few times for my home games as well, getting about a dozen tables of use out of it. About a month ago I used it again when the table was offered locally; the terrain was still mostly intact after sitting in my garage for a few years… I just had to clean off the spiders.


This is amazing!!!
Thanks!