Welcome to Craft Wondrous Item, where the Know Direction Crew show you all of the neat things that they’ve been crafting! Today, Private Sanctuary Podcast’s cohost, Guidance’s author, and self-stylized Everyman Gamer Alex Augunas is going to be showing you the techniques he used to create a bigger miniature for his PFS Bloodrager, Kodaehan, who was featured in an Iconic Design two weeks ago.
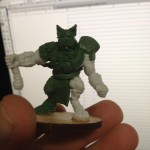
As some of you might remember, my bloodrager’s schtick is getting really big thanks to the Abyssal Bloodline power, demonic bulk. Well, my bloodrager has been Level 4+ for some time now, so I decided that he needed some pizzazz. Something special for when he bloodraged and got really big. Folks who played with me during Siege of Serpents at PaizoCon got to see my in-progress of this project: my Large bloodrager miniature! Unlike my last Craft Wondrous Item, I’m going to do both the sculpting and the painting in one article, so there’s no delay. (And so ignorant people can’t say, “WHY DID YOU PAINT HIM GREEN?!”)
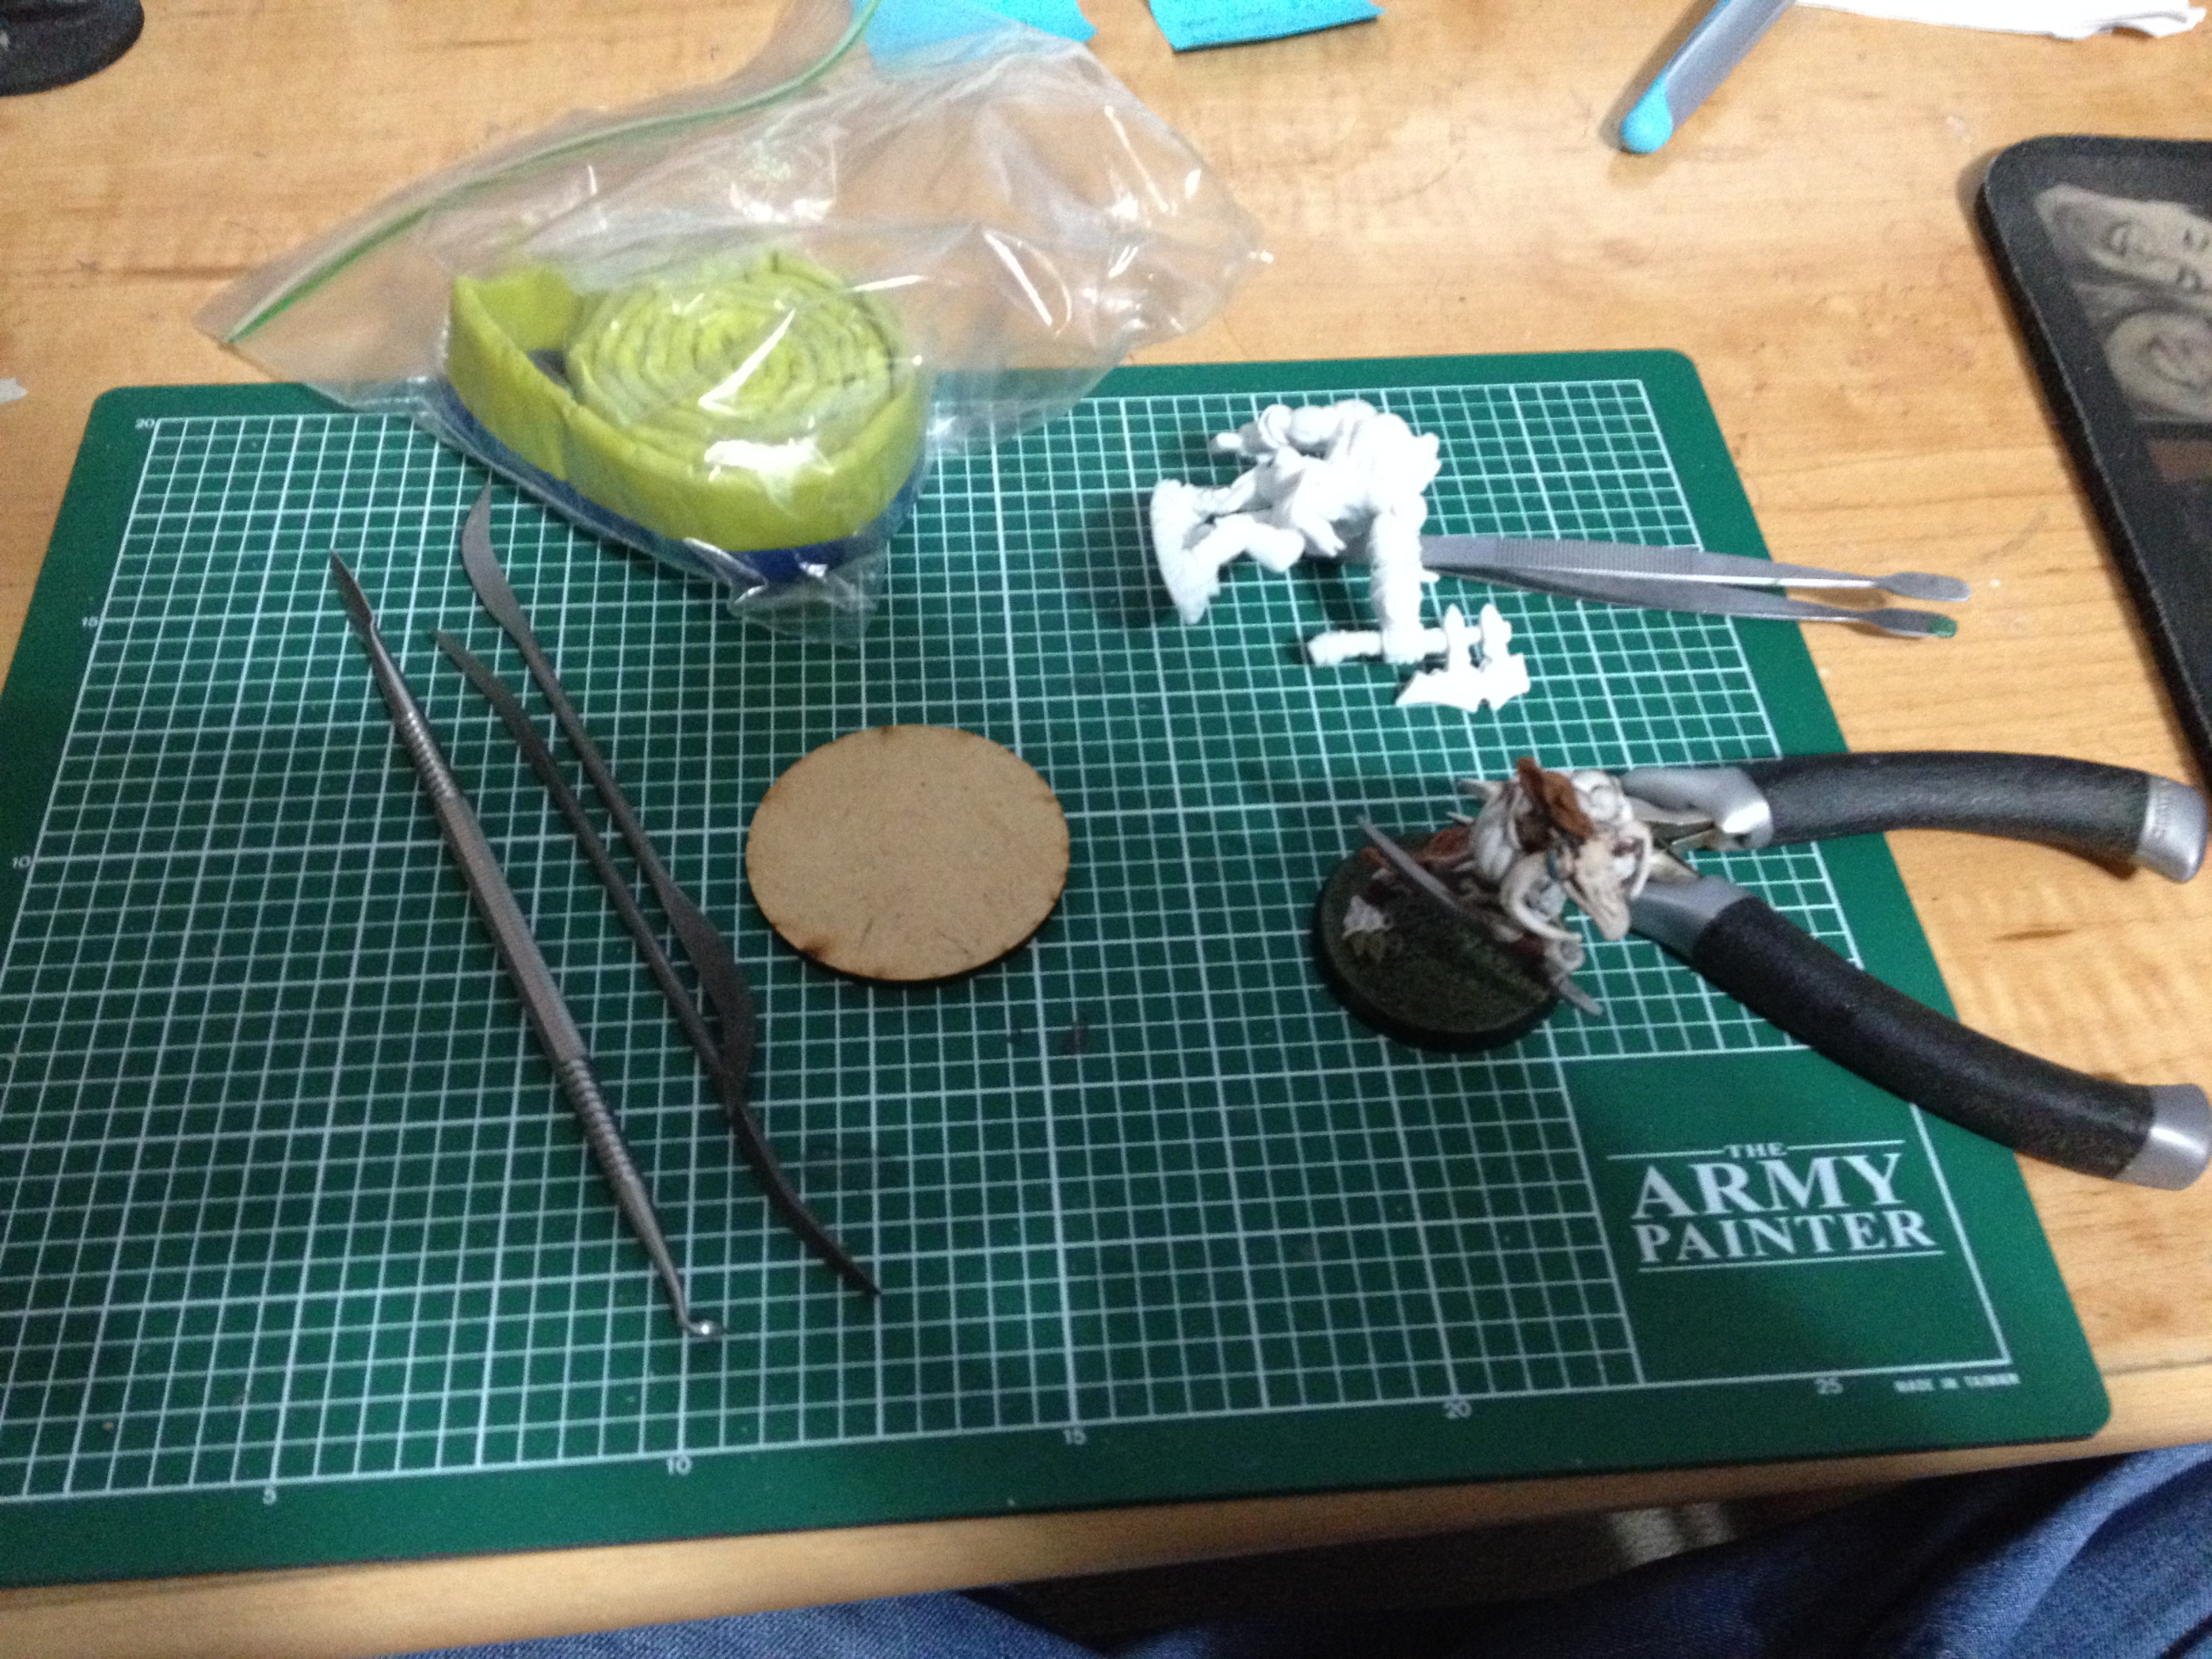
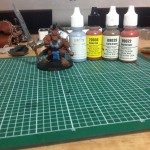
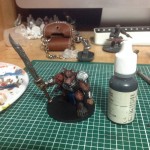
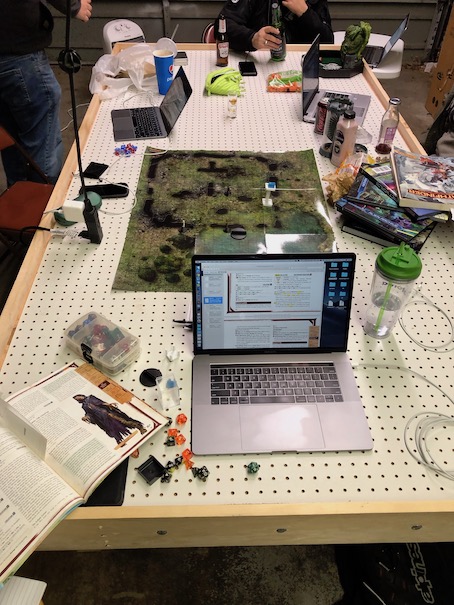
Fairly standard sculpting stuff. Plus my miniature of choice for the conversion.
Supplies and Miniatures
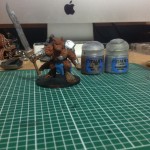
My materials for the project were relatively standard; nothing that I didn’t use in my previous Bloodrager series. The miniature that I choose to be the base for my conversion was a Reaper Bones minotaur from Reaper Miniatures. I like using Reaper Bones for my conversions because the bones material is lightweight, durable, and most importantly: easy to cut. I also find that the Reaper Bones material takes to Super Glue better than pewter does. I’m not entirely sure why that is, but my working theory is that the Bones material is more porous then pewter is because its plastic, so the glue bonds better to it. If someone knows the Science of this better than I do, please comment; I’d love to know the reason why I have such a better experience with Bones and glue than metal.
You can also see some of my favorite tools in this picture, like my pincers, my sculpting tools, and my wooden base. Again, I like wood over plastic because I find the wood to be lighter but overall stronger than the cheap plastic bases that you often see in stores. You can also see my roll of Greenstuff, a two-part epoxy putty that many professional sculptors use for sculpting. Not pictured is my massive crematic cup for holding water; water is crazy important for miniature sculpting because the greenstuff is going to want to stick to your tools, your hands, and just about everything else, so the water acts as a lubricant to allow you to manipulate your sculpture without letting the sculpture manipulate you.
Preparing the Victim Miniature

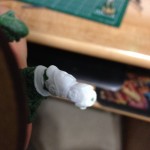
Where’d me ‘ead go?!
So, the first step to sculpting my miniature was to identify what I could use on the base model and what I couldn’t. I picked the minotaur for my base because it had unguligrate legs; basically, unguligrade means that the animal effectively walks on the tips of its digits. For humans, it would mean tip-toeing around everywhere. For cows, horses, goats, and minotaurs, it means walking on hooves, as biologically hooves are equivalent to human toenails. (Science!) Of course, I like my kitsne digitegrade (which means walking around on digits, or toes), so I knew I would have to alter this model some. That said, it was close enough to work well for me.
What didn’t work were the weapons and the head, so I set to work chopping off as much of those as I could. I ultimately held on to the handles of the weapons because those are a pain in the butt to sculpt and I didn’t want to lose the model’s sense of balance, so to speak. I wanted to know where the model was designed to have its handle so I could mirror that. Other then that, this miniature worked well for my purposes; it had a little tail that was easy enough to remove. It is also mostly naked, like my barbarian, so I knew it would be relatively easy to put kitsune fur onto the model. The only thing that I was worried about was making a new head for my miniature, but how hard could it be? (Answer: VERY HARD.) I started by drilling a hole into the center of the model’s head and putting part of a paperclip there. The idea is that the metal paperclip would act as a scaffold for the greenstuff that I put onto the miniature, holding it properly in place and giving it something to help the epoxy defy gravity with. Because in the long run, gravity is often the ENEMY when you’re sculpting. Gravity will tug on things and pull them out of your carefully-decided regions, so its important to support your greenstuff somehow.

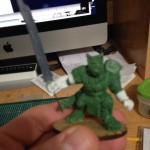
KITSUNE… TRANSFORMATION… MAGIC!!
*Cue Sailor Moon Music*
Sculpting the Bigger Bloodrager
I actually followed my own guide rather closely when sculpting my bigger bloodrager. I wanted consistency, so I could plop it down on the table and people would understand that I wasn’t using a proxy, that this miniature was designed specifically to show off that my miniature was bigger. Of course, the minotaur and the barbarian had several key differences that worked against me, namely the difference in armor. The gauntlets on the minotaur were perfect by my book, but the minotaur didn’t have a pauldron, so I had to sculpt that myself. It was VERY difficult to do without a base pauldron underneath as I had when making the Medium bloodrager. In contrast, it was a LOT easier to do the legs for the Bigger Bloodrager because the legs were already in the right shape; I didn’t have to amputate anything to get the look I wanted; all I did was trim off the hoof.
Making the belt and the waste cloth was likewise easy, although I underestimated the amount of greenstuff that I would need to do this part well several times before I finally got the quantity right. Last, and most difficult, was the head. When you’re working with an itty bitty 28mm model, you don’t worry about how the face looks as much. But when you scale up to 56mm, all of a sudden you’re like, “Wow! I can see everything! And it sucks!” I’m not 100% pleased with how the head came out, but after a bit of paint and a healthy dose of play distance, the bloodrager’s head looks fine enough to play with, which is what I was going for. Ultimately, I used the same strategies as when I sculpted the Medium bloodrager’s head, except I worked to make the bloodrager look a little angrier. After all, if he was Large, he was bloodraging. Gotta make that look convincing, right?!
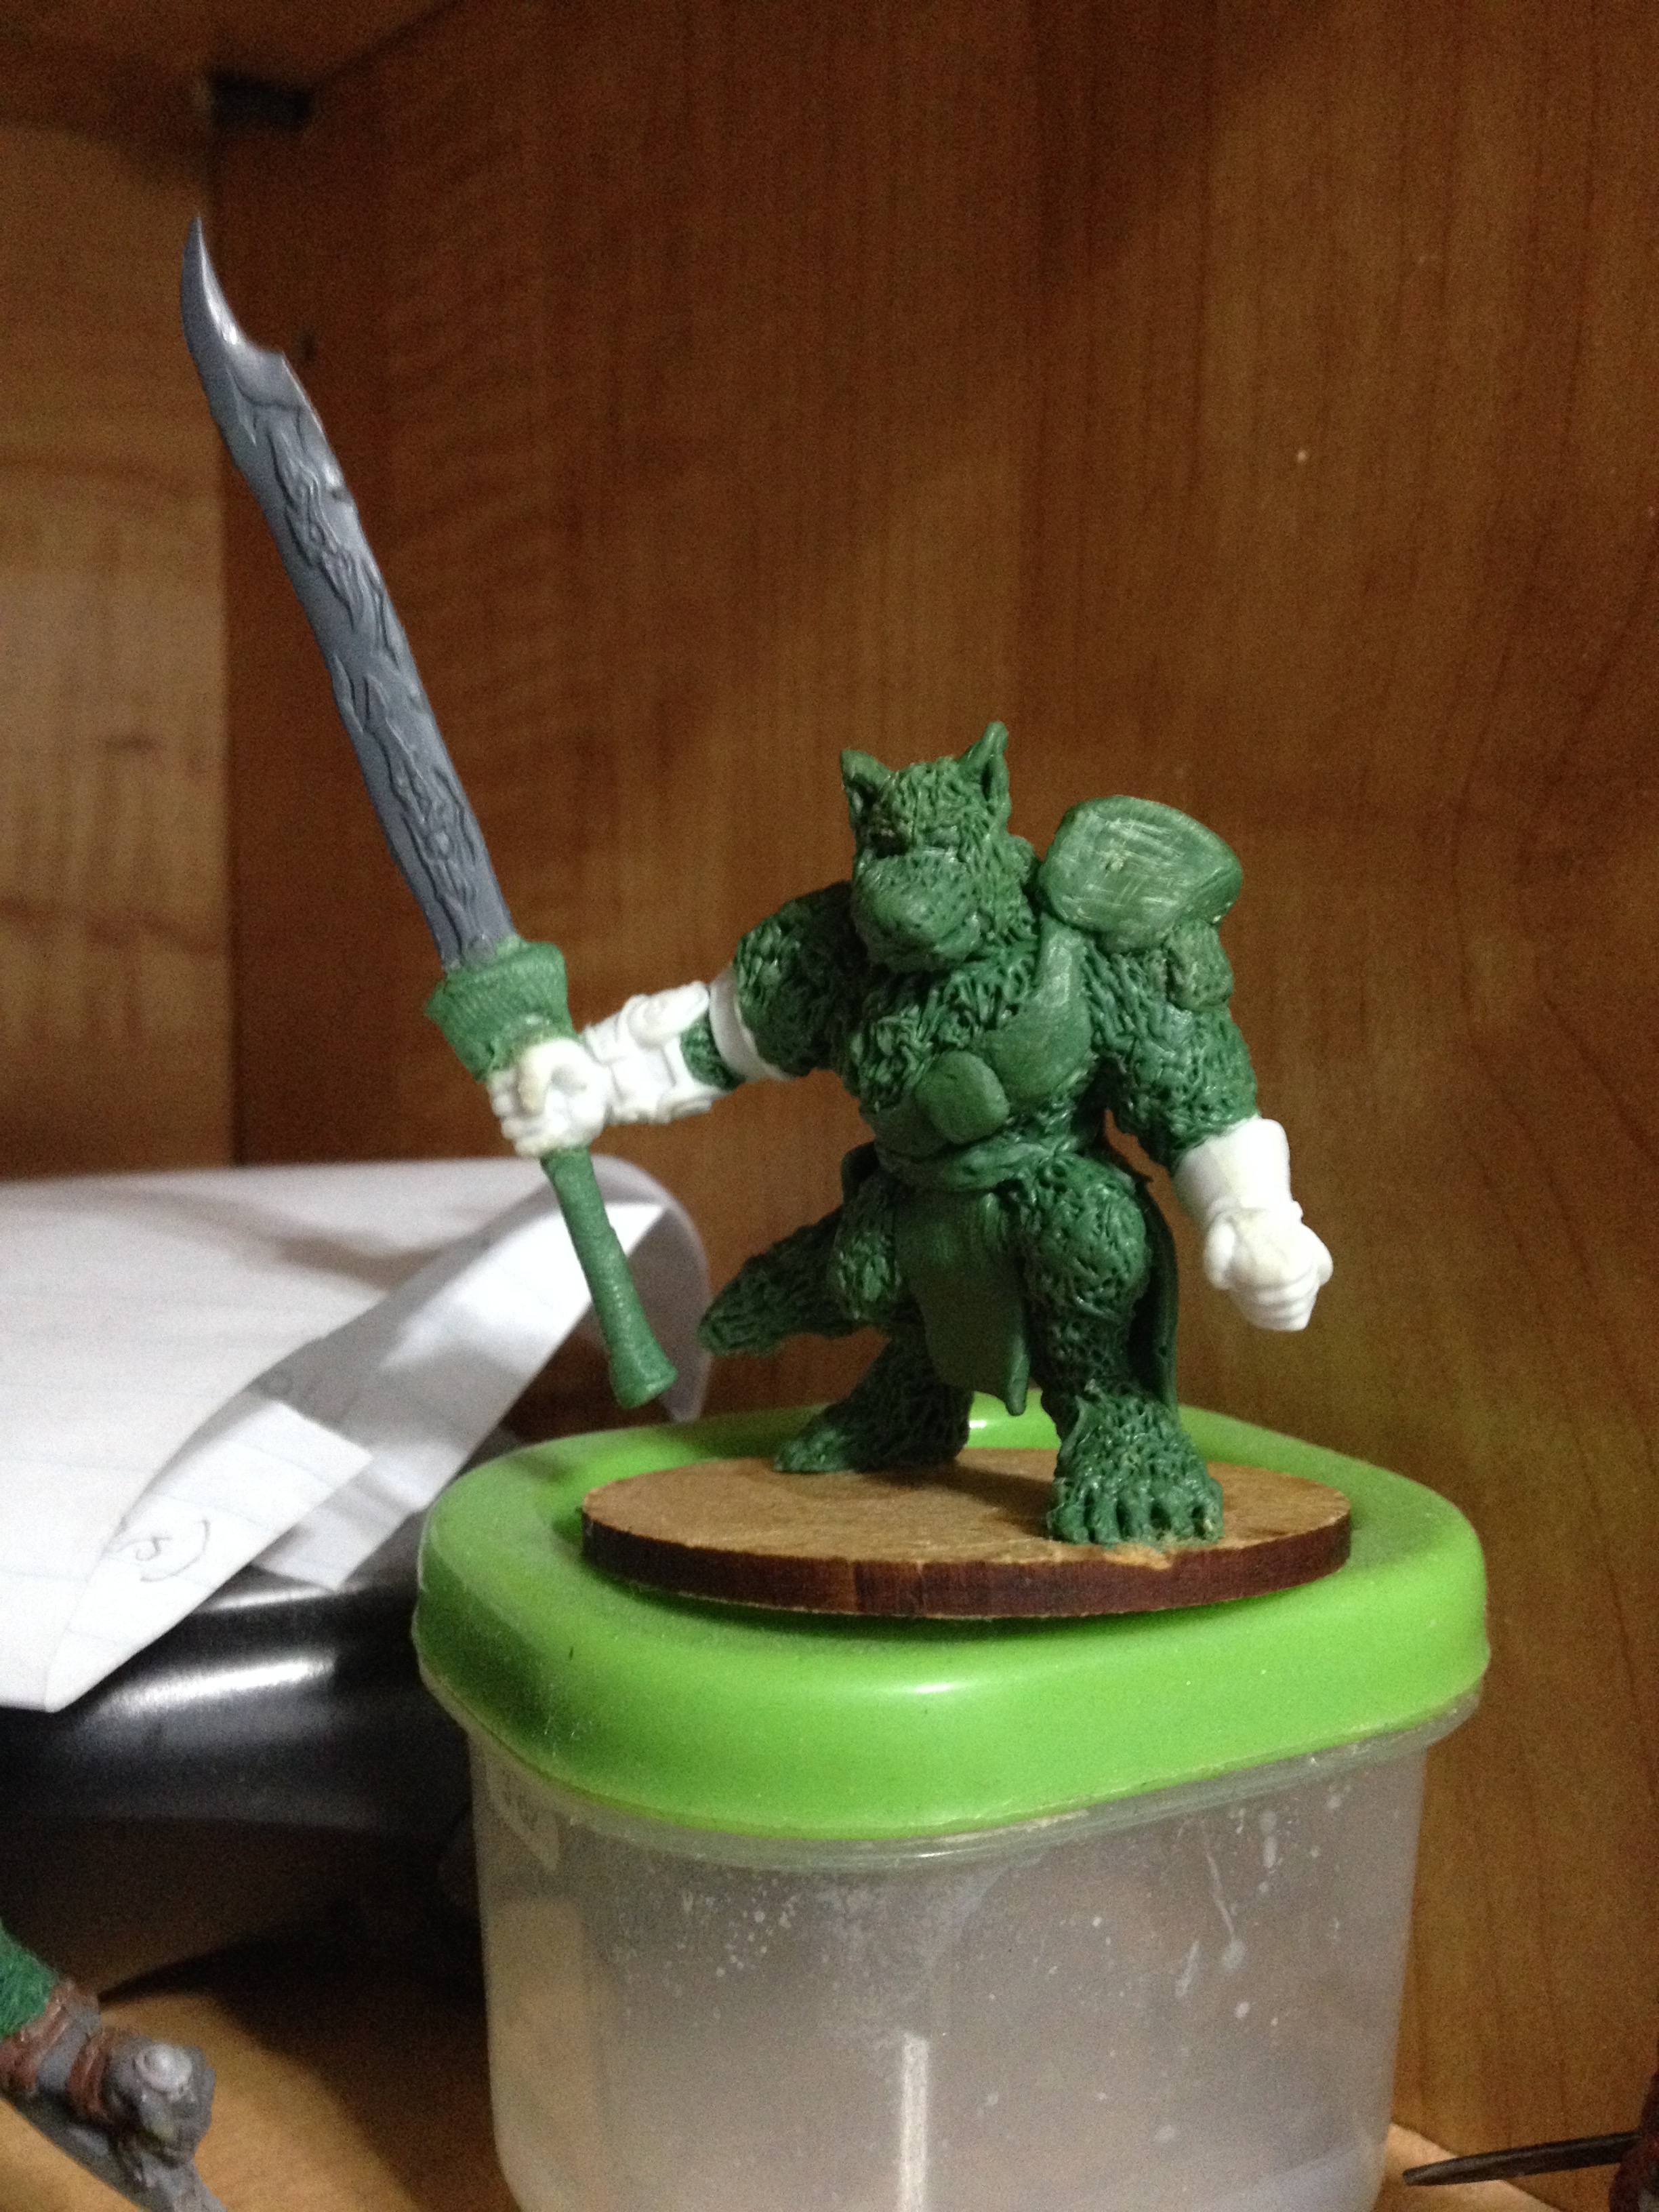
I has a sword! AND ITS HUGE!!
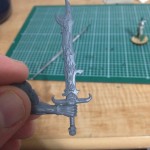
As anyone who saw me play this character at PaizoCon will attest to, the hardest part of building this miniature was actually making the sword. At PaizoCon, I asked all of the geniuses at Reaper Games for help, I asked online, and I even played with my Green, Swordless bloodrager during Siege of Serpents. Ultimately, my answer came from a site called Hoard ‘O Bits. Hoard O Bits is basically a site that buys plastic miniatures sets, like those produced by Games Workshop, and sells the individual pieces to people like me, who want one, specific piece; not enough to justify the set’s full $40 cost. Ultimately, I got two copies of this sword (one in case the original part breaks or got busted) for about $1.50 plus shipping, so I was pleased. The sword I ended up choosing was from a Warhammer Demon Prince model, so after chopping off the barbs and filing down the edges, I had the perfect sword!
Almost. I followed my original article and made a bigger sword hilt and handle to go with my bloodrager’s new weapon after chopping off the remains of the handle that I had. I left the curve in the top of the sword, one because I liked it and two because I didn’t want to risk ruining the sword by messing around with that detail. When I had finally finished, I had a base model that I was extremely proud of, even if the face looked a little bit weird.
Yay me!
Painting the Bloodrager
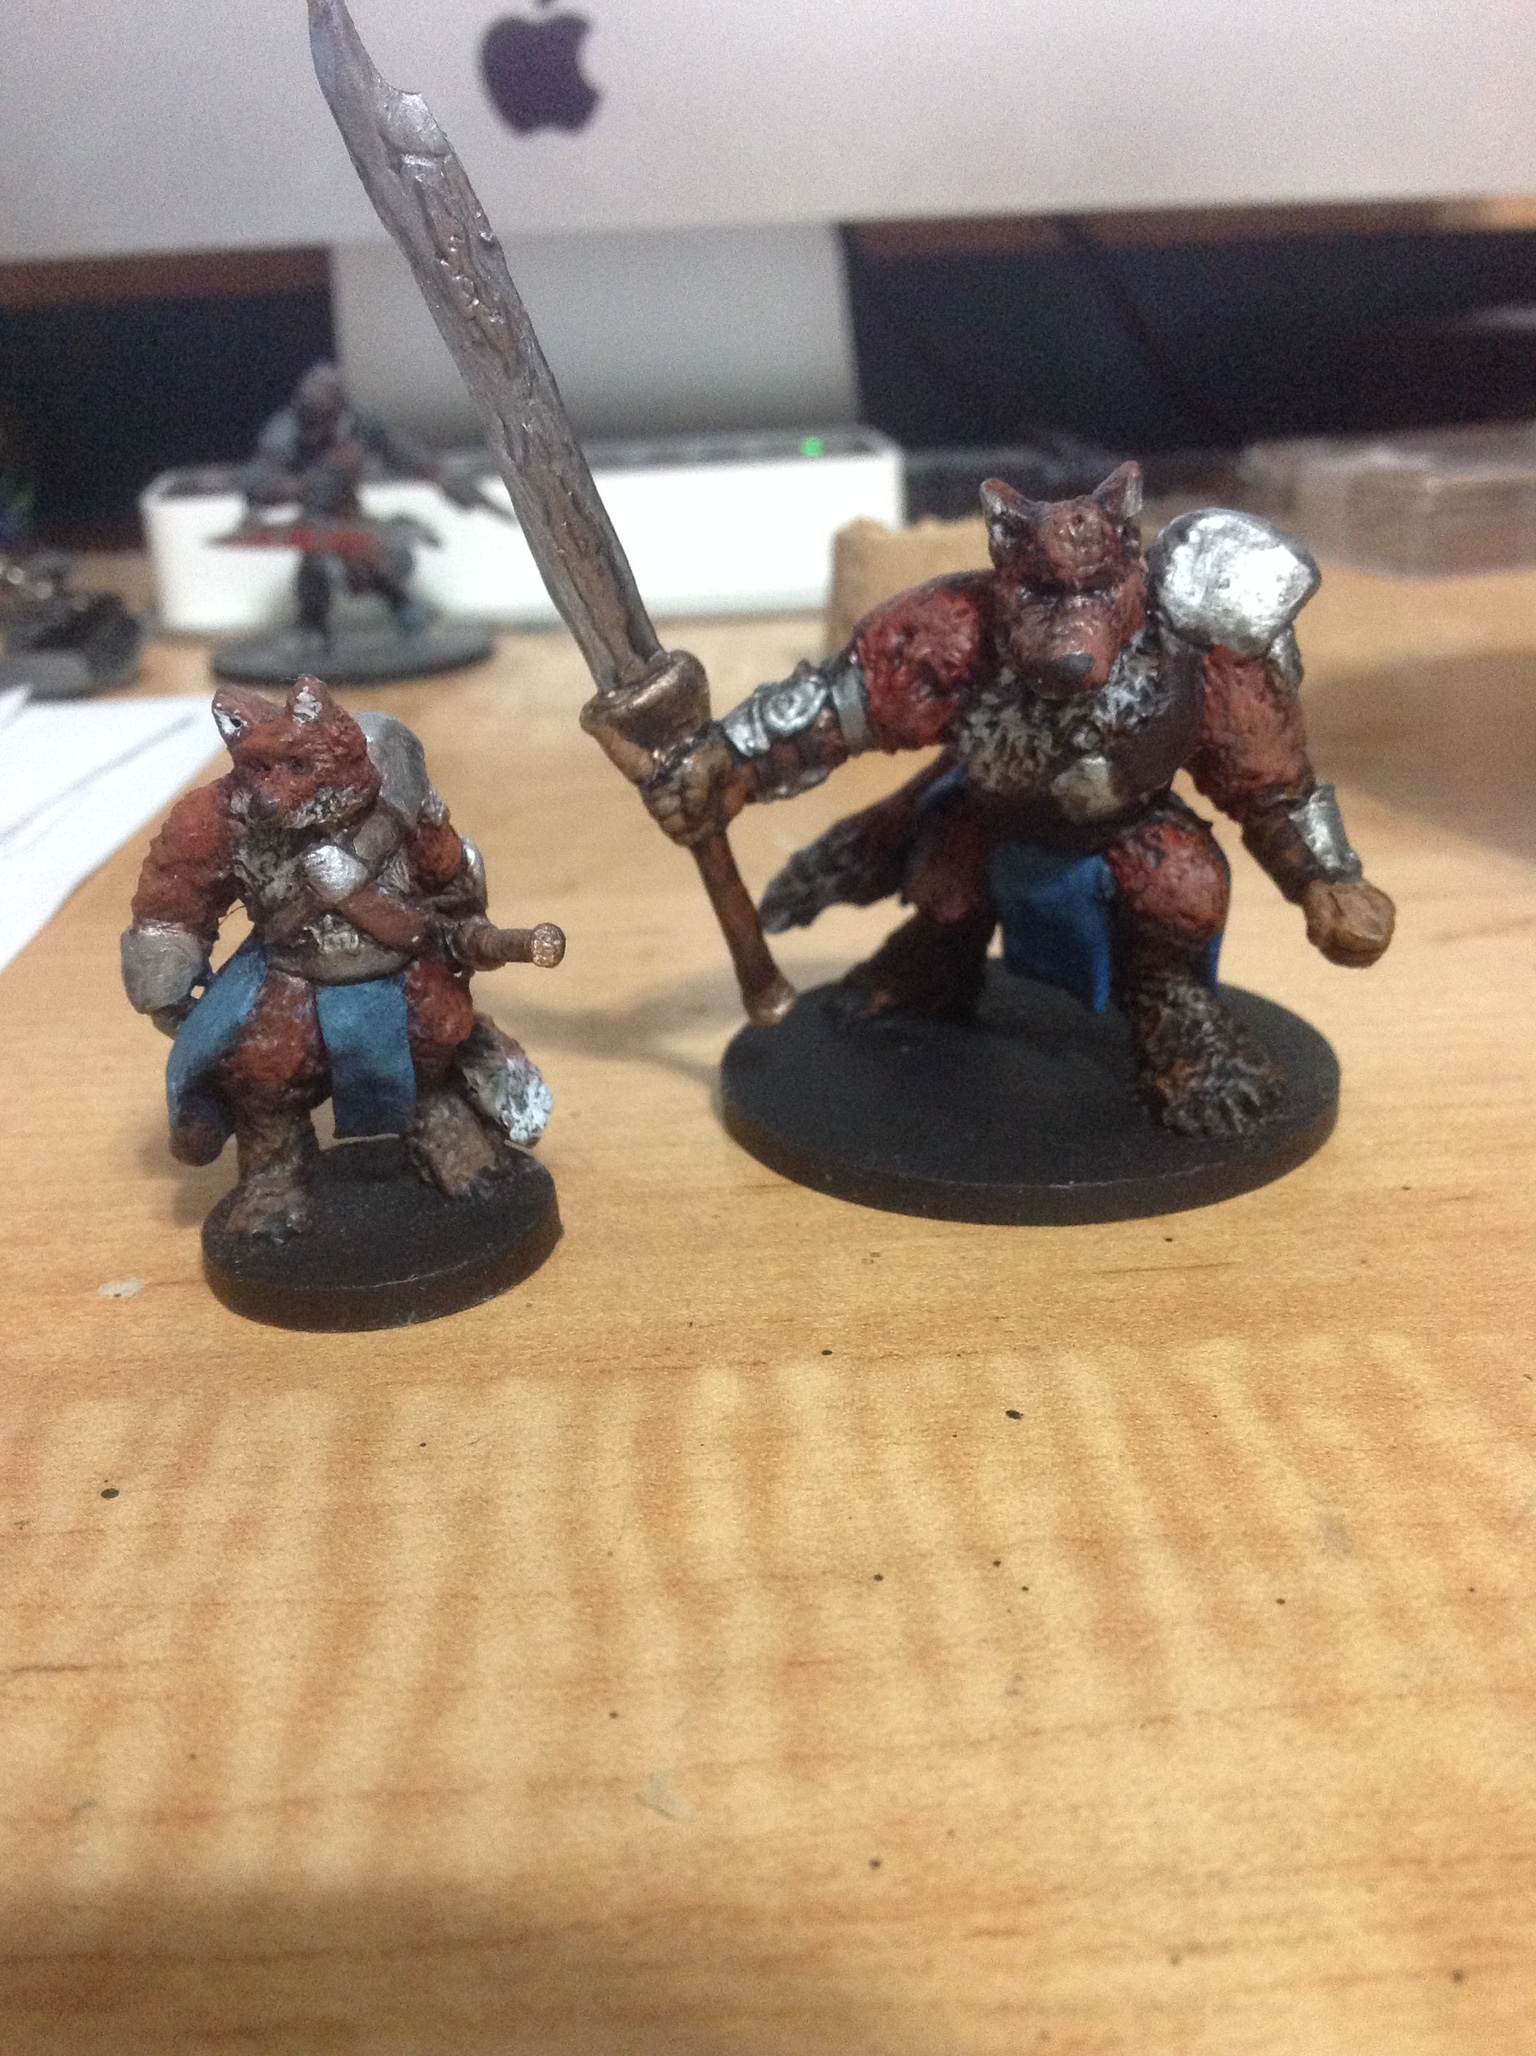
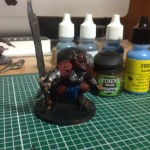
L: We’re like the SAME PERSON!
M: That’s because we ARE the same person:
If you read my article on how I painted my Medium bloodrager, then you know exactly what I did already. Literally followed my original plants to a tee, except I made them bigger. After reading that online spread about auras from Pathfinder RPG Occult Adventures, I decided to use more Badad Black wash on my Large bloodrager than my Medium bloodrager to imply a raging aura. In Occult Adventures (as well as real-world occultism), black auras are associated with anger, so it seemed like a perfect fit.
After I was done, I cleaned up the base, matted down the miniature, and presto, I was done! Now I have a Large miniature to replace my Medium miniature with whenever my character enrages. No more proxies for me!
Whelp, I hope you enjoyed today’s installment of Craft Wondrous Item. The last time I wrote a CWI article, I mentioned that I had just got a miniature in for my alchemist. Don’t worry, I’ve been working on that too; I just wanted to make sure that everyone who got to see me plop this massive, green miniature down on the table at PaizoCon knew that I had finally finished him. Plus I’m pleased with how well he turned out, considering that this was my first time sculpting a face from nothing. Make sure to come back to the Know Direction Network on Friday for another Iconic Design, and I’ll see you here on Monday for a new installment of Guidance. Take care!
Alexander “Alex” Augunas has been playing roleplaying games since 2007, which isn’t nearly as long as 90% of his colleagues. Alexander is an active freelancer for the Pathfinder Roleplaying Game and is best known as the author of the Pact Magic Unbound series by Radiance House. Alex is the owner of Everyman Gaming, LLC and is often stylized as the Everyman Gamer in honor of Guidance’s original home. Alex’s favorite color is blue and his favorite Pathfinder Race/Class combination is kitsune … well … one more week using this joke couldn’t hurt. BLOODRAGER WAAAAAAAAGH!
-
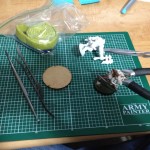
- Fairly standard sculpting stuff. Plus my miniature of choice for the conversion.
-

- First thing’s first: chop off the broccoli base!
-
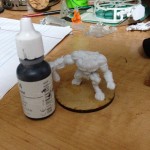
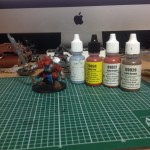
- Size comparison.
-
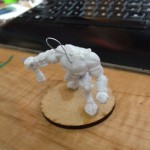
- WHERE’D MAH HEAD GO?!
-

- KITSUNE… TRANSFORMATION… MAGIC!! *Cue Sailor Moon Music*
-
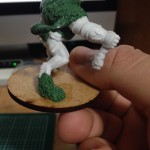
- Dem pawz. Much easier to do on a Large miniature, that’s for sure!
-
- Half-way there!
-
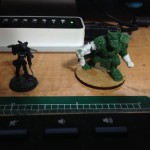
- Finished model. Shira miniature for size comparison.
-
- Before Alex altered the sword.
-
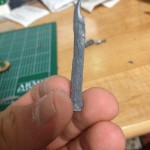
- After Alex altered the sword.
-
- This drill hole served two purposes: one, give a place for the sword to sit. Two, made a hole for the handle.
-
- Sword’s in. Still gotta make the handle.
-
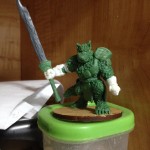
- I has a sword! AND ITS HUGE!!
-
- First layer.
-
- Second Layer.
-
- Third Layer.
-

- Brown Wash.
-
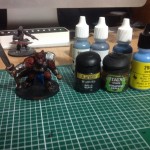
- Black Wash.
-
- Blue Wash (for the tunic) and highlights.
-
- Cleaned up the base.
-
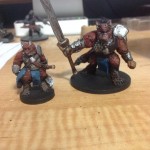
- L: We’re like the SAME PERSON! M: That’s because we ARE the same person:
-
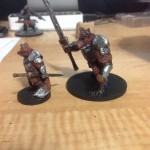
- L: Dude, you’ve got an awesome butt. M: …

Not 100%, but reasonably sure that glues work better with plastic due to the thinners used – they probably slightly melt the plastic at the contact site…
Sounds science-y enough for me!