Welcome to Craft Wondrous Item, where the Know Direction Crew show you all of the neat things that they’ve been crafting! Today, Private Sanctuary Podcast’s cohost, Guidance’s author, and self-stylized Everyman Gamer Alex Augunas is going to be showing you the techniques he used to create a miniature for his PFS Bloodrager, Kodaehan, who was featured in an Iconic Design two weeks ago.
 It would hardly be fair if I showed you how I build my mini if I didn’t show you how I FINISHED him too, right? Well, that’s the topic for today! Painting and finishing. Let’s get started.
Primer and Blocking
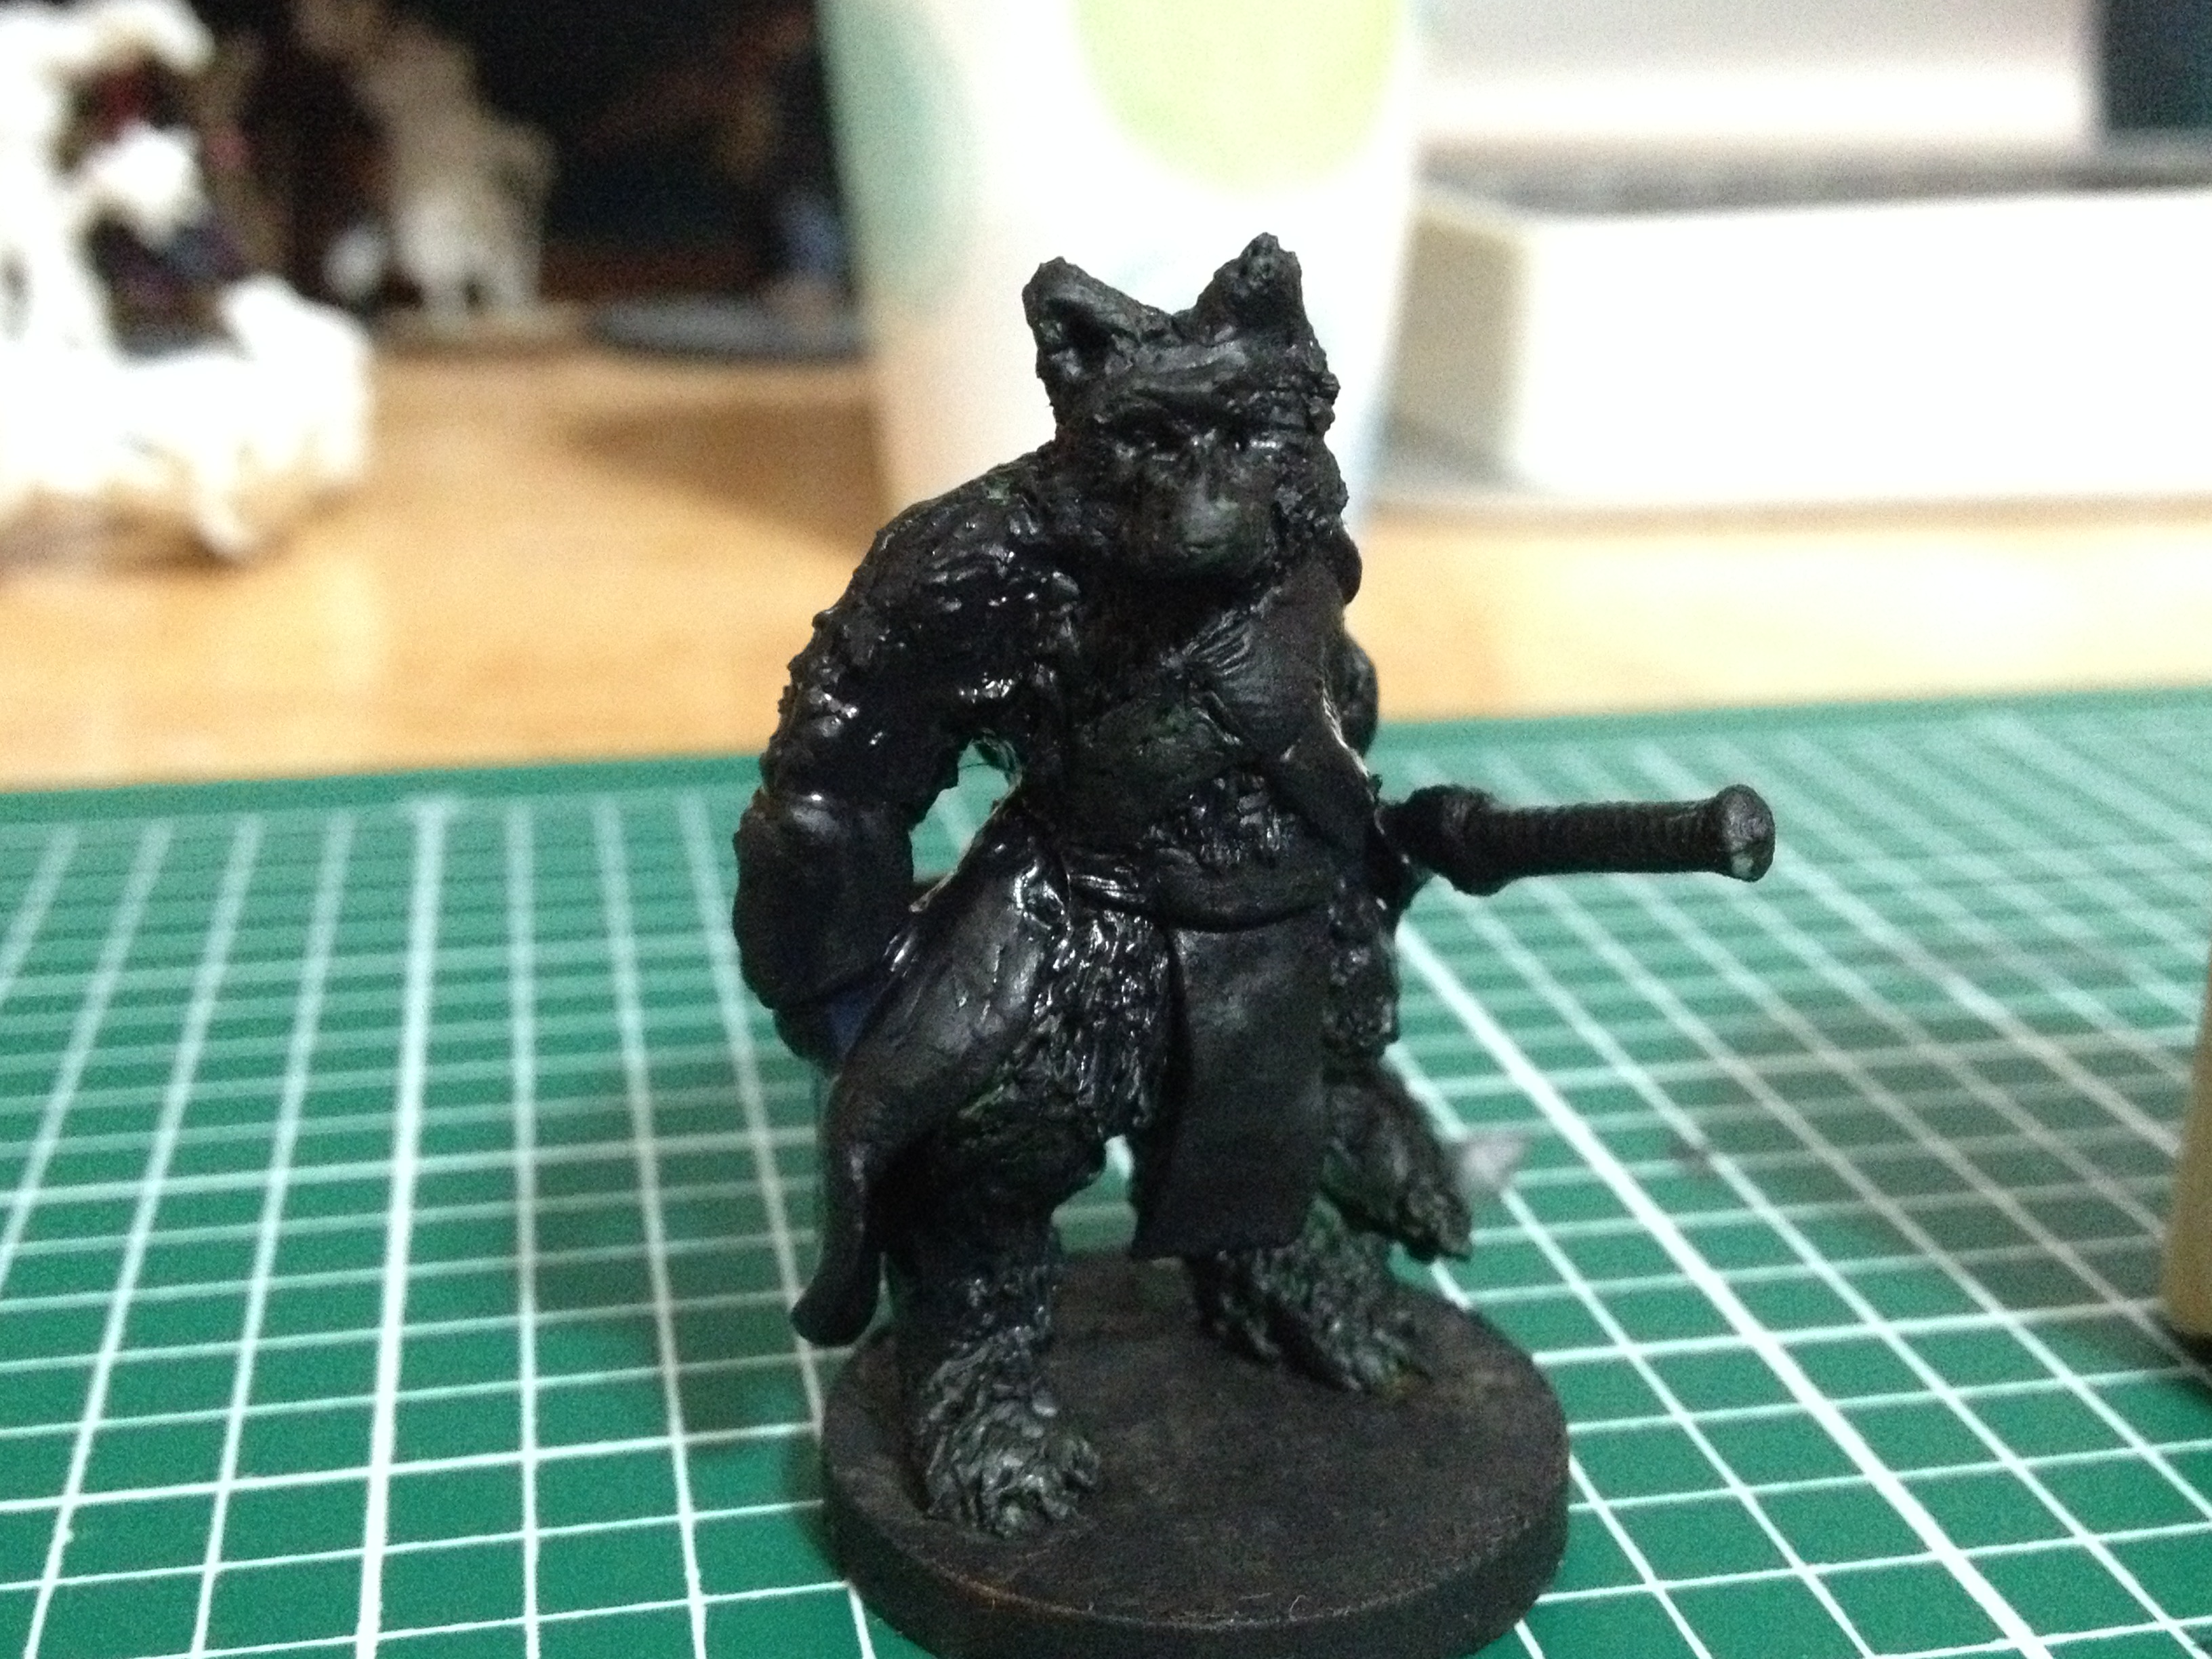
When I’m painting my minis, I always begin with a coat of primer. For my bloodrager, I’ve gotten a bottle of Reaper Miniature’s Black Primer and painted it directly onto the miniature. When it comes to primer, there’s black or white (some places offer gray too, but you can just mix that yourself if you really want it). Different people have different preferences when it comes to which primer they use. Because acrylic paints are semi-transparent, choosing a white primer is going to make your miniature look brighter while choosing a black primer will make them look darker and somewhat dirtier. I choose black over white for two reasons: 1) if I miss a spot, its black, so it looks like a spot of well-intended shading rather than a blatant error and 2) I prefer the shadowy look to the super brightly colored look that white primer creates. I also tend to paint my base (which you’ll recall is a wooden Warsenal base) black as well because it allows them to match the black-based Pathfinder Battles minis and the black-based Pathfinder Pawns minis. I’m sort
 of OCD like that.
Once I’ve gotten my miniature all nice and primed up, I typically need to wait around 5 to 10 minutes. How long a miniature takes to dry often depends on how humid the area that you’re painting is, so painting in a place that’s less humid will often result in a faster turnaround time between coats. I like to call the next step of the painting process, “blocking,” as you essentially take a thick, unwatered base coat and “block” in
areas of color on your mini. For my bloodrager, I’m using the following Reaper Minis paints: Carrot Top Red (red-orange), True Blue (light blue), Snow Gray (light gray), Earth Brown (brown), and a little bit of Buckskin Pale (yellow). The idea with block painting is to get a coat down in an area in order to have a base pigmentation that will be modified by whatever paint layers you put on top of it. Its important to abstain from using water during this step; water will dilute the paint by spreading the pigment out and causing it to clump together. The net result of using water this early on in the painting process is that you’ll have a black/white area (whatever primer you chose) that is slightly tinted with your color. And as a matter of fact, that might happen even if you DO abstain from water. It happened when I put down the layer of light 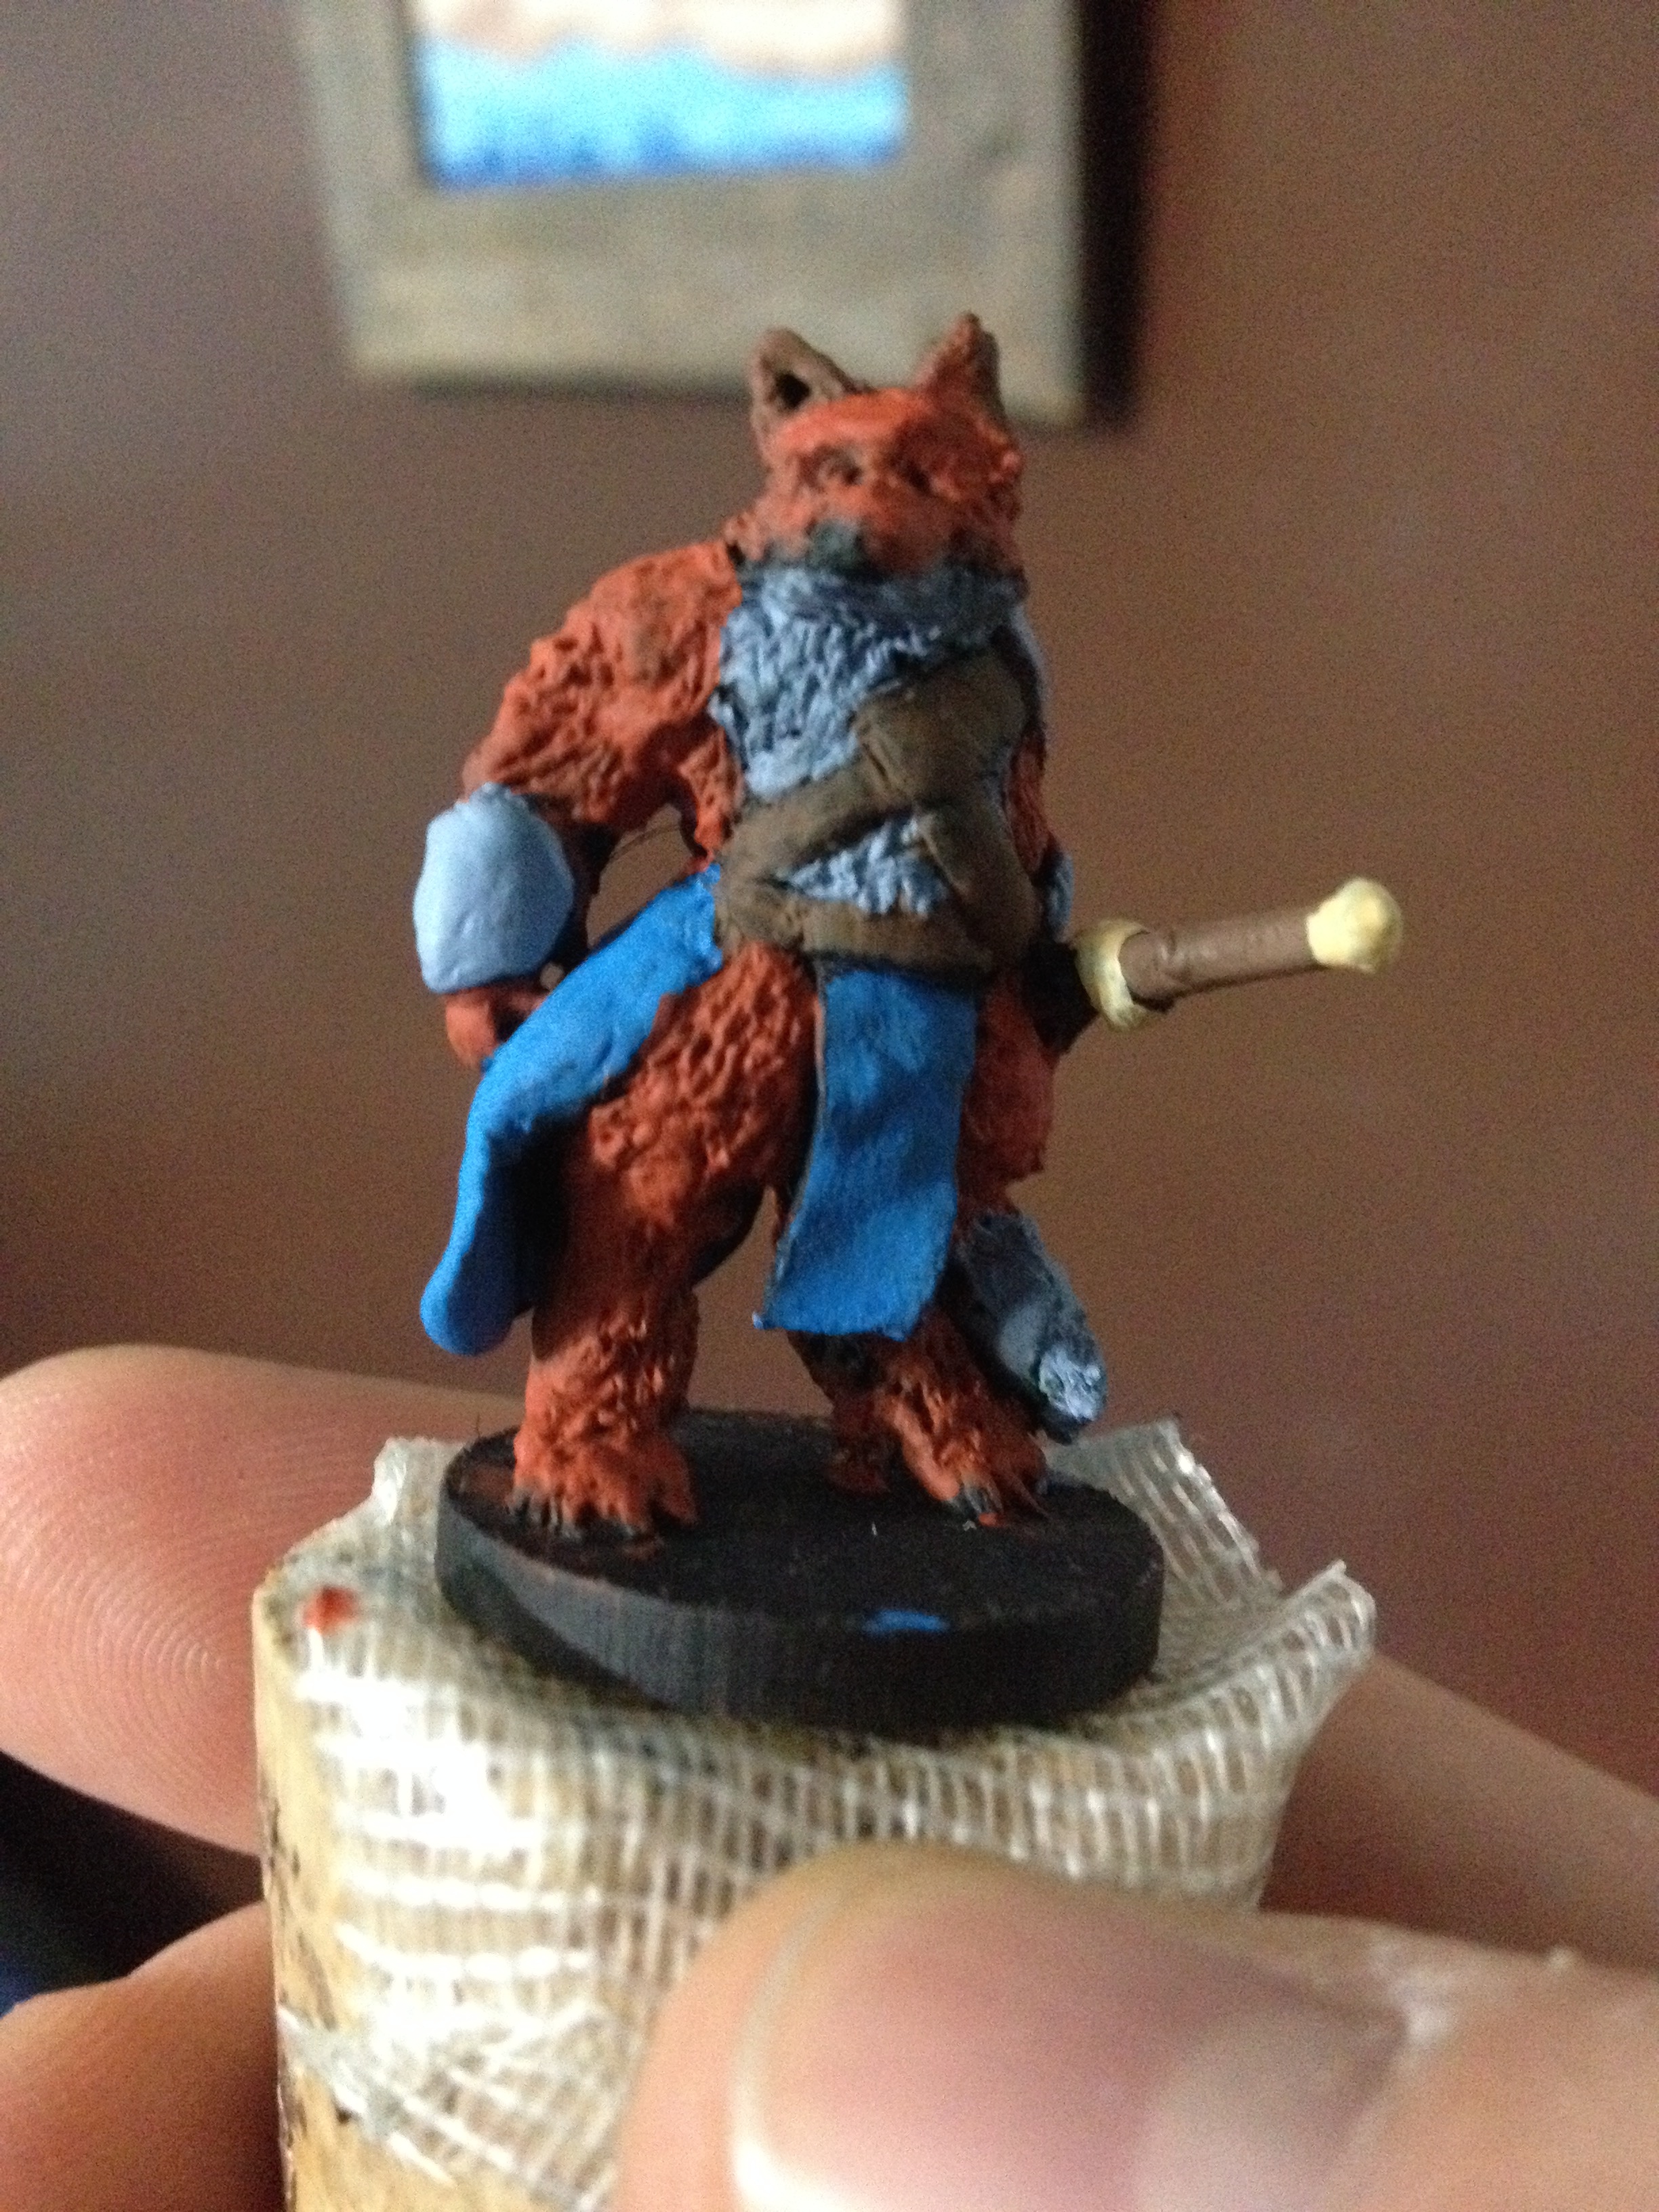 blue on my bloodrager. So what I did was wait for the thin layer to dry completely, and then painted a second layer on top of it. Don’t be afraid to do this as much as you need to in order to get the base shade that you want. (Although this is one of the places that the Citadel paint brand really shines; their base paints are FANTASTIC at hyper imposing pigment onto the areas that you want them in.)
Layer 1 — Darks and Metals
When you want to make effective coloring layers on a miniature, the most important rule is to always move from light to dark. As a result, I grabbed some dark colors in order to paint this darker, shadowy layer on top of my base layer. That is, of course, why its ironic that this layer also includes the metallic paints. There are tons of different techniques for painting metallic sheens onto items, but the easiest thing that I’ve ever found are Citadel’s metallic-brand paints. For my bloodrager, I’ve used Runefang Steel (silver) and Runelord Brass (bronze). I started by just painting the stuff on my blades and my armor right from the jar; it looks very intense now, but we’ll be toning it down later.
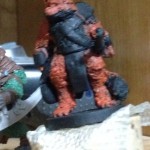
O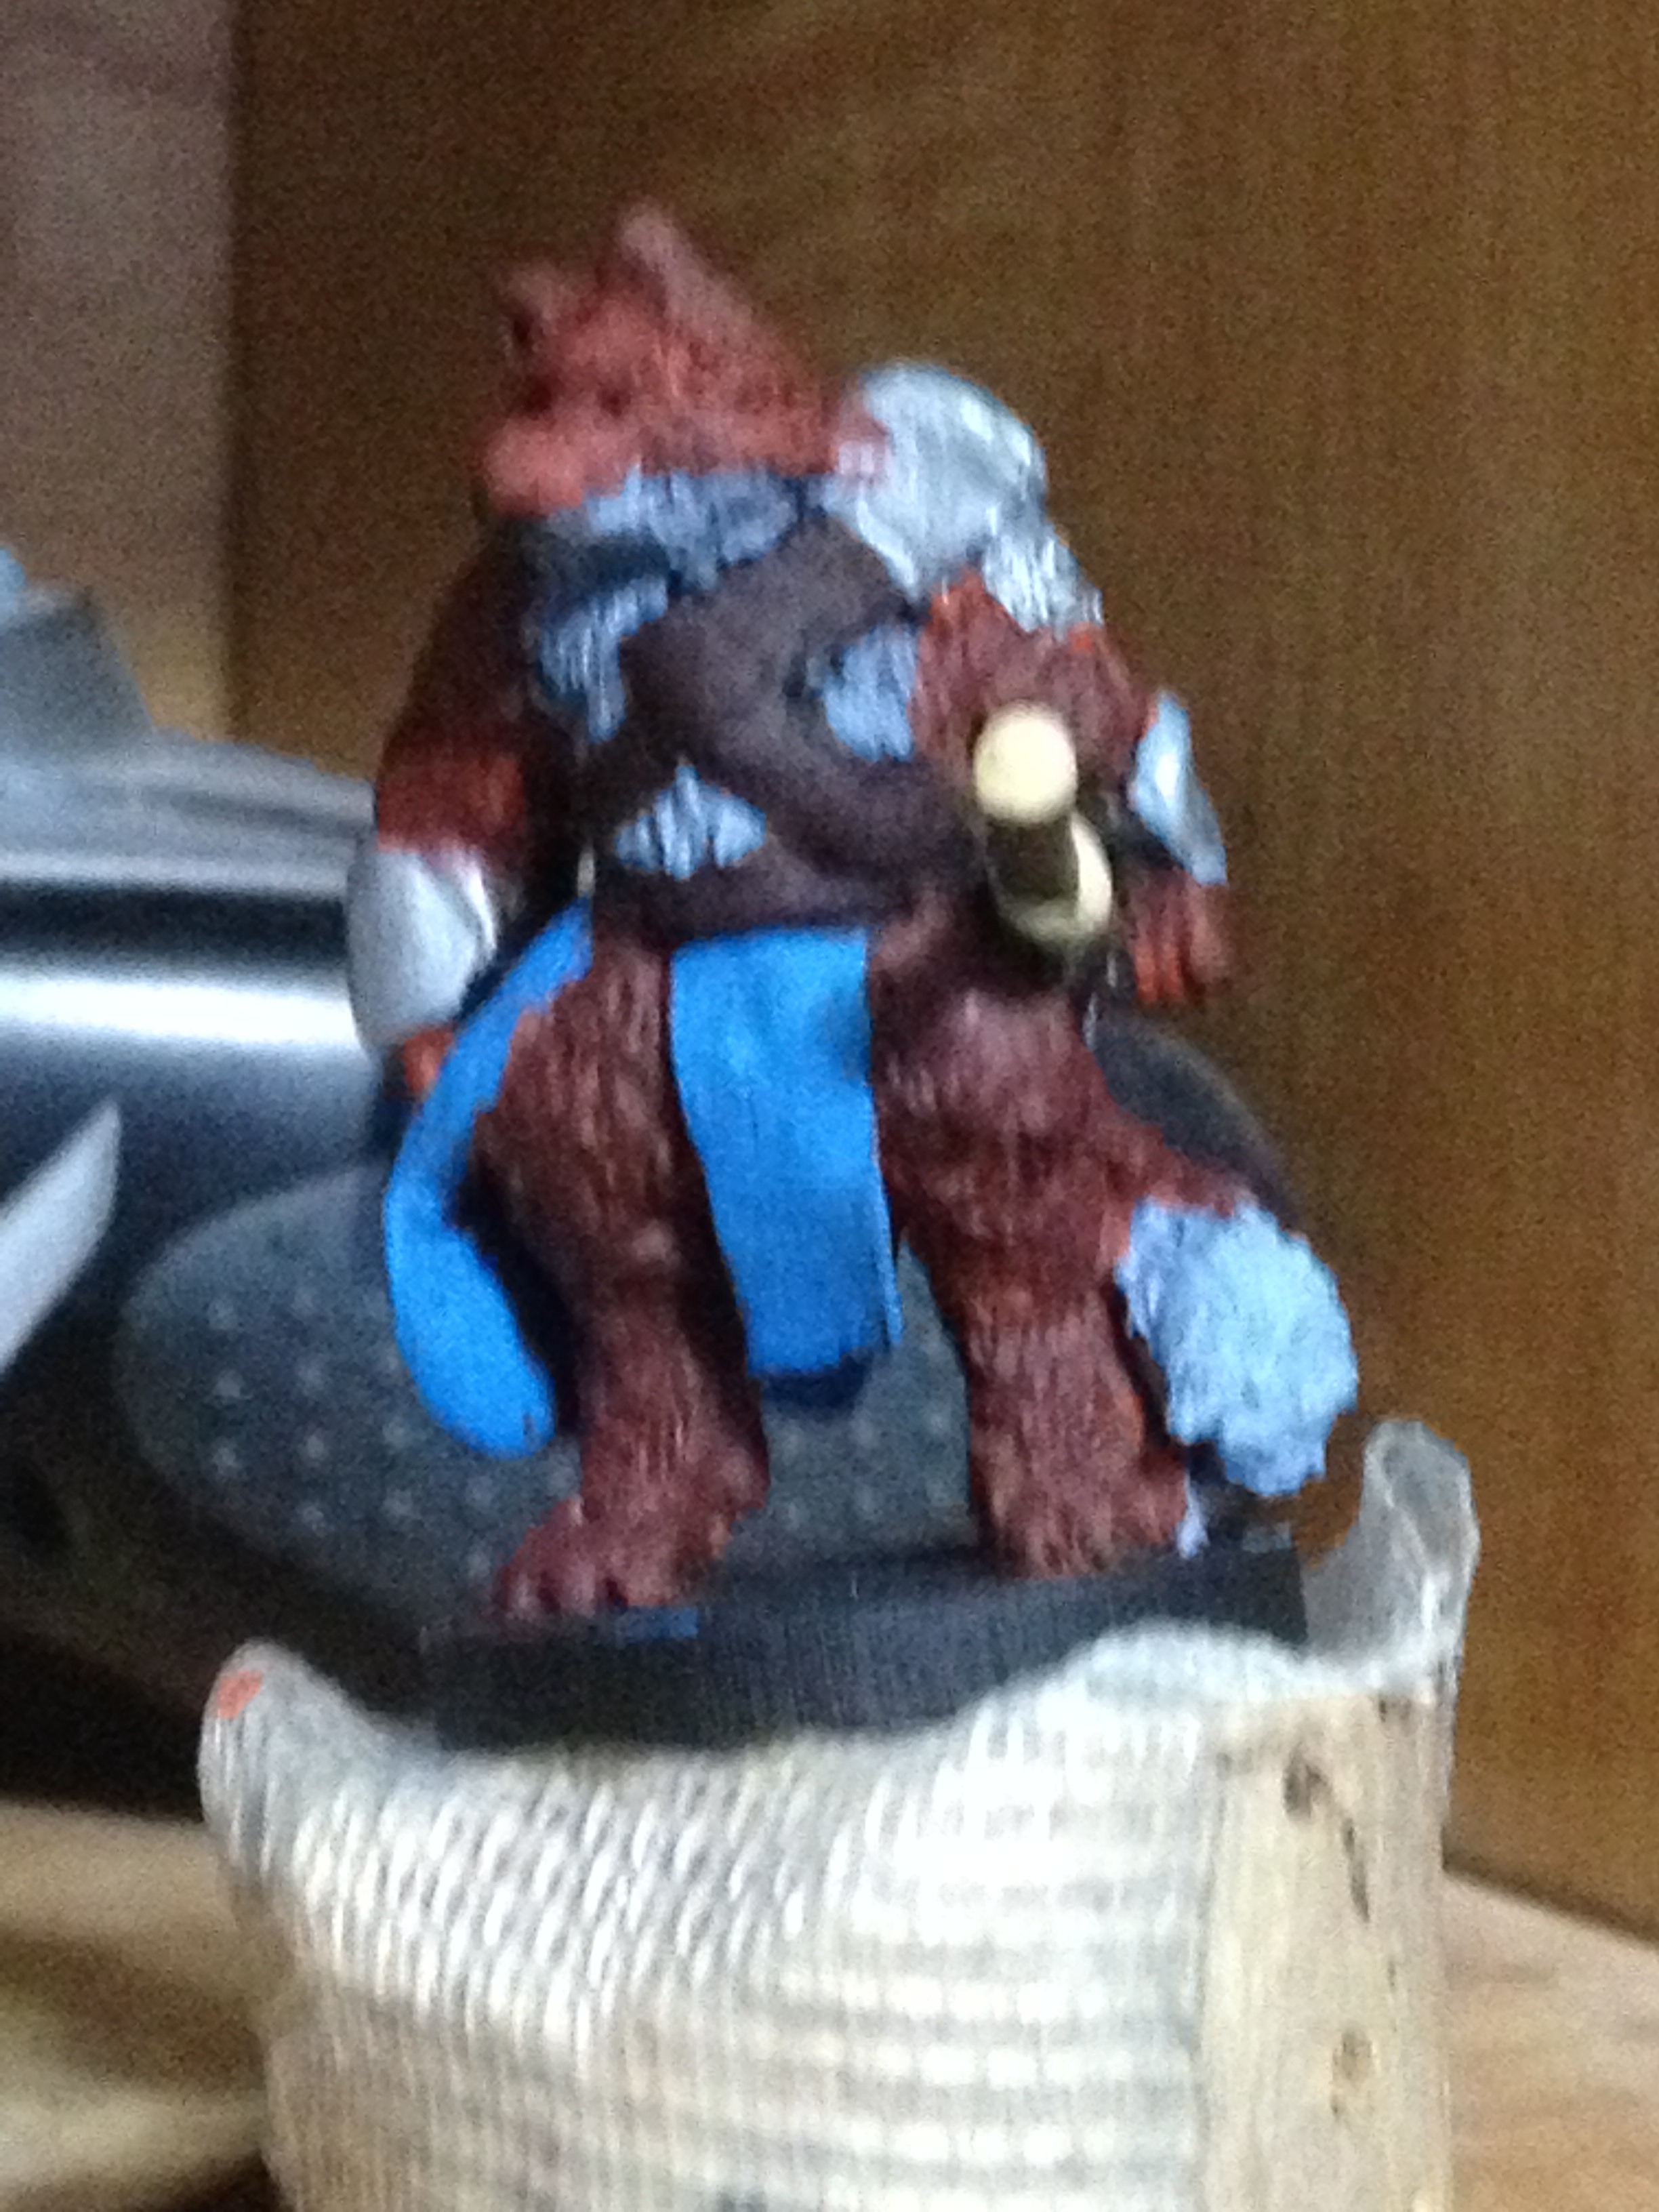 nce the metals were done, I decided that I wanted to start with the leather straps that my character is wearing. I took some of Reaper Mini’s Red Brick paint (deep red-brown) and again, painted it directly overtop of the leathery areas. It did the trick, turning them a dark brown color as soon as they dried. Next, I wanted to make my bloodrager’s fur a darker shade of orange-red, so I took the Red Brick paint and mixed it with the Carrot Top Red paint that I had already painted my model’s fur with. Once they were mixed, I added a few drops of water to the paint to dilute it, allowing the bottom layer to show through better. With my paint ready, I painted over the kitsune’s fur again, watching as it turned into a darker shade. After I was done, I realized that I still had tons of gray on the miniature as a result of the lighter areas that I had left for his chest, lower neck, and tail. I didn’t want to make those areas pure white, that’d be too bright to start with at this stage of the painting. Instead, I grabbed my bottle of Reaper Miniatures Caucasian Flesh and mixed it with a small drop of earth brown. The result was a khaki color that provides a very realistic “not-white” for the bloodrager’s fur. Finally, in order to tone down that bright, pale blue I poured out some of Reaper’s Breonne Blue (dark, royal blue) and mixed it with a drop of water to paint over my bloodrager’s robe, effectively making that brilliant shade darker for now.
Layer 2 – Lights
 With the darks in place, the next step is to place patches of light on the model. This part is both easy and complicated, as it requires a bit of visualization. When you look at your miniature, where would the light strike your model? Where would it not? The places that the light ignores are going to stay the dark color that we’ve chosen from Layer 1 while the places that the light will hit need a lighter color. Remember that in order for this to work well, the new, bright layer needs the older, darker layer to be visible, so for all of these steps I’m including a drop of water in my mixing.
First, I’ve decided to work on the fur. I pulled out a Reaper Mini shade called Rust Brown and painted it on the very center of my mini’s “muscles,” and right in the middle of his legs, along the middle of his tail, and so on. I left the edges of these spots their original, darker color to make the brightness pop. While that dried, I mixed a drop of Buckskin Pale with another Reaper Minis paint, Caucasian Flesh, to make a yellowish/peach color, then mixed that with two drops of Earth Brown. This made a lighter shade of brown that I painted along the center of all the yellow strapless I had on the model, as well as the sword hilt and sheath. Next, I mixed a drop of Caucasian Flesh with one drop of Earth Brown and three drops of Pure White in order to make a brighter shade of fur for my kitsune, which I applied pretty much everywhere save the bottom of the jaw and tail. Finally, not yet satisfied with the mini’s fur, I mixed two drops of Chestnut Brown with two drops of Brick Red and a drop of Black Primer (which has extremely thick pigmentation) 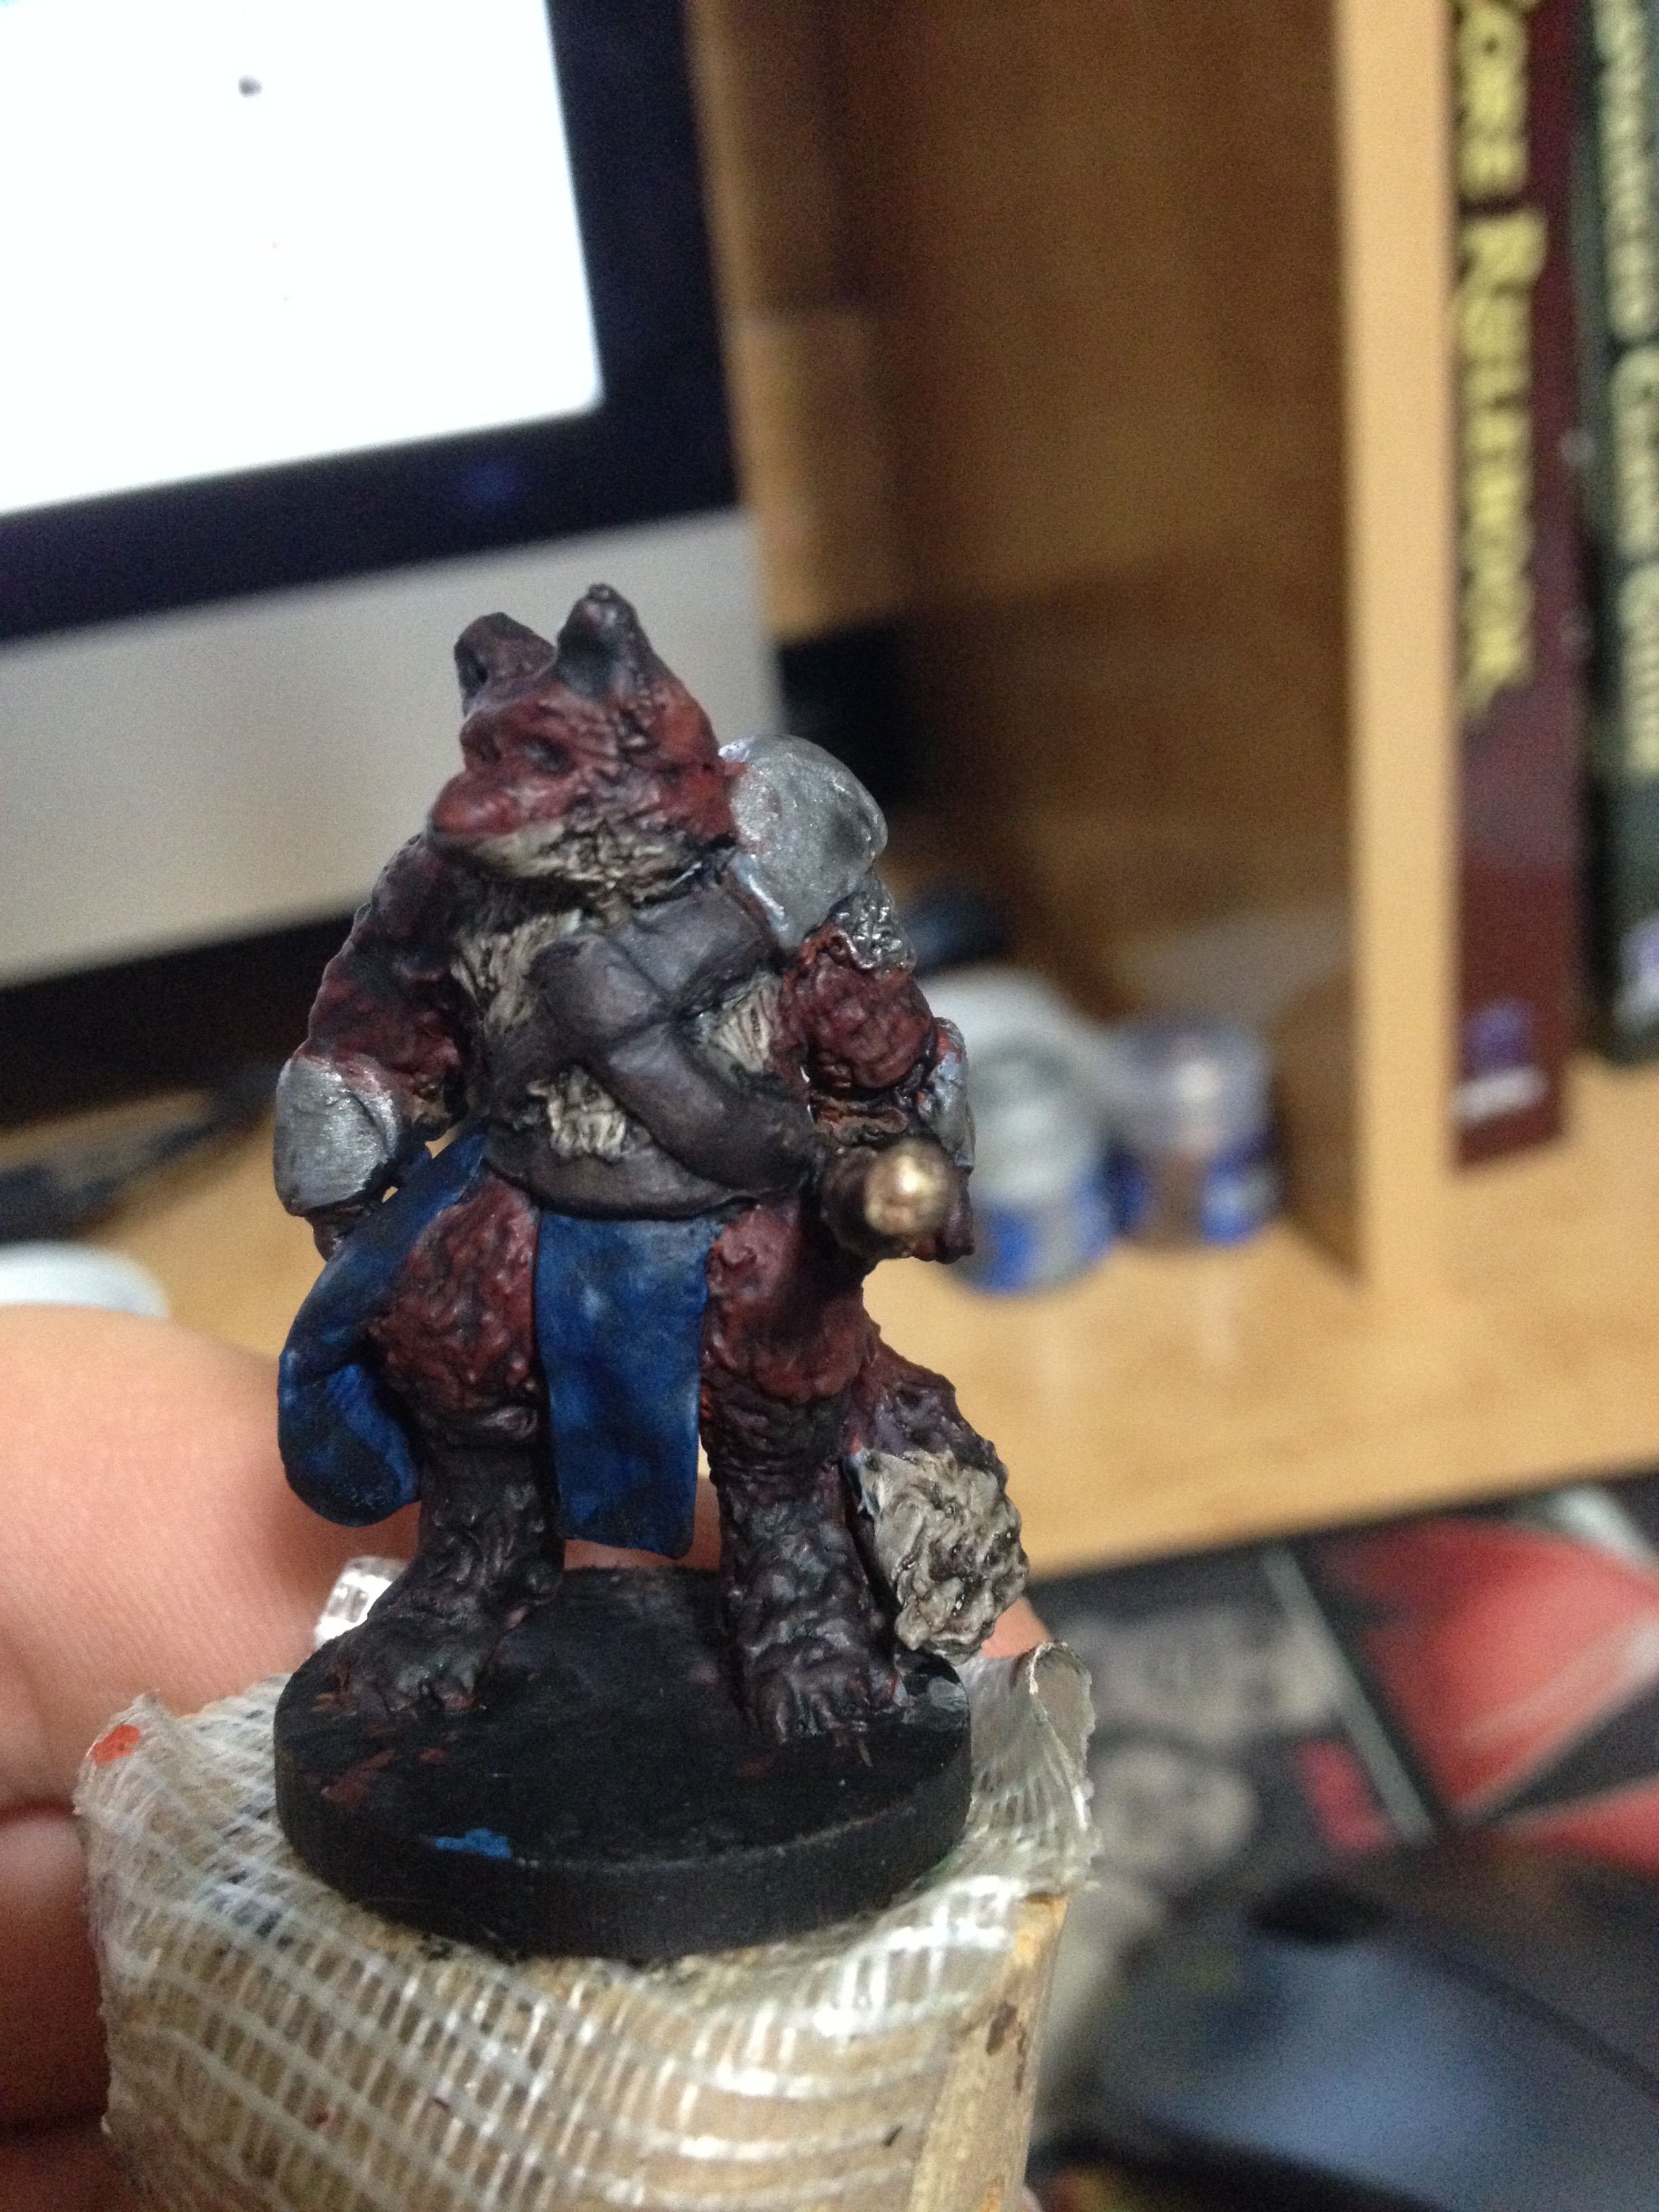 to make a dark brown-ish red for my kitsune’s lower legs, lower arms, and ears. I also put a ring of this shade at the border between the red fur and white fur on the bloodrager’s tail, just to give him a cool fur pattern like you sometimes see on real foxes. After it dried, I took some leftover color and mixed it with one drop of Chestnut Brown and two drops of Pure White to lighten the color up a bit before using it to shade. With my OCD satisfied, I mixed together a drop of True Blue with a drop of Breonne Blue to make a mixture that’ll lighten up my mini’s cloth robes / tabard.
Layer 3 – Wash
Washing is my favorite part of the painting process; it really makes miniatures pop! A wash is basically when you use super watery paints to emphasize your miniature’s details. You can make them yourselves by taking your paints and adding a fair amount of water, but I’m lazy and Citadel makes an awesome product for that: Citadel Washes. I’m using Baal Red, Asurmen Blue, Devlan Mud, and Badab Black. Be warned: these paints STINK.
So using a wash is pretty easy. First, you get a nice brush appropriate for the area that you want to wash and wet it. Then you wring out some of the extra water and apply the wash to the brush. They simply paint the liquidy goodness onto your miniature as carefully as possible. Wait for the mini to dry, then BAM! Wash. You can imagine how I’m going to apply these pretty easy, methinks. First I paint all of the red fur red, then I paint all of the blue cloth blue, then all of the brown leather, the purplish fur, AND all of the whitish-tan areas brown. Doing all of those areas in brown wash will help to unify all of those wildly different colors because all three of those regions were made by mixing Chestnut Brown with something.
And finally, when ALL of those other washes are done and dry … I wash the entire model in Babad black. Every millimeter. Why? The big reason is shadows. Shadows are ALL black ALL over your body, so adding a black wash is going to fill in the cracks and crevices of your miniature with dark shadows. That is, if you’re lucky. It is virtually impossible for an experienced painter to control where wash decides to dry, let alone someone who is just starting out. Be prepared to be frustrated with washing, but when fortune’s on your side you get a fantastic addition to your paint job.
You know, after you sit back and wait for it to finish drying.
Layer 4 – Highlights
 For highlighting, I prefer to use the drybrush technique. Drybrush is exactly what it sounds like: no liquid. You get this effect by putting as little paint on the brush as possible, and then wiping the brush on something (like a palette) in order to leave as little paint on the brush as possible. Then, once the paint literally flakes off of your brush, you lightly brush the paint onto the miniature. This technique is literally the opposite of washing in every possible sense; the idea is to keep the paint dry so it doesn’t fill up all of the cracks on the model’s surface. By combining washing and dry brushing together, you allow the wet wash to deposit ink in the mini’s cracks and the dry brush to flake brighter highlights on the mini’s surface, creating a cool layered shadow effect.
The first type of paint that I’m going to use drybrushing with is the Carrot Top Red, which I’ll be using on my miniature’s fur. The one downside to this technique is that it takes a LONG time after you wet the brush to change colors before you can move to the next one; even the smallest drop of water will prevent you from working for quite some time, so make sure you’re 100% done with a color before moving onto the next one.
Layer 5 – Detailing and Finishing
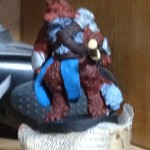
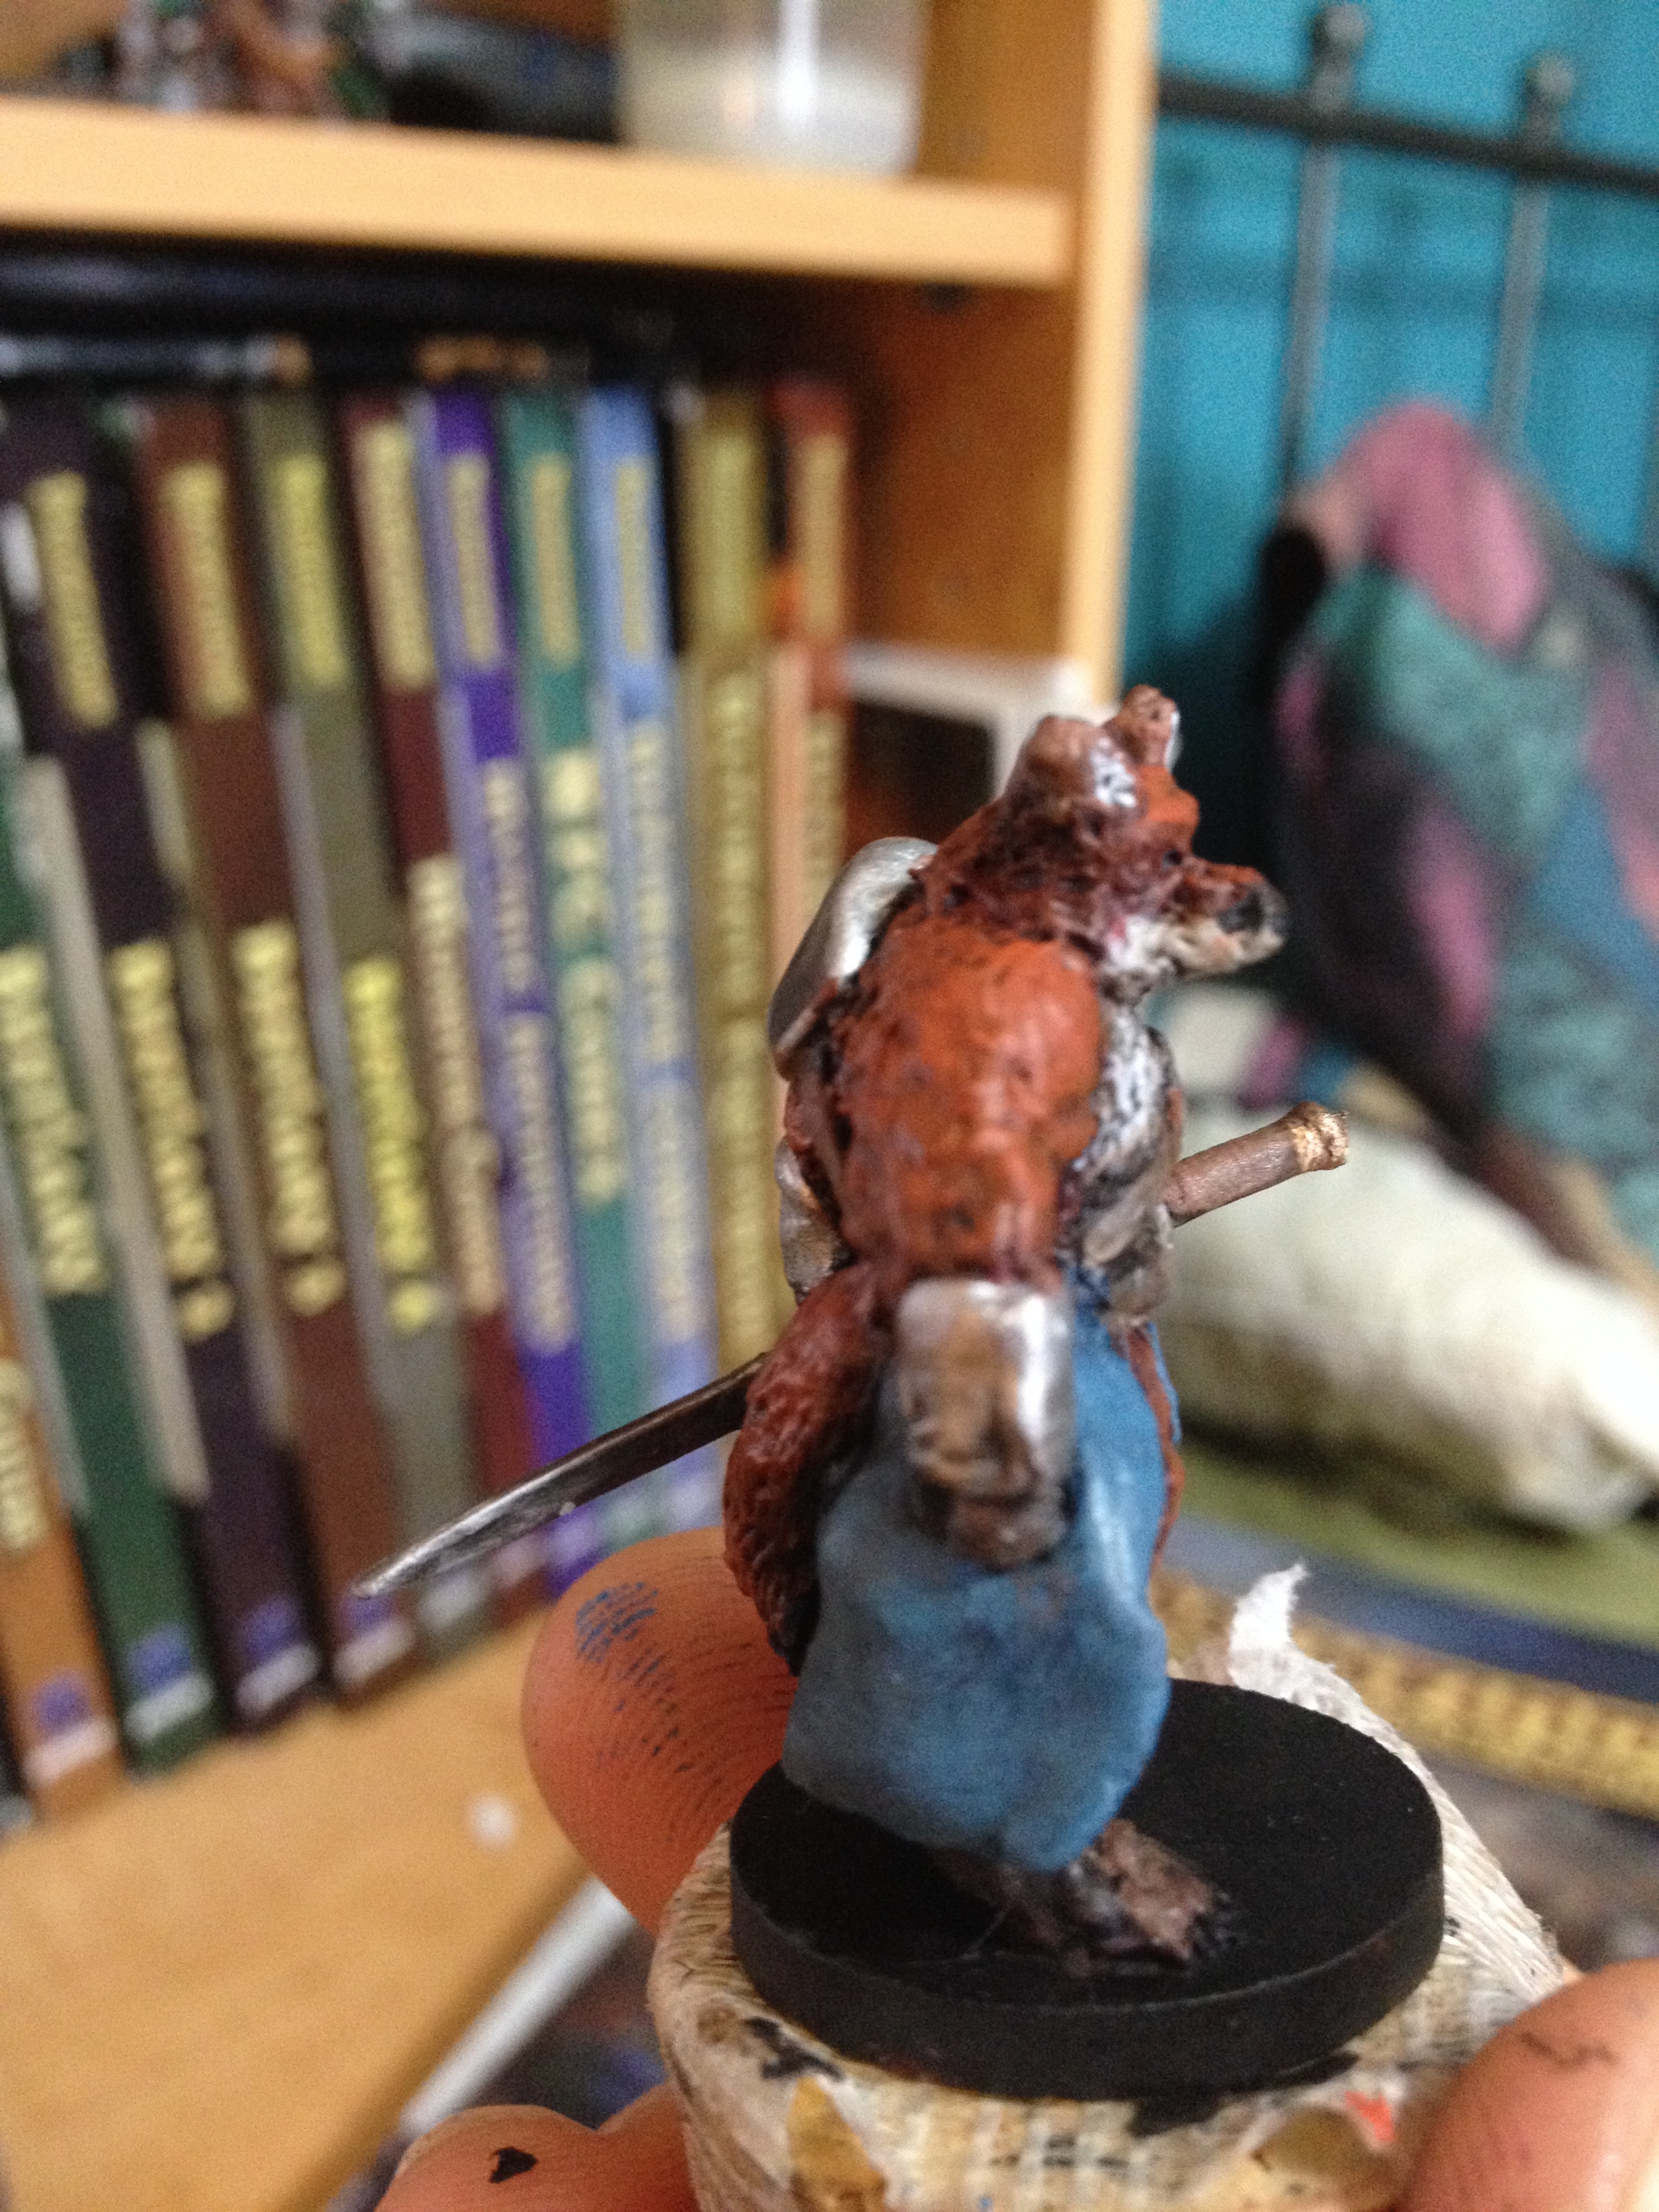 For me, finishing has two major steps: detailing and finishing. Detailing is simple: its basically adding small bits of detail that will help your mini stand out. For my bloodrager, I need to detail in three places: the face, the weapon, and the base. The base is easiest, so I start there. I imagine my kitsune with black nails/claws/whatever, so I take some Pure Black and with my thinnest brush, I lightly color the point of his feet to make them slightly different. When I’m done, I then give my base another coat of black paint to hide any messes that I might have made painting the miniature. Still working with black, I then move up to the kitusne’s face and carefully put a tiny dot of black paint right in the front-facing center of his snout, which’ll act as his nose. Finally, I take out my Runeforge Steel paint again and carefully highlight the edges of my bloodrager’s greatsword with it. This startk, bright color contrasting with the shadowed center of the blade will make the sword look like its been sharpened.
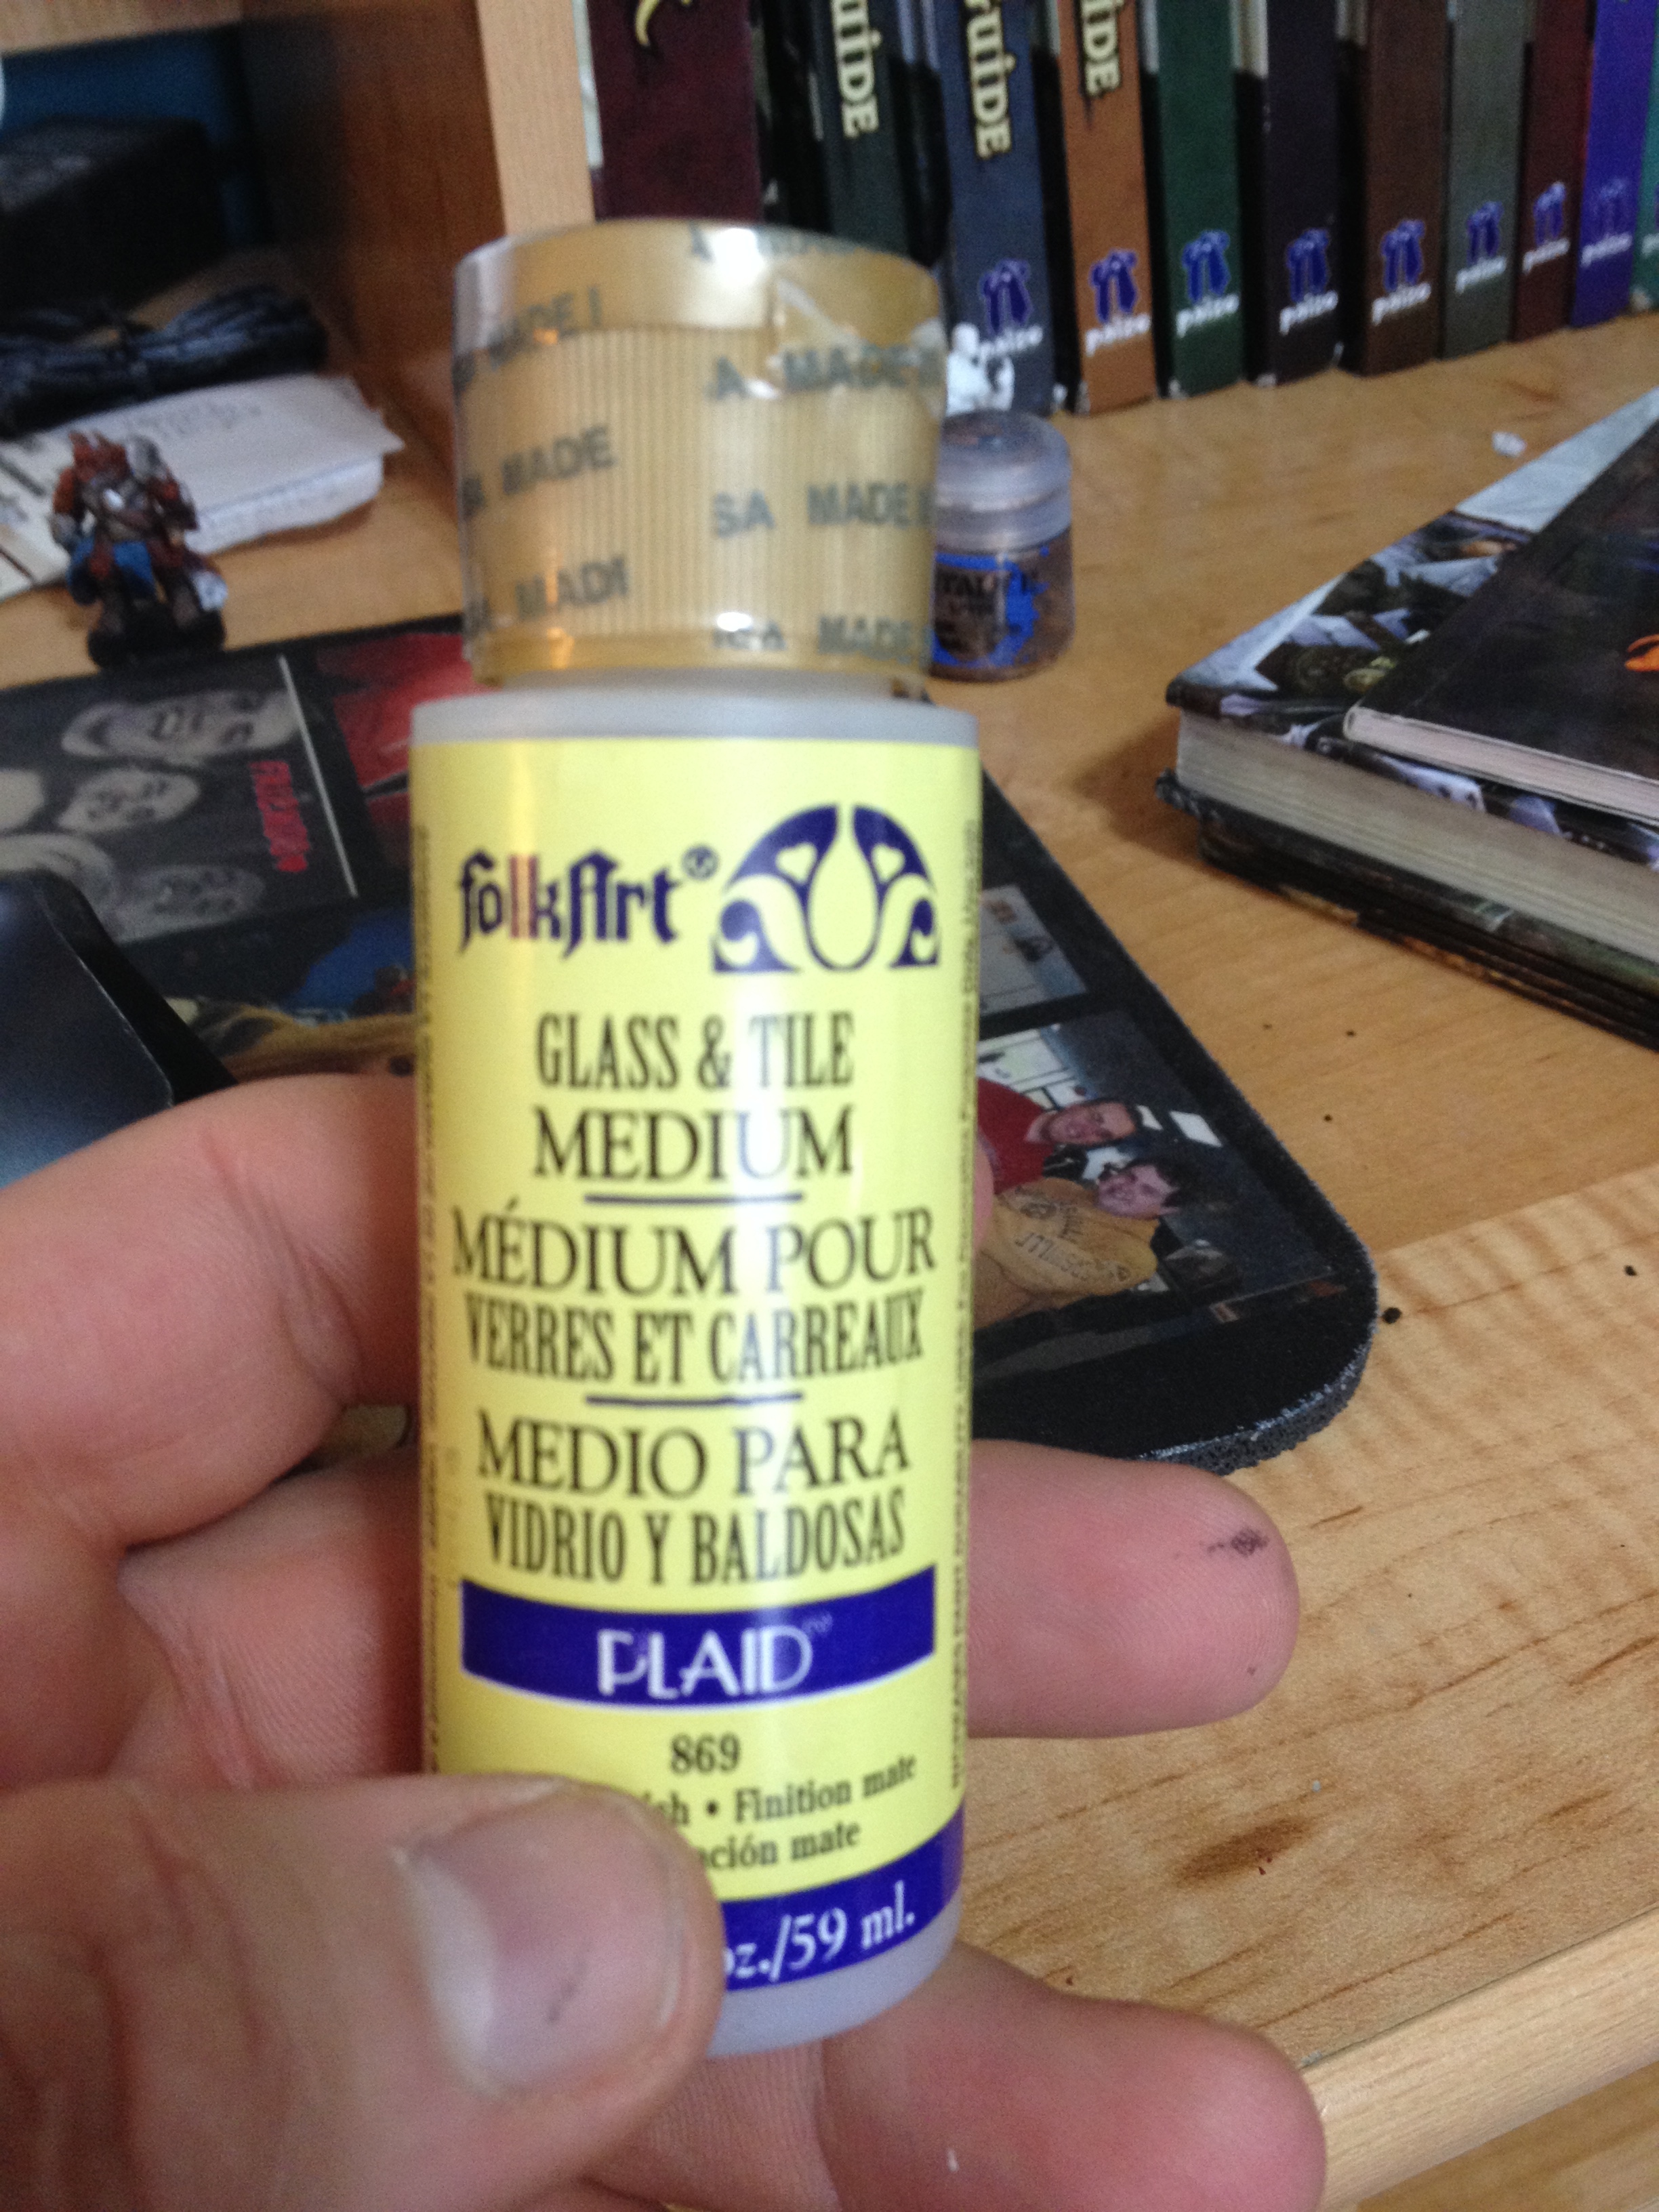
The final step that I use whenever I paint my minis is called matting. In it, I take a small tuberware and fill it about 2/3 of the way with water, and then add about 20 drops of matte finish. I personally use FolkArt’s Glass & Title Medium because its designed to dry transparently, which is what I want. Matte is designed to protect paint from wear-and-tear and color, plus it helps to make the colors a little bit more vibrant. You have to be VERY careful with it, though. If you glob too much of it onto your mini, it’ll dry all clumpy and absolutely RUIN it. That’s why I use 2 parts water to one part matte. I also keep it in a 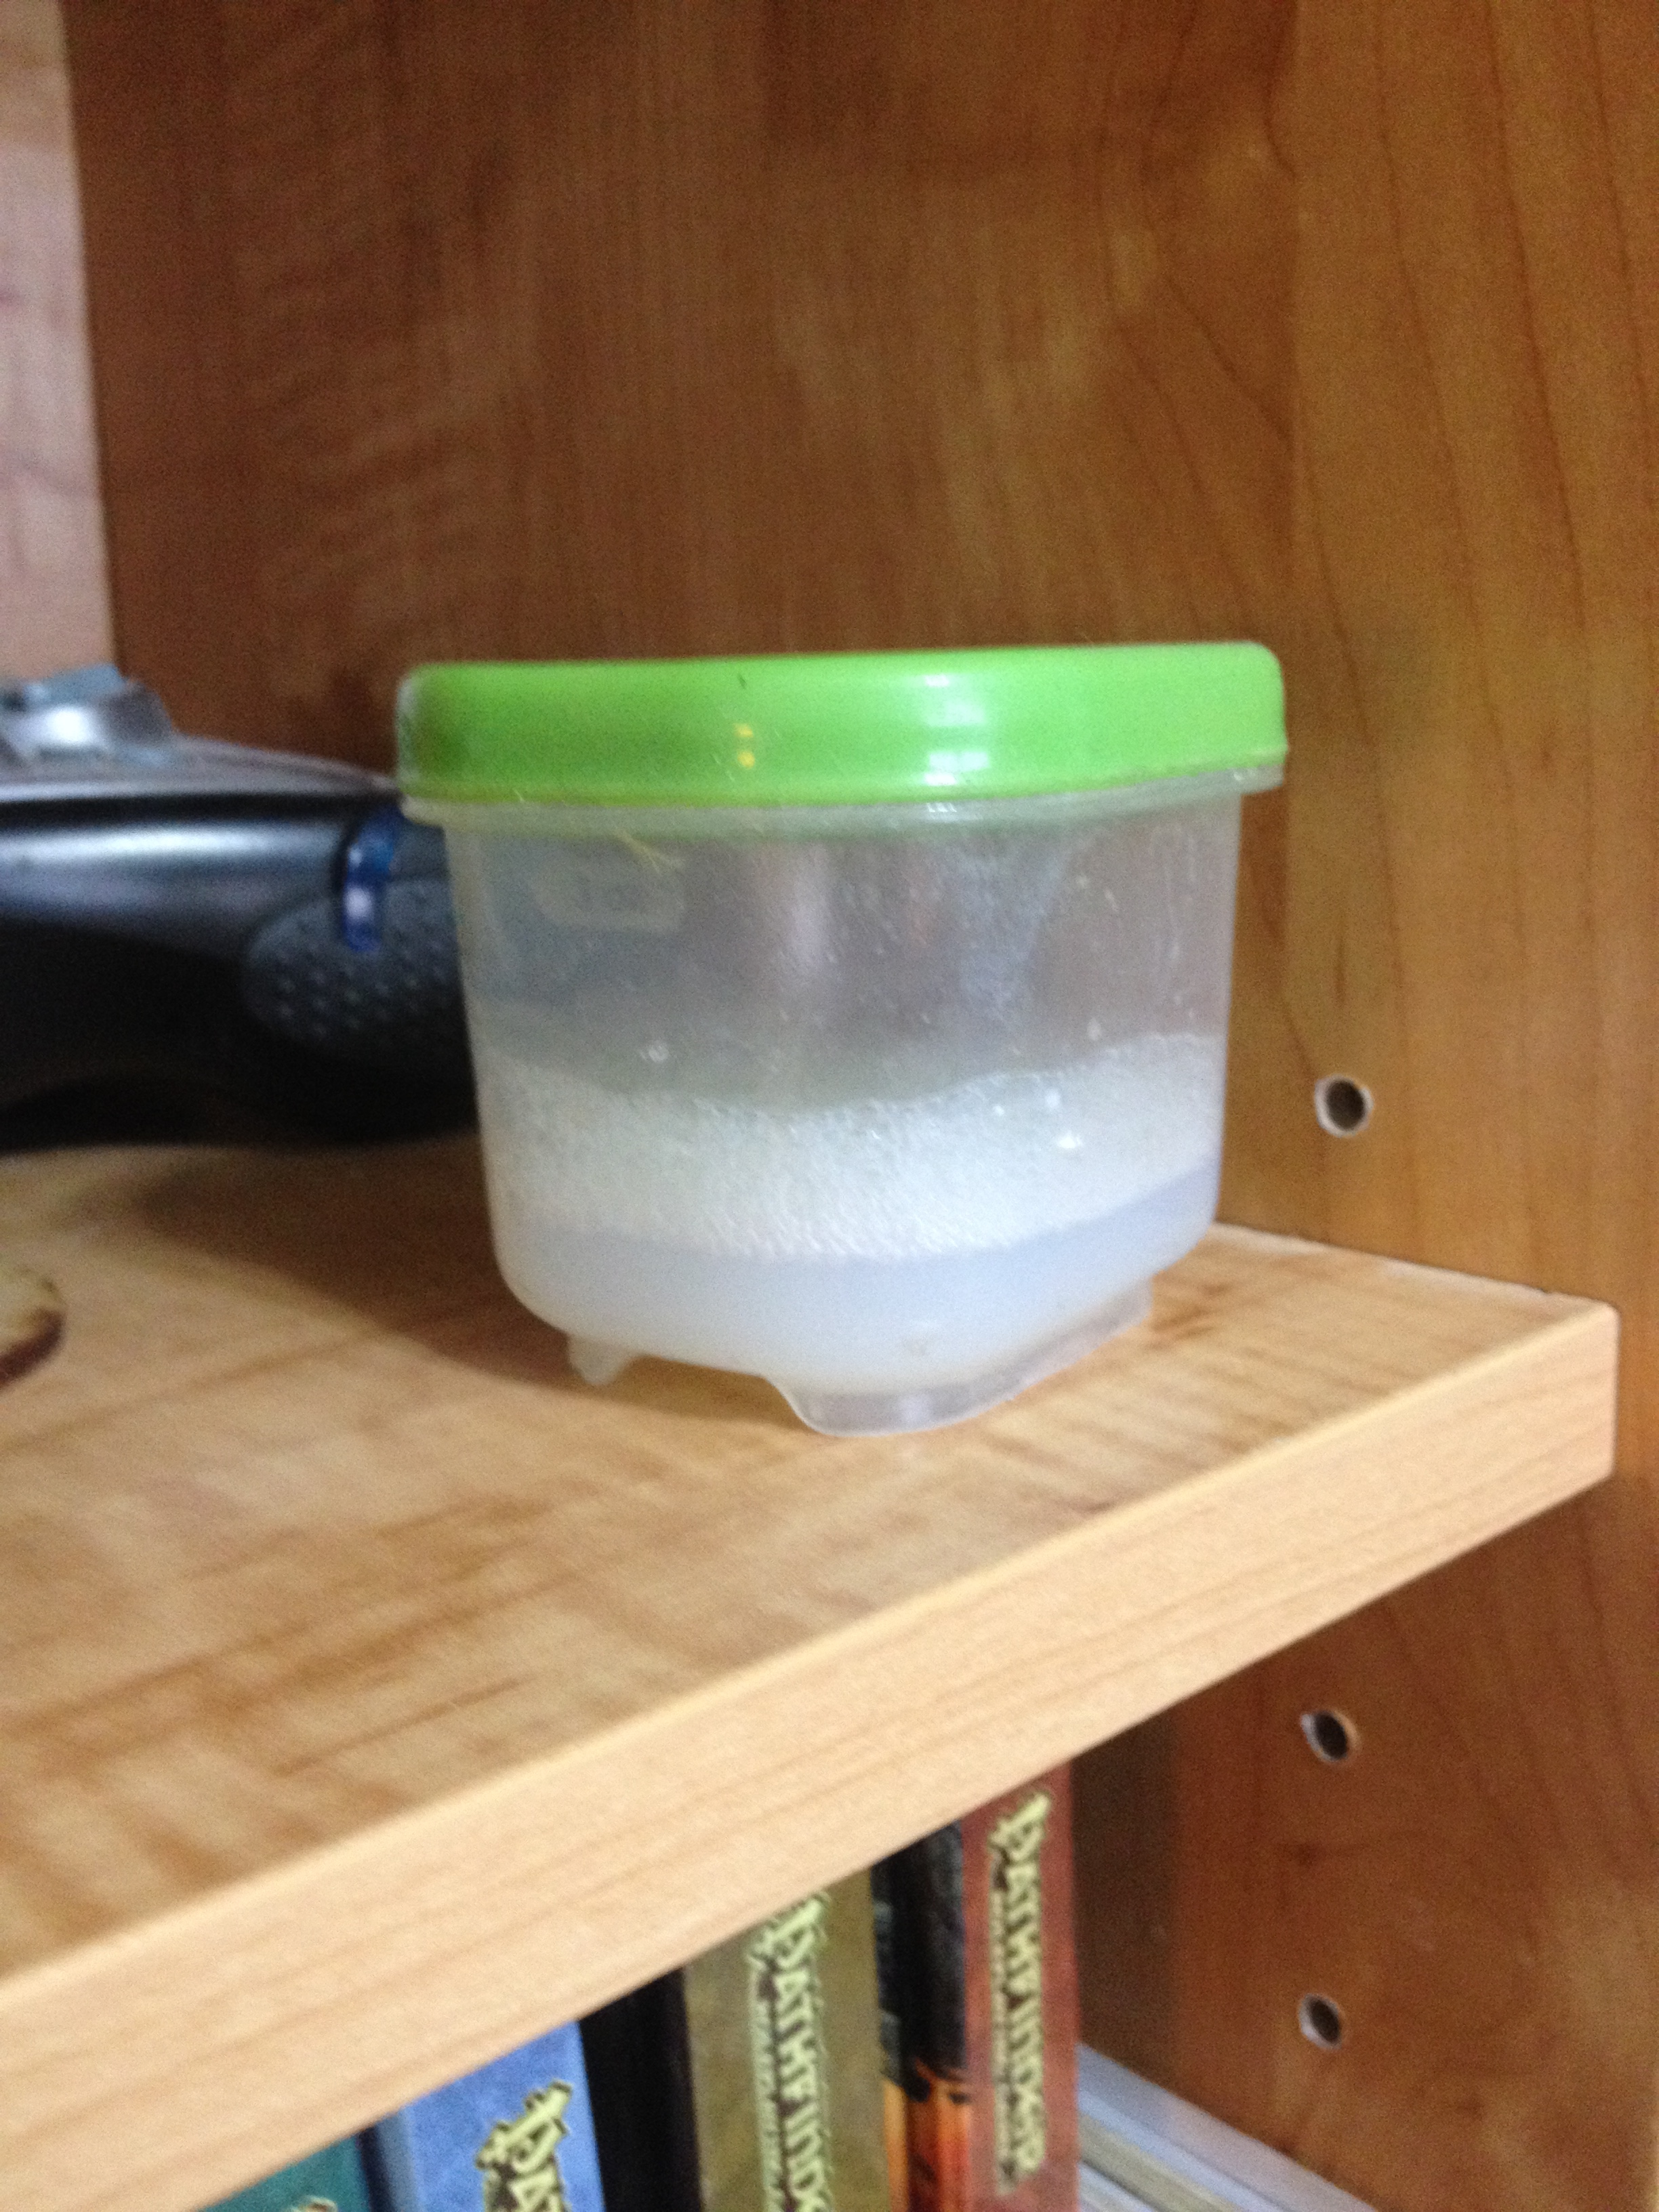 tuberware that I ONLY use for matting and mix it together by shaking it violently; just make sure everything is consistent. When my matte is ready, I simply wet my biggest brush, dip it into the matte/water solution, and slowly paint my miniature with it. It is important to note that you absolutely DO NOT want to use matte like this while ANY part of your miniature is drying. The water can actually reactivate the paint and ruin your paint job, so as a precaution I typically wait overnight (or about eight hours) to do this step. Likely excessive, but I’m cautious.
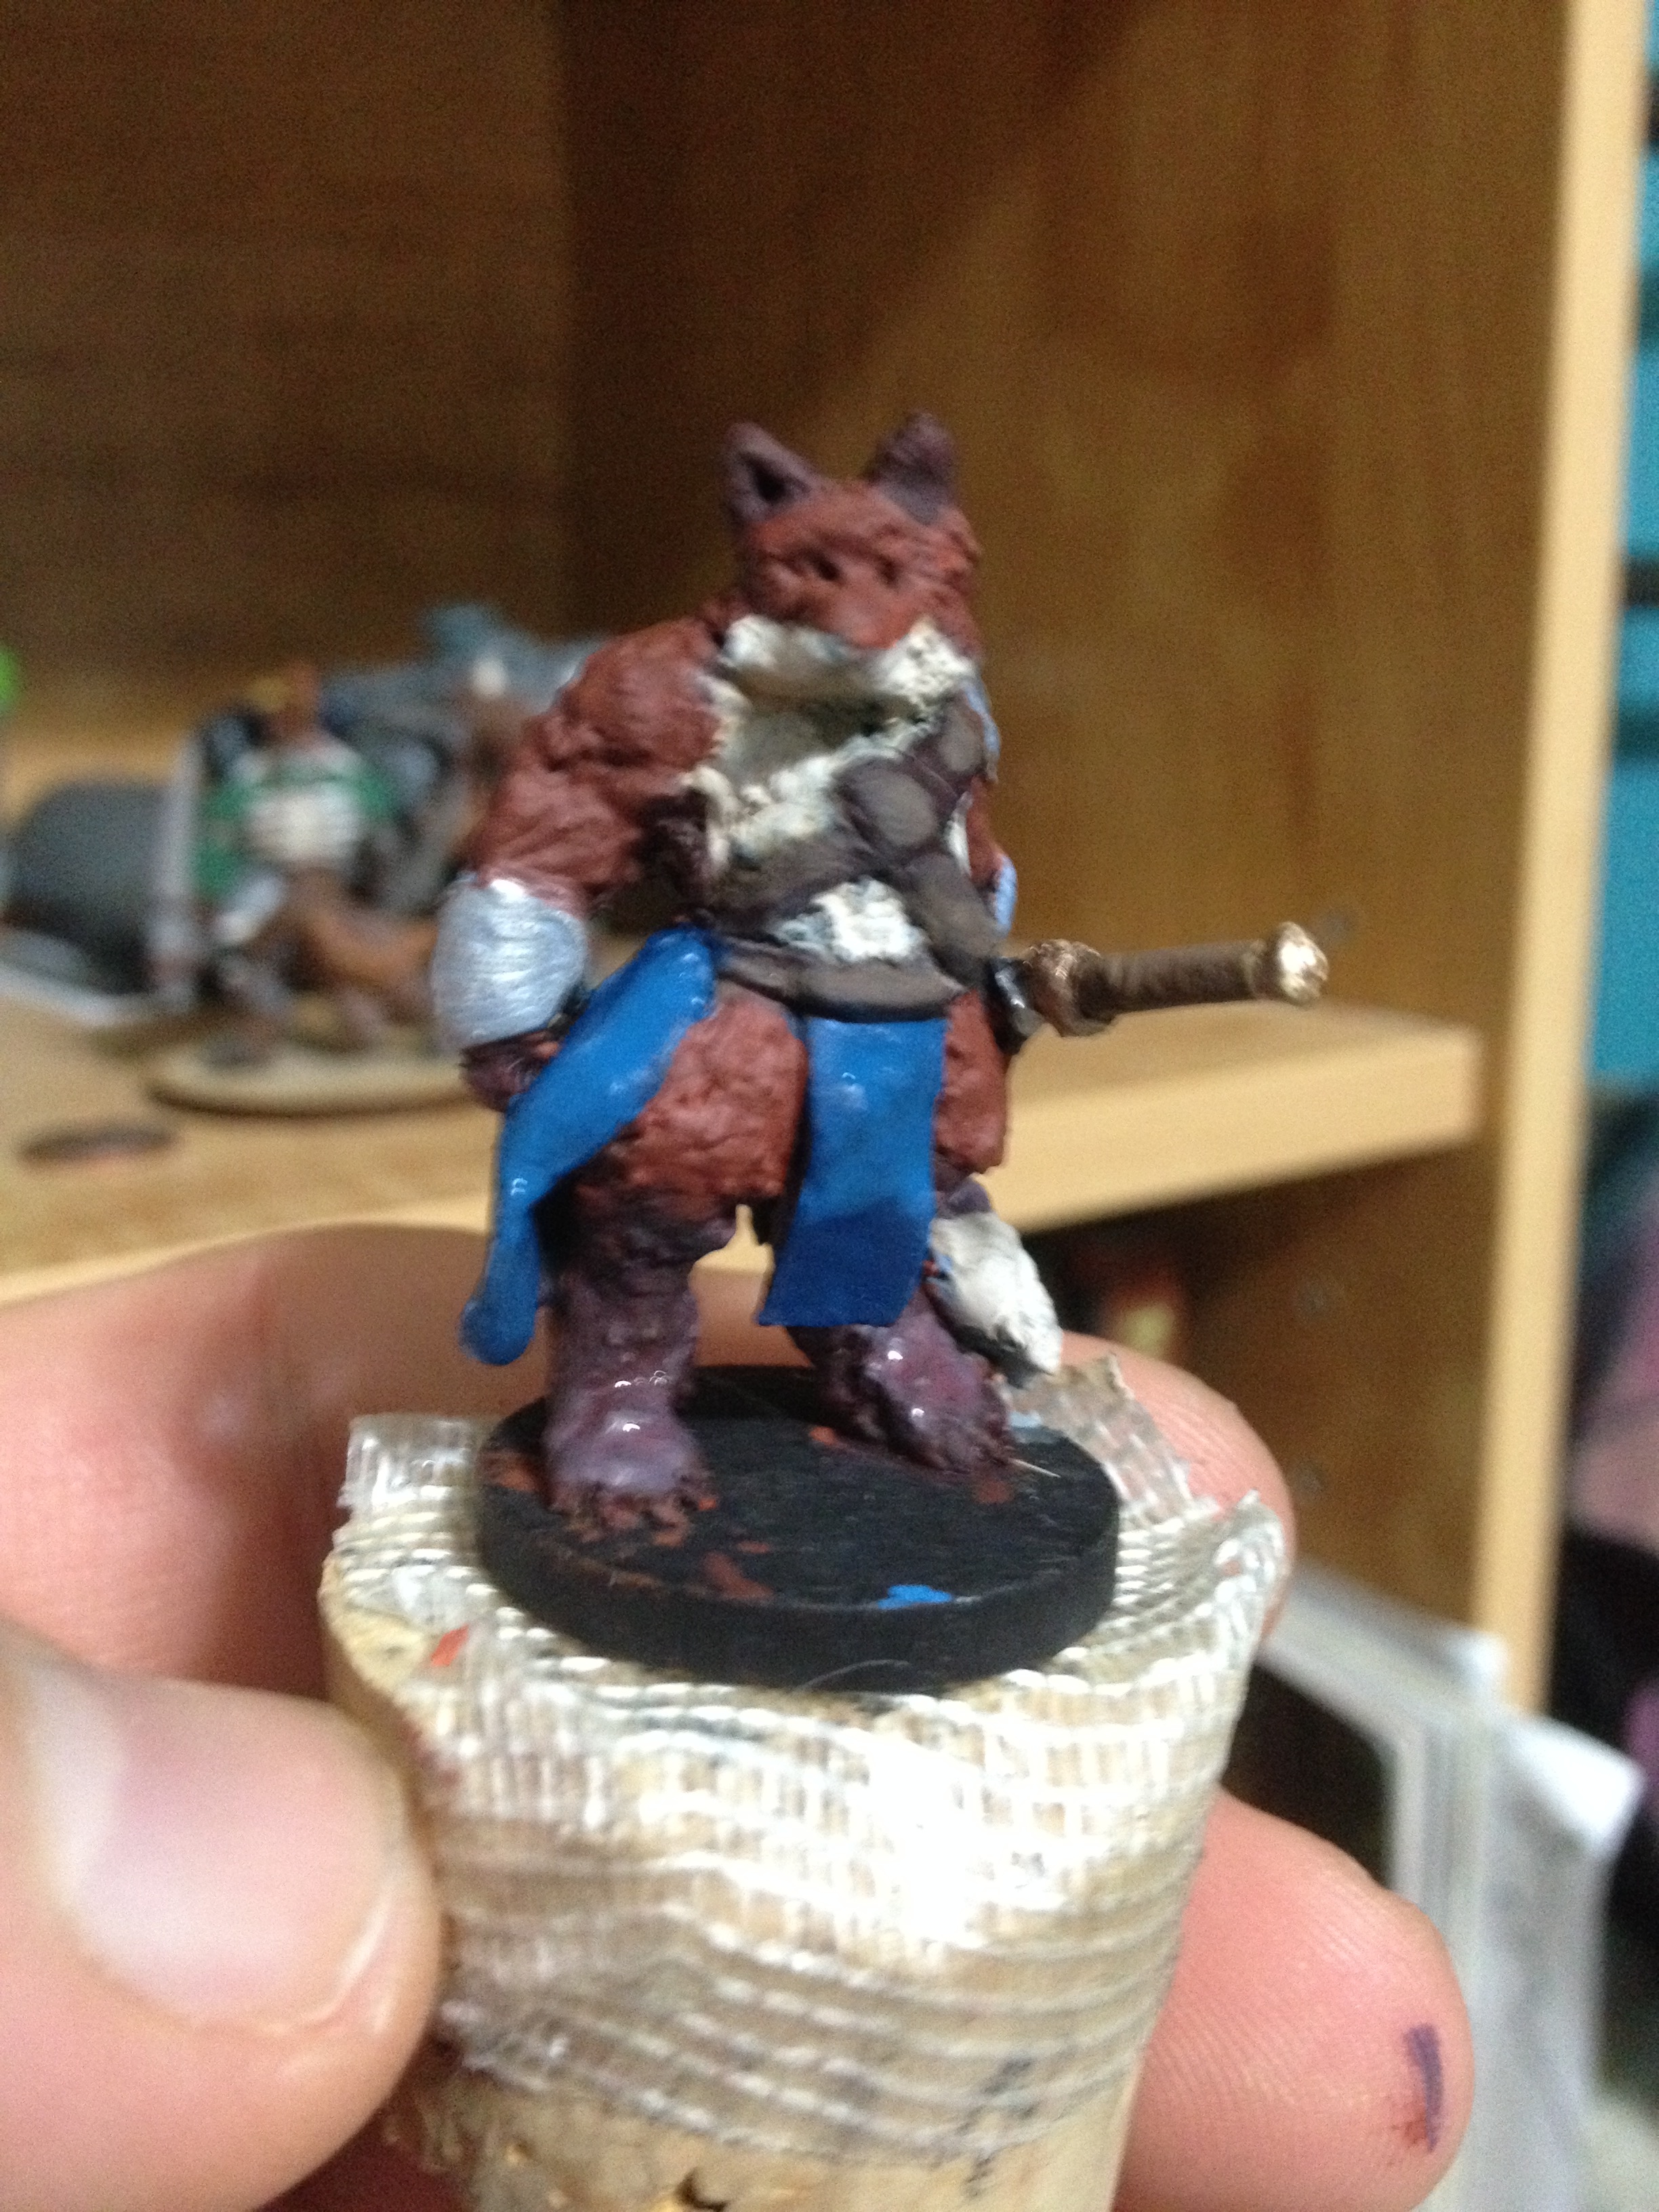
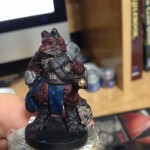
And viola! With that, my bloodrager is DONE! I have a unique model that I hand-crafted to play with at PFS. Now, let’s get one thing clear: is this a magnificent, professional paint job? No, but it functions as my character at a range that I like to call “table view” in that 90% of the time that people see your miniature, its going to be roughly 10 to 12 inches away from them. Your paint jobs don’t need to look professional in order to be good; they need to look and crisp, but most importantly, they need to look good from about 10 to 12 inches away. As you can see from the picture, my bloodrager certainly fulfills that requirement. Besides, do you REALLY want a beautiful masterpiece of a mini at the game table? Where people bring corrosive soda, touch your mini with greasy fingers, and all around violate the natural laws of basic human hygiene?
No, I didn’t think so.
But with that, I’ve officially FINISHED my bloodrager for this segment of Craft Wondrous Item! I actually just got ANOTHER miniature in the mail today, a pewter mini that I’m going to use for my grenadier, Liu Yang. Since sculpting and converting with pewter is a little bit different from sculpting and converting with Reaper Bones material, I was planning on doing a Craft Wondrous Item following his conversion too. But do you want to see me paint Liu as well? Leave your comments and questions below, and I PROMISE that before I come back with another Craft Wondrous Item, I’ll be here with some all-new game content. Next week is going to be fantastic, it’s the GM’s Guide to Lovecraftian Horror. Don’t miss it!
Alexander “Alex” Augunas has been playing roleplaying games since 2007, which isn’t nearly as long as 90% of his colleagues. Alexander is an active freelancer for the Pathfinder Roleplaying Game and is best known as the author of the Pact Magic Unbound series by Radiance House. Alex is the owner of Everyman Gaming, LLC and is often stylized as the Everyman Gamer in honor of Guidance’s original home. Alex’s favorite color is blue and his favorite Pathfinder Race/Class combination is kitsune … well … one more week using this joke couldn’t hurt. BLOODRAGER WAAAAAAAAGH!
-
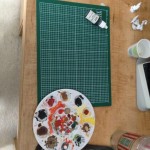
- And now you get to see my new painting mat! Hooray!
-
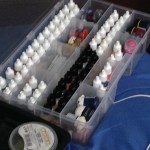
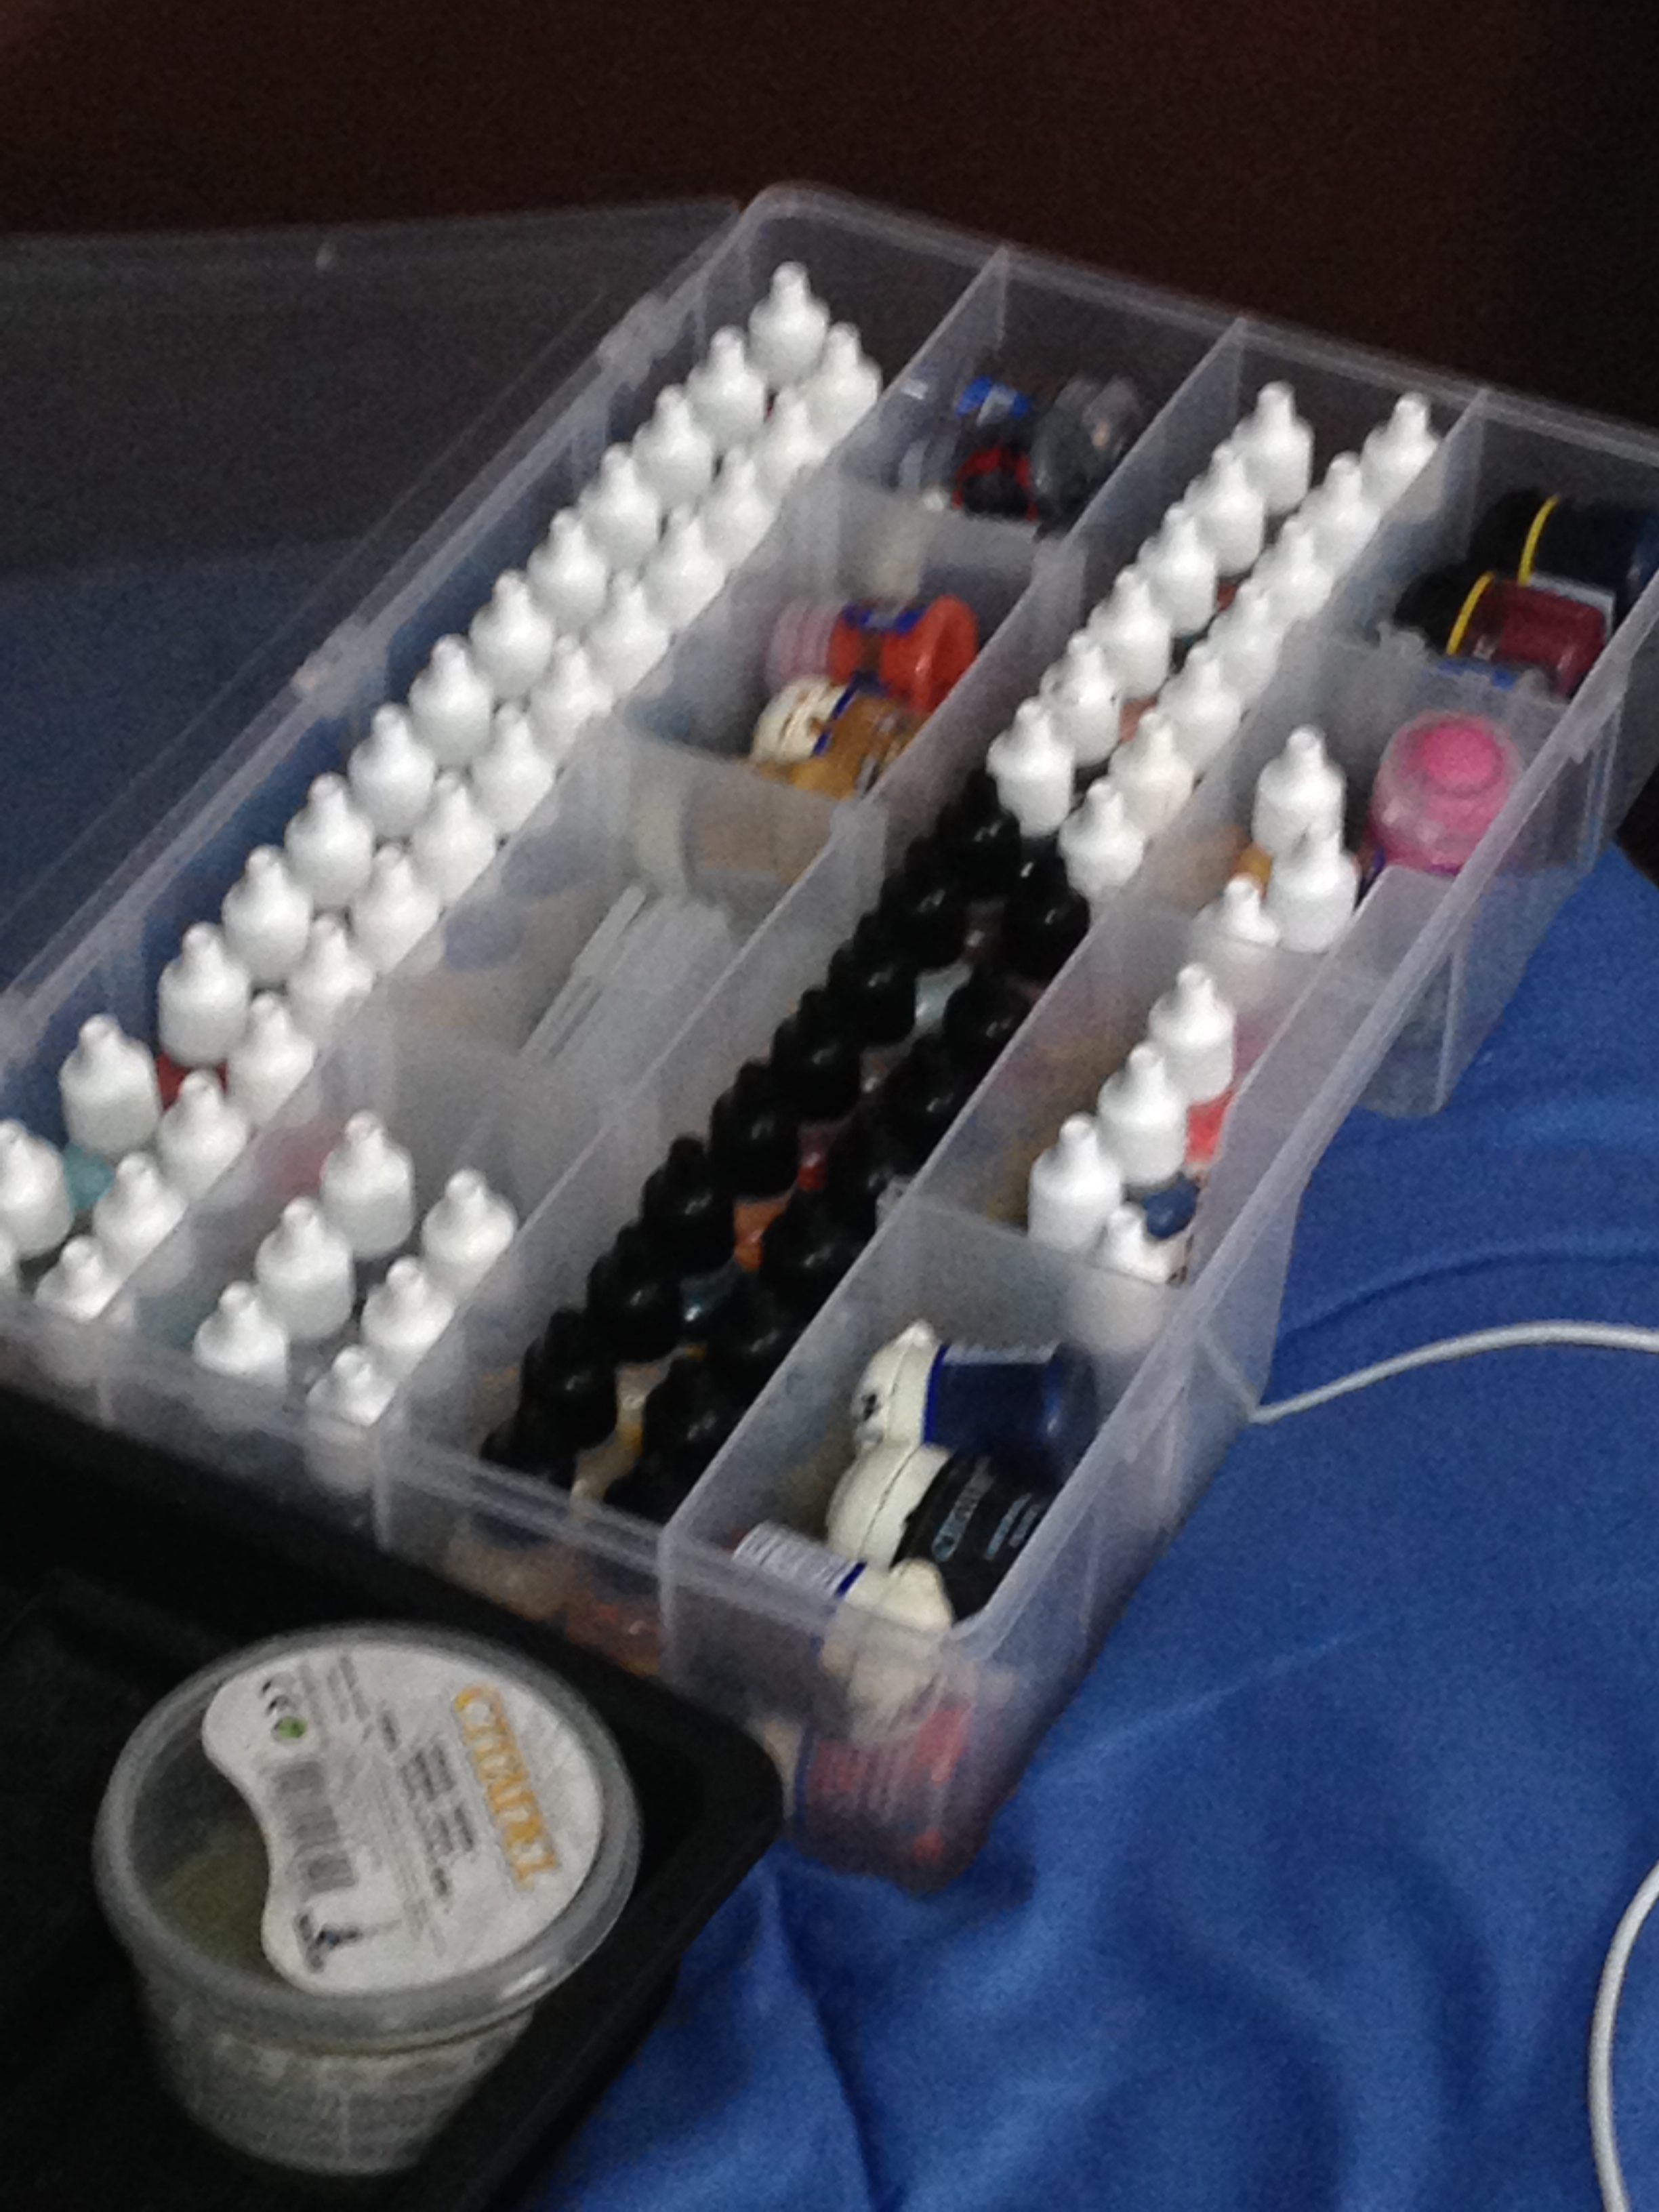
- This is actually only a fraction of my paint collection, but my most used paints are stored here.

-
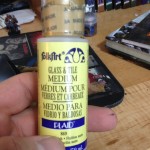
- This is the brand of matte that I use. You need to order it online.
-

- My tuberware of matte.

-
- Added a handle. This aids the conversion!
-
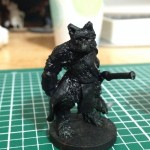
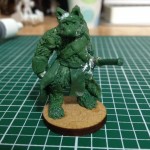
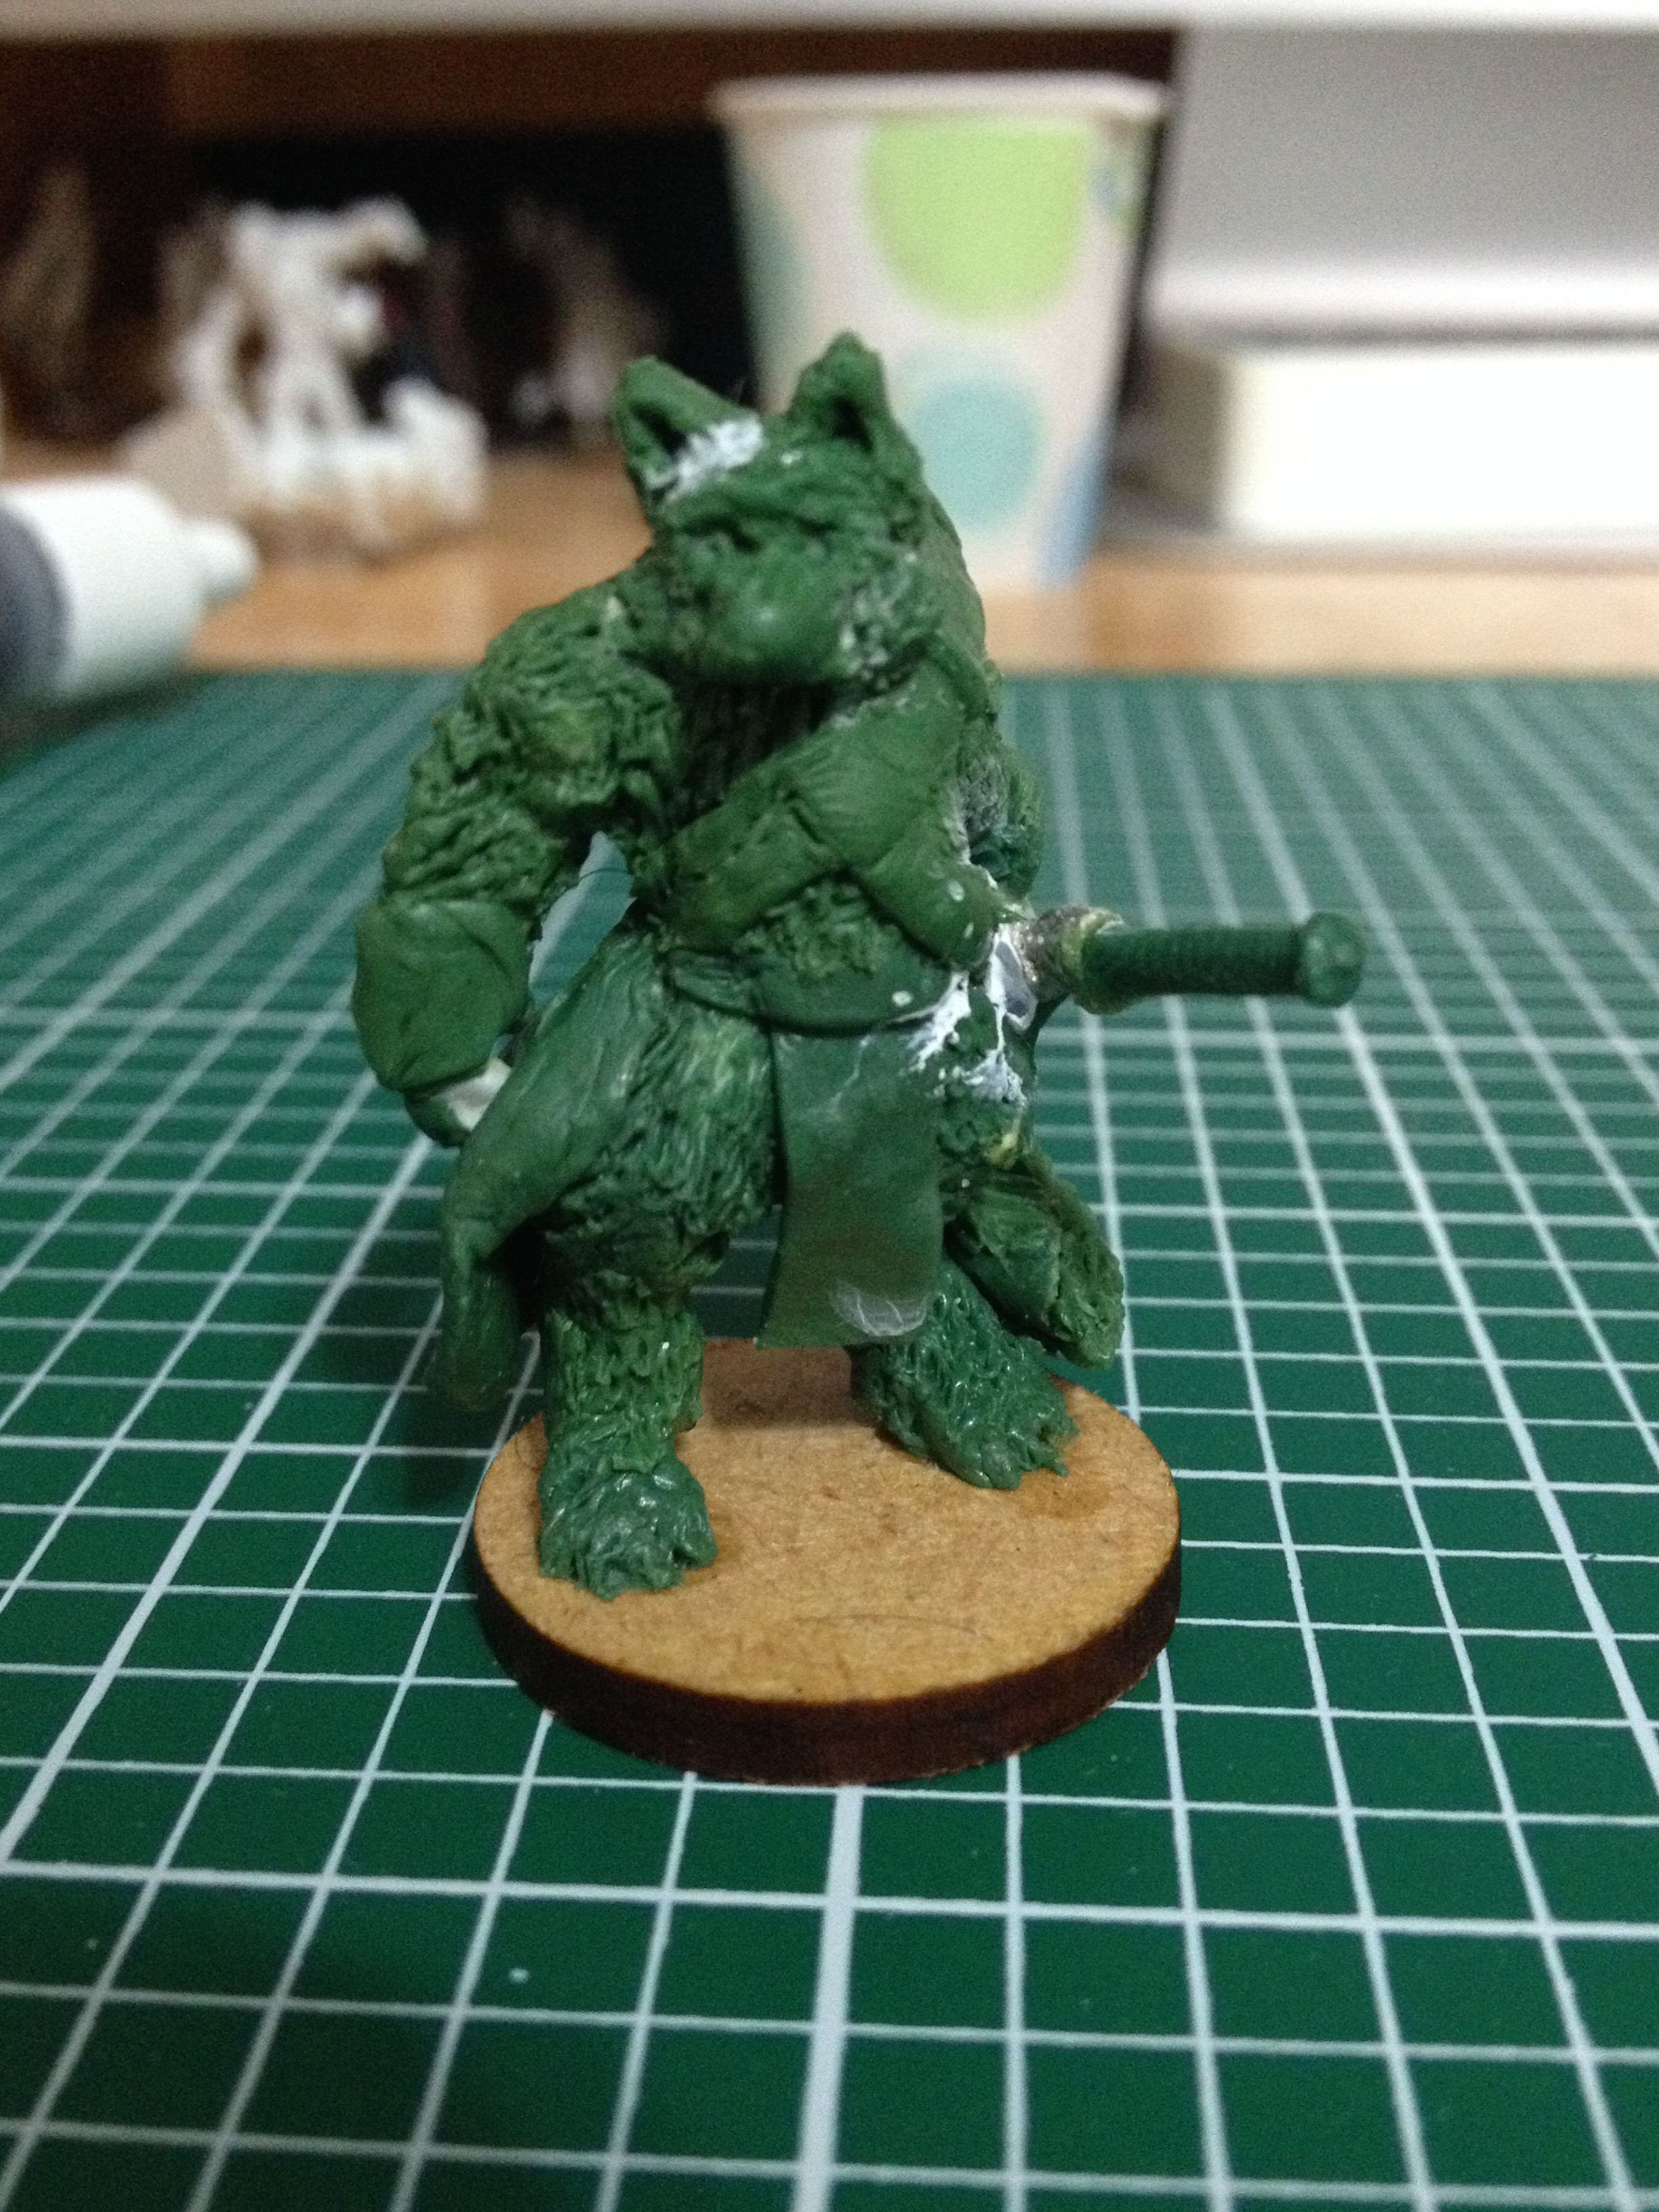
- I see a green fox and I want to paint him black …..

-
- Starting with the Red Fur.

-
- Look how shiny his armor and weapon hilt are! Pay no attention to the blur ….

-
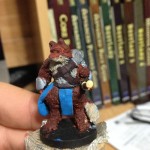
- This is what the mini looks like after he’s been completely color blocked.

-
- I love how his fur is looking in this picture, but this is about where I noticed that the fur on his legs was too light.
-
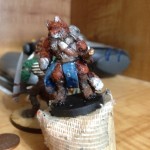
- Lookin’ pretty baller already.
-
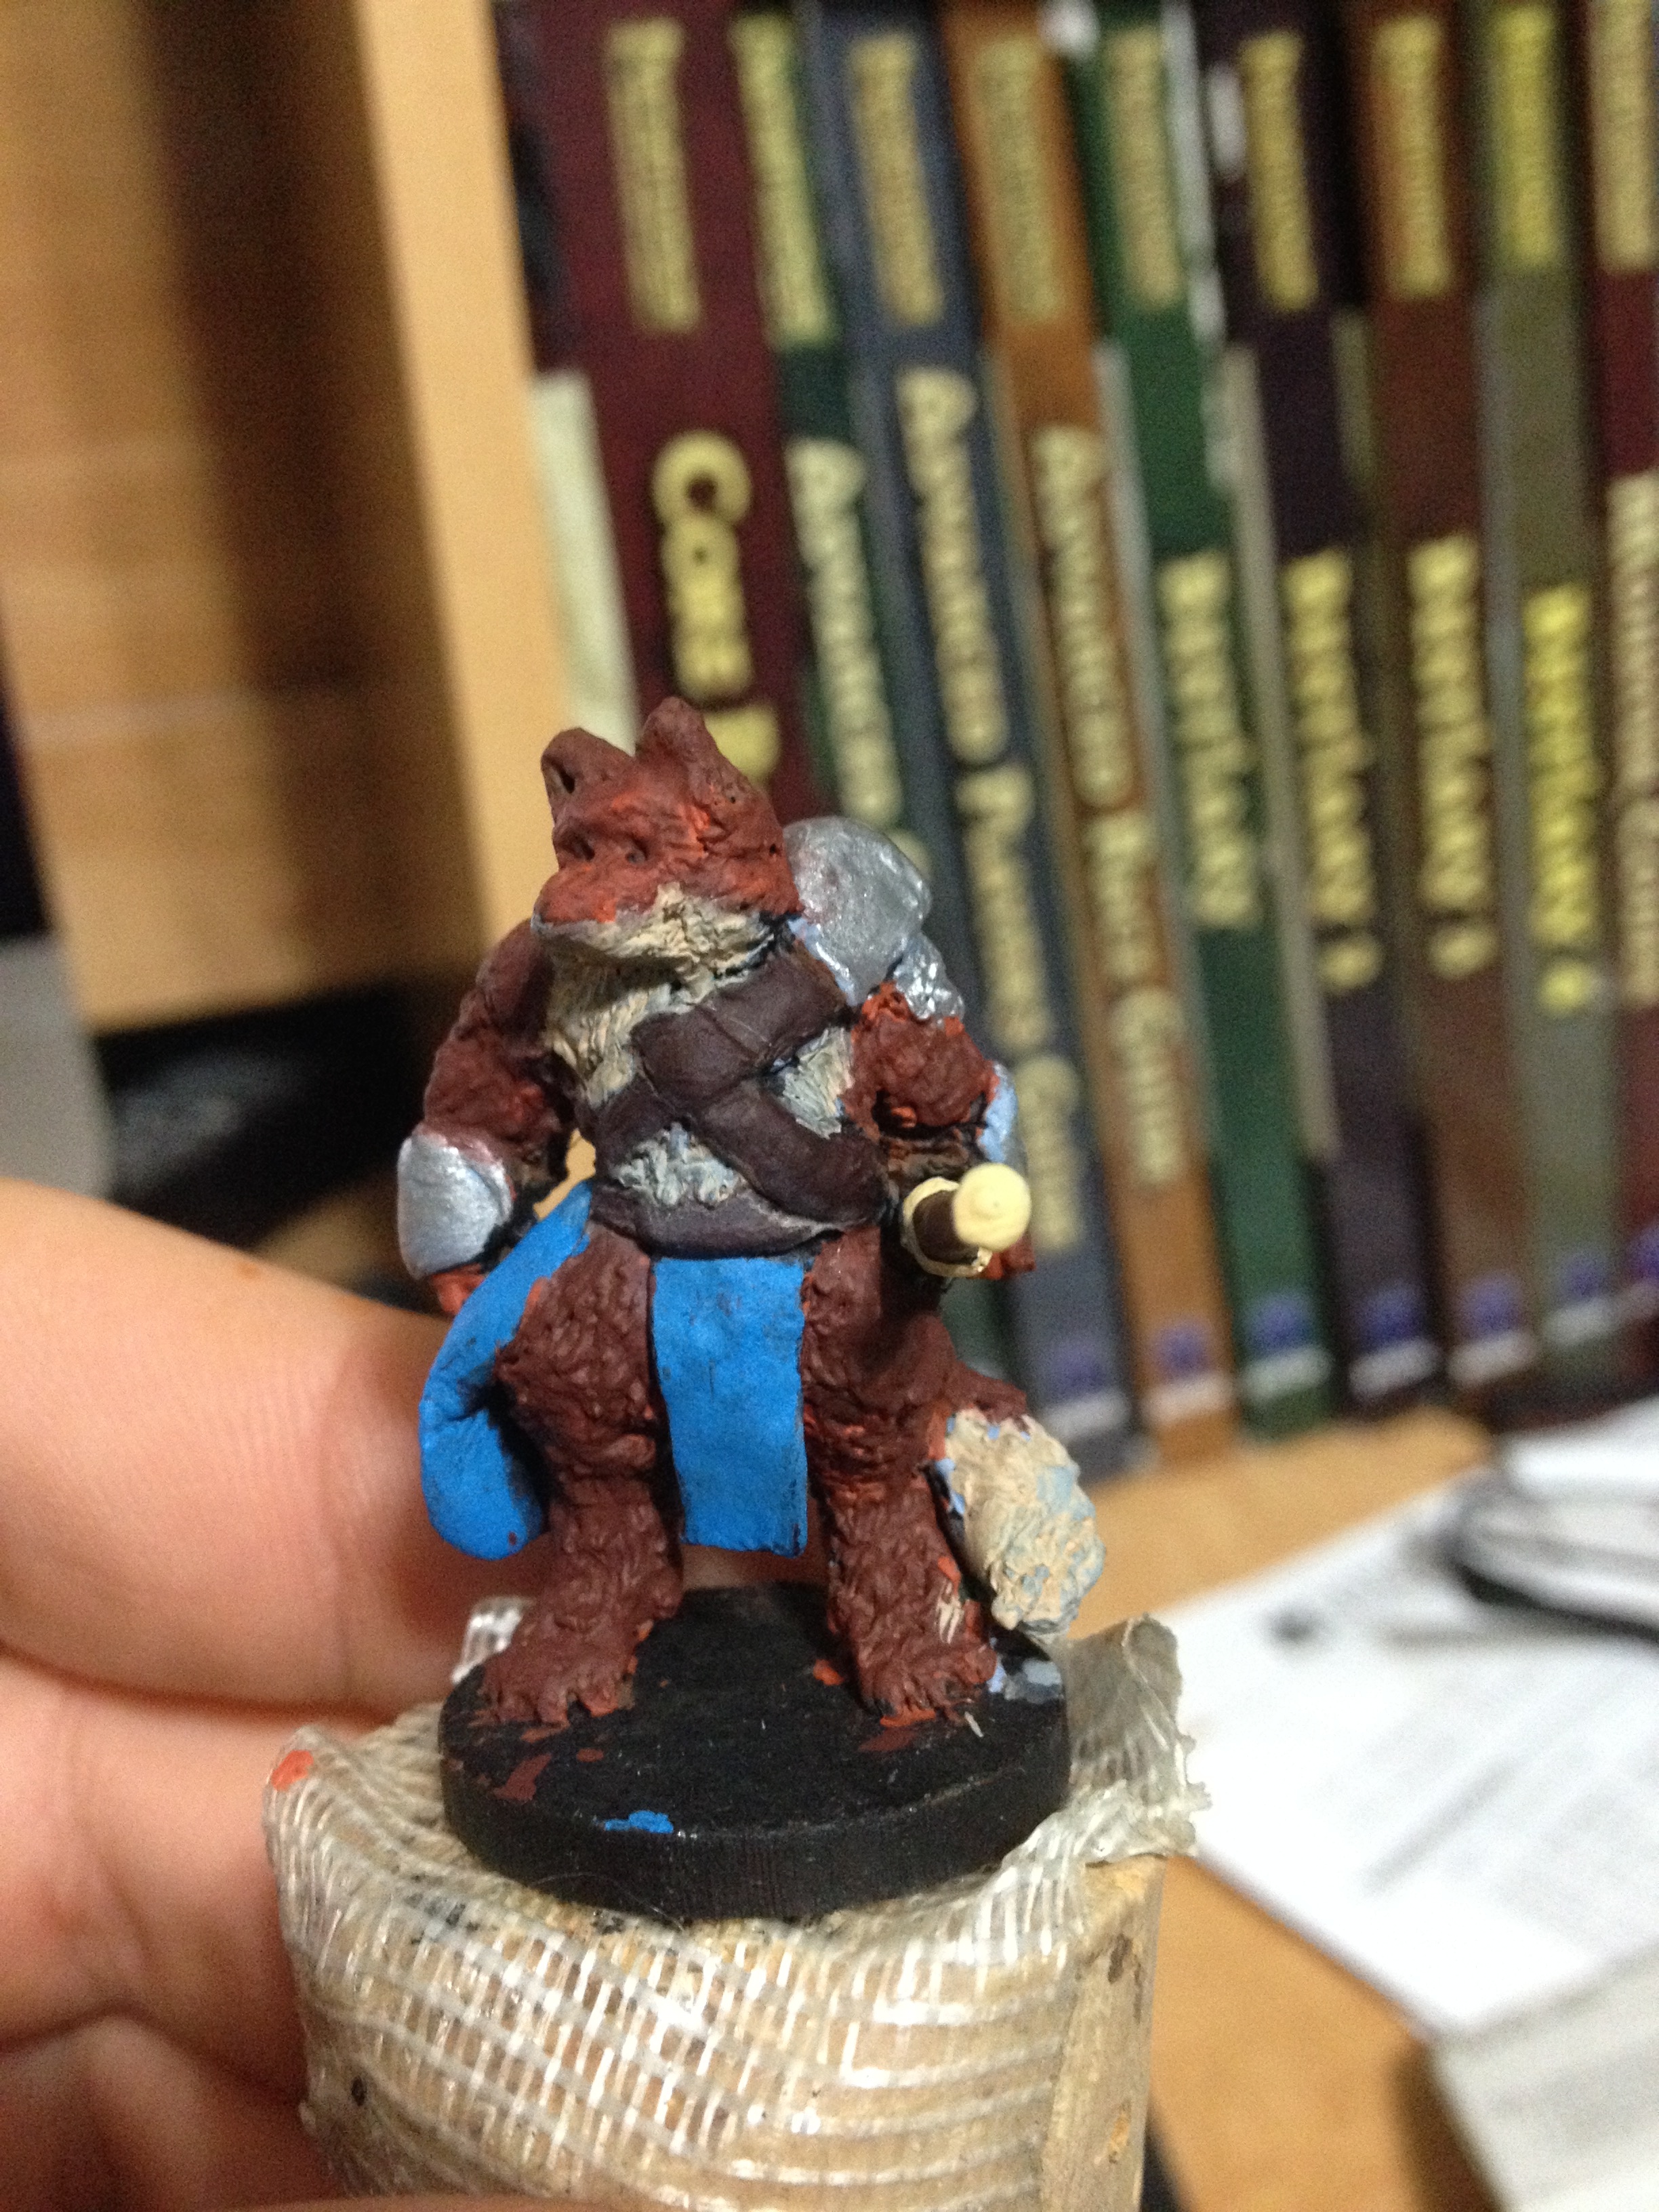
- Look carefully at the cloth; you can make out where the lights end and the darks start.

-
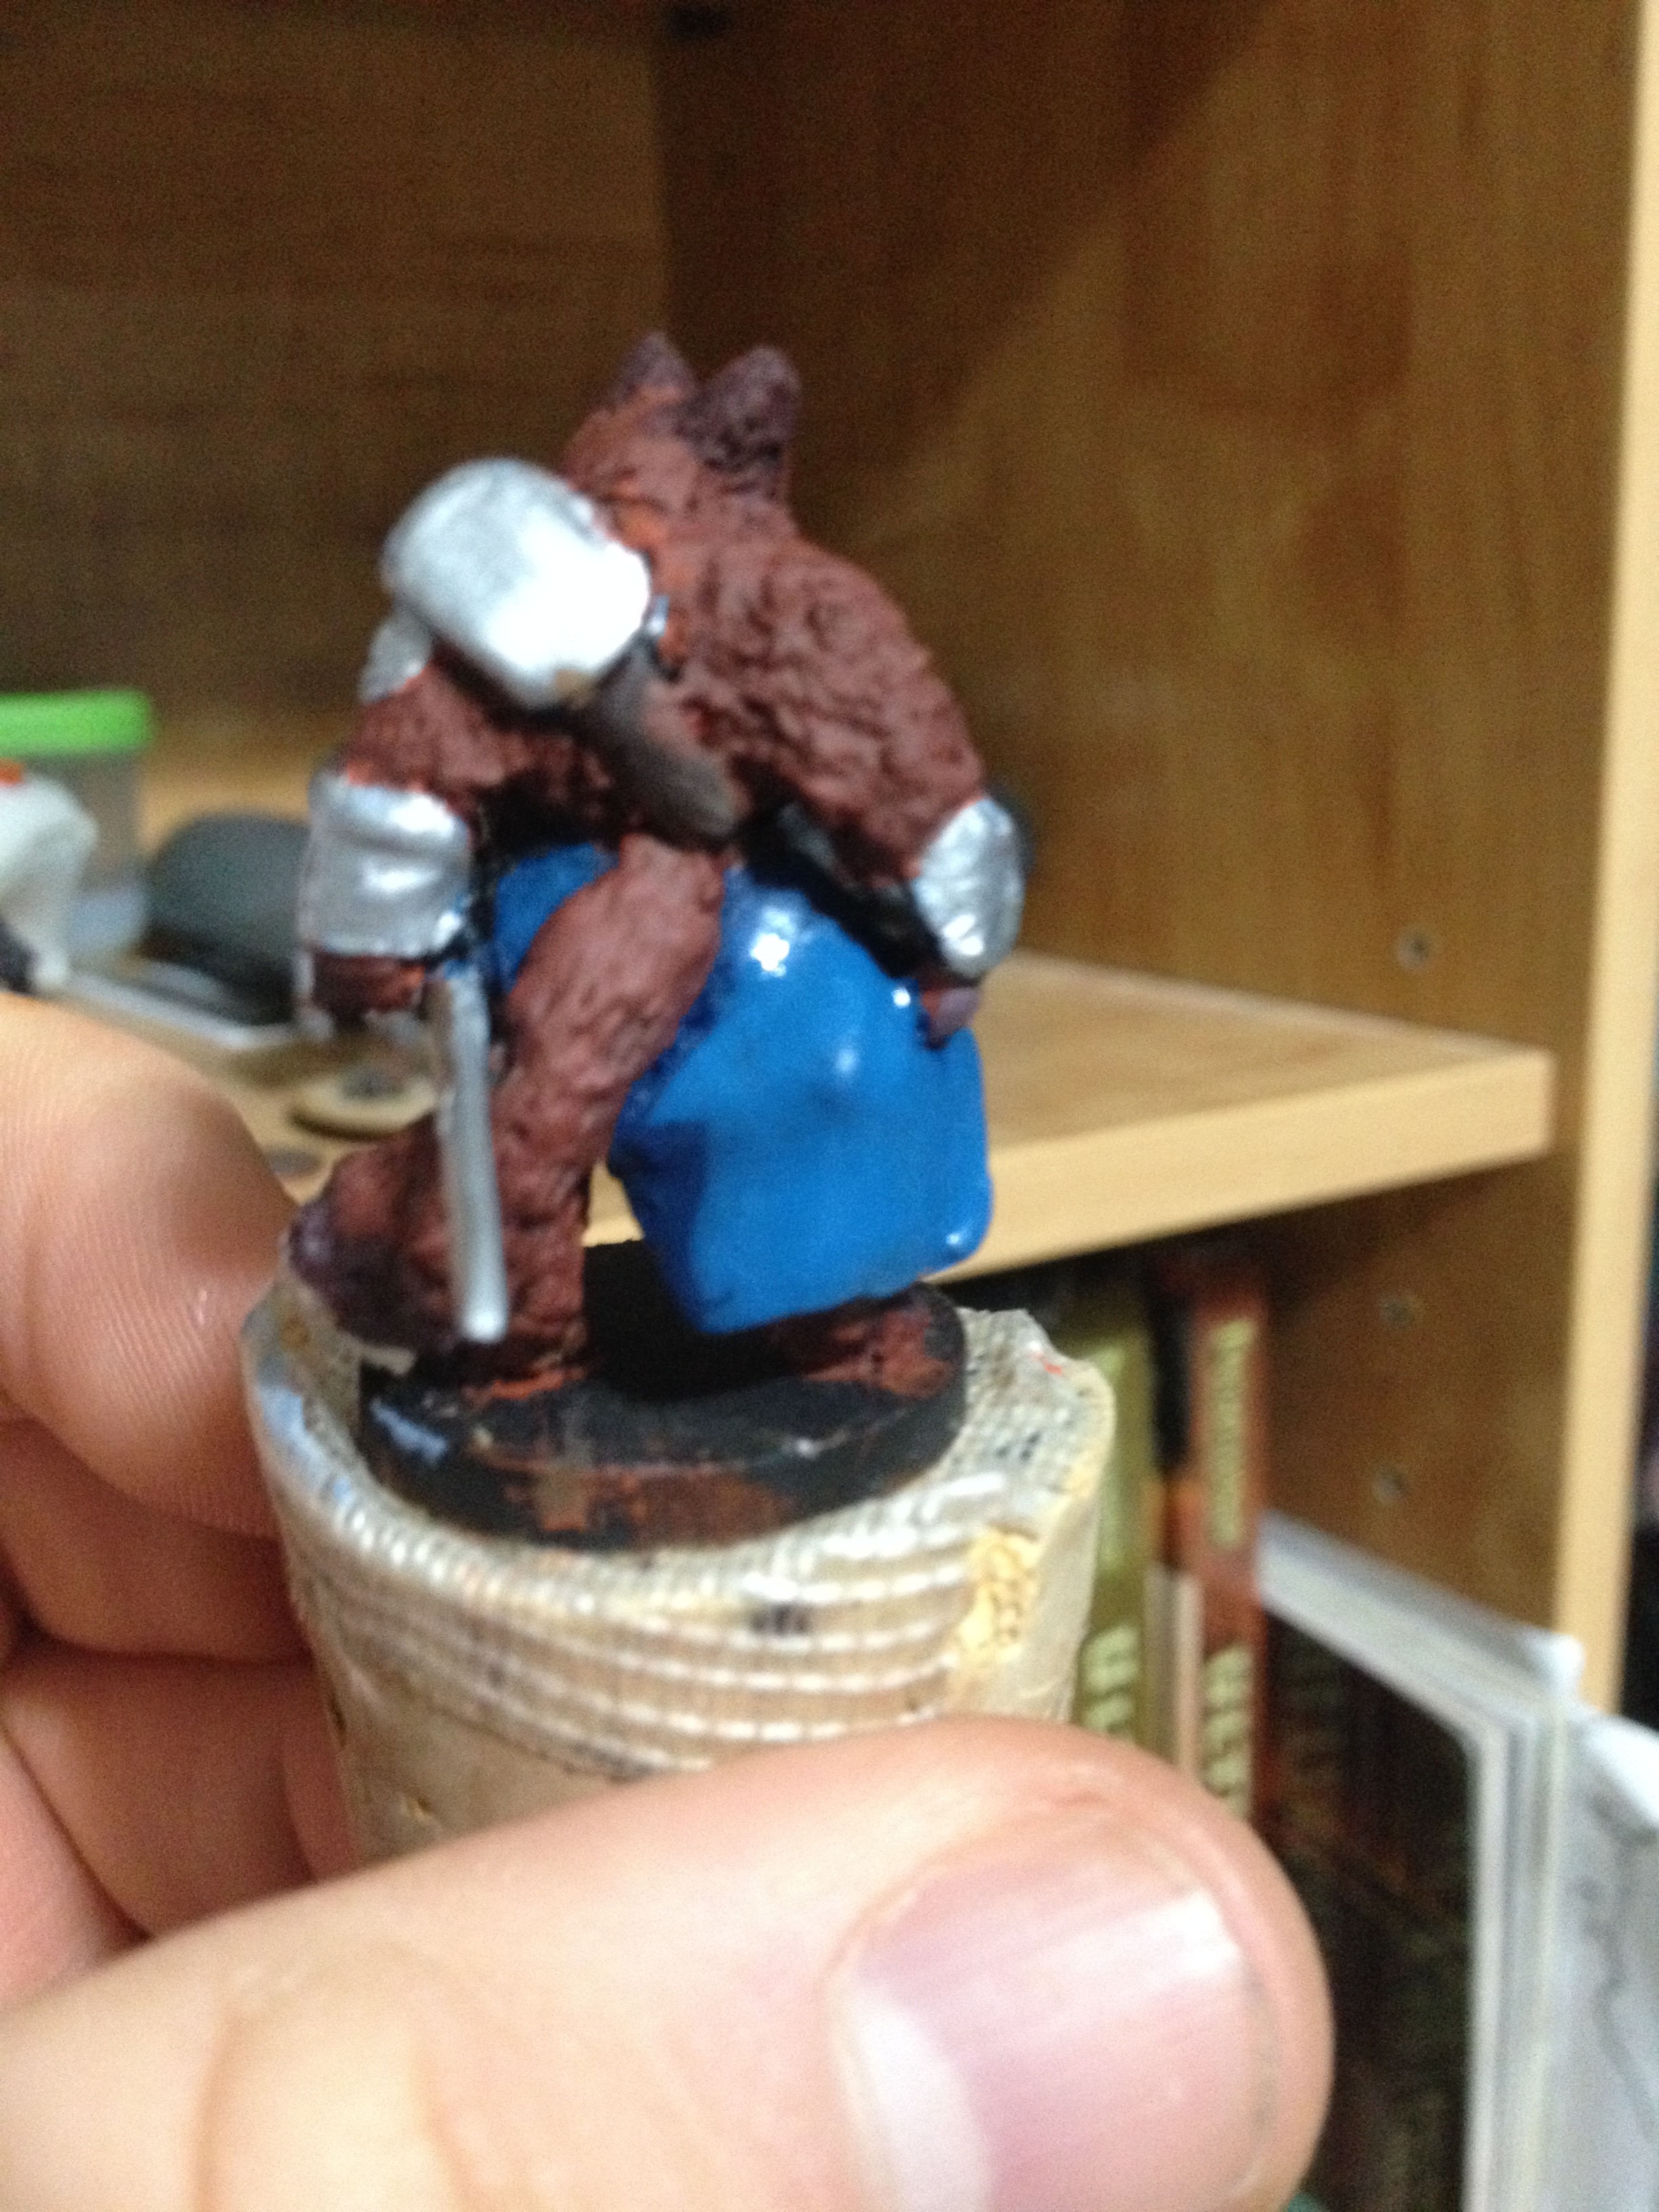
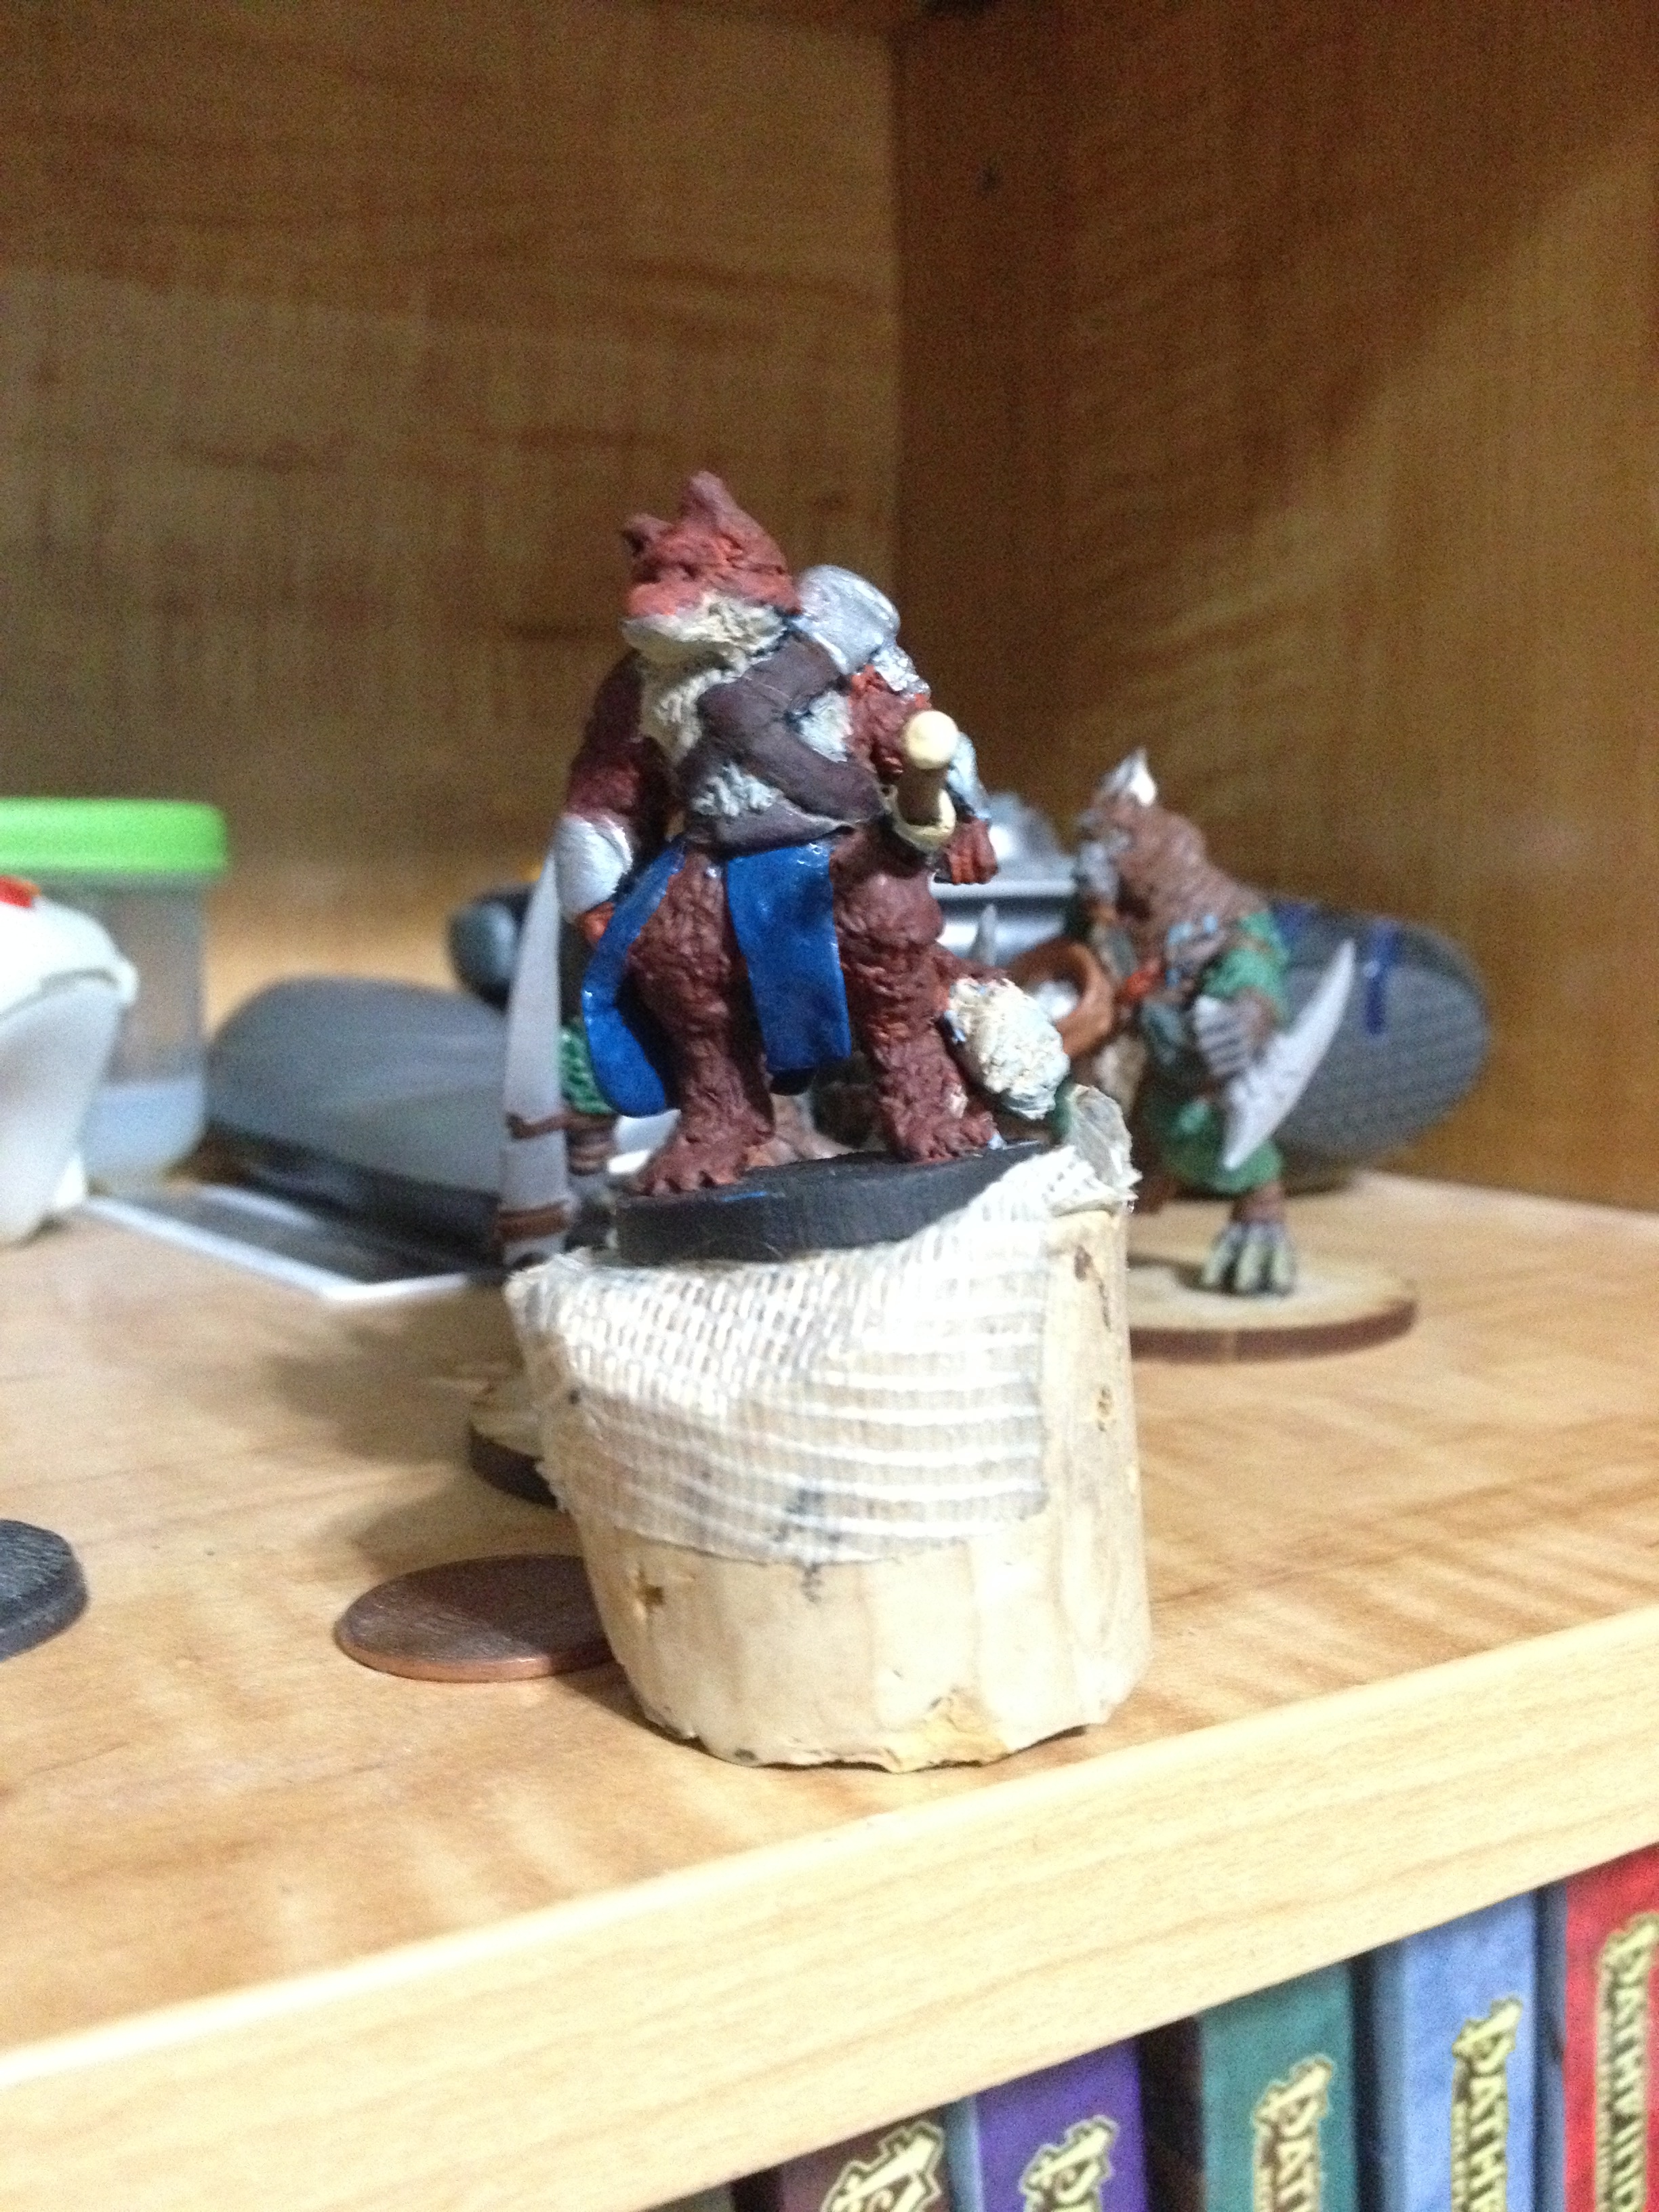
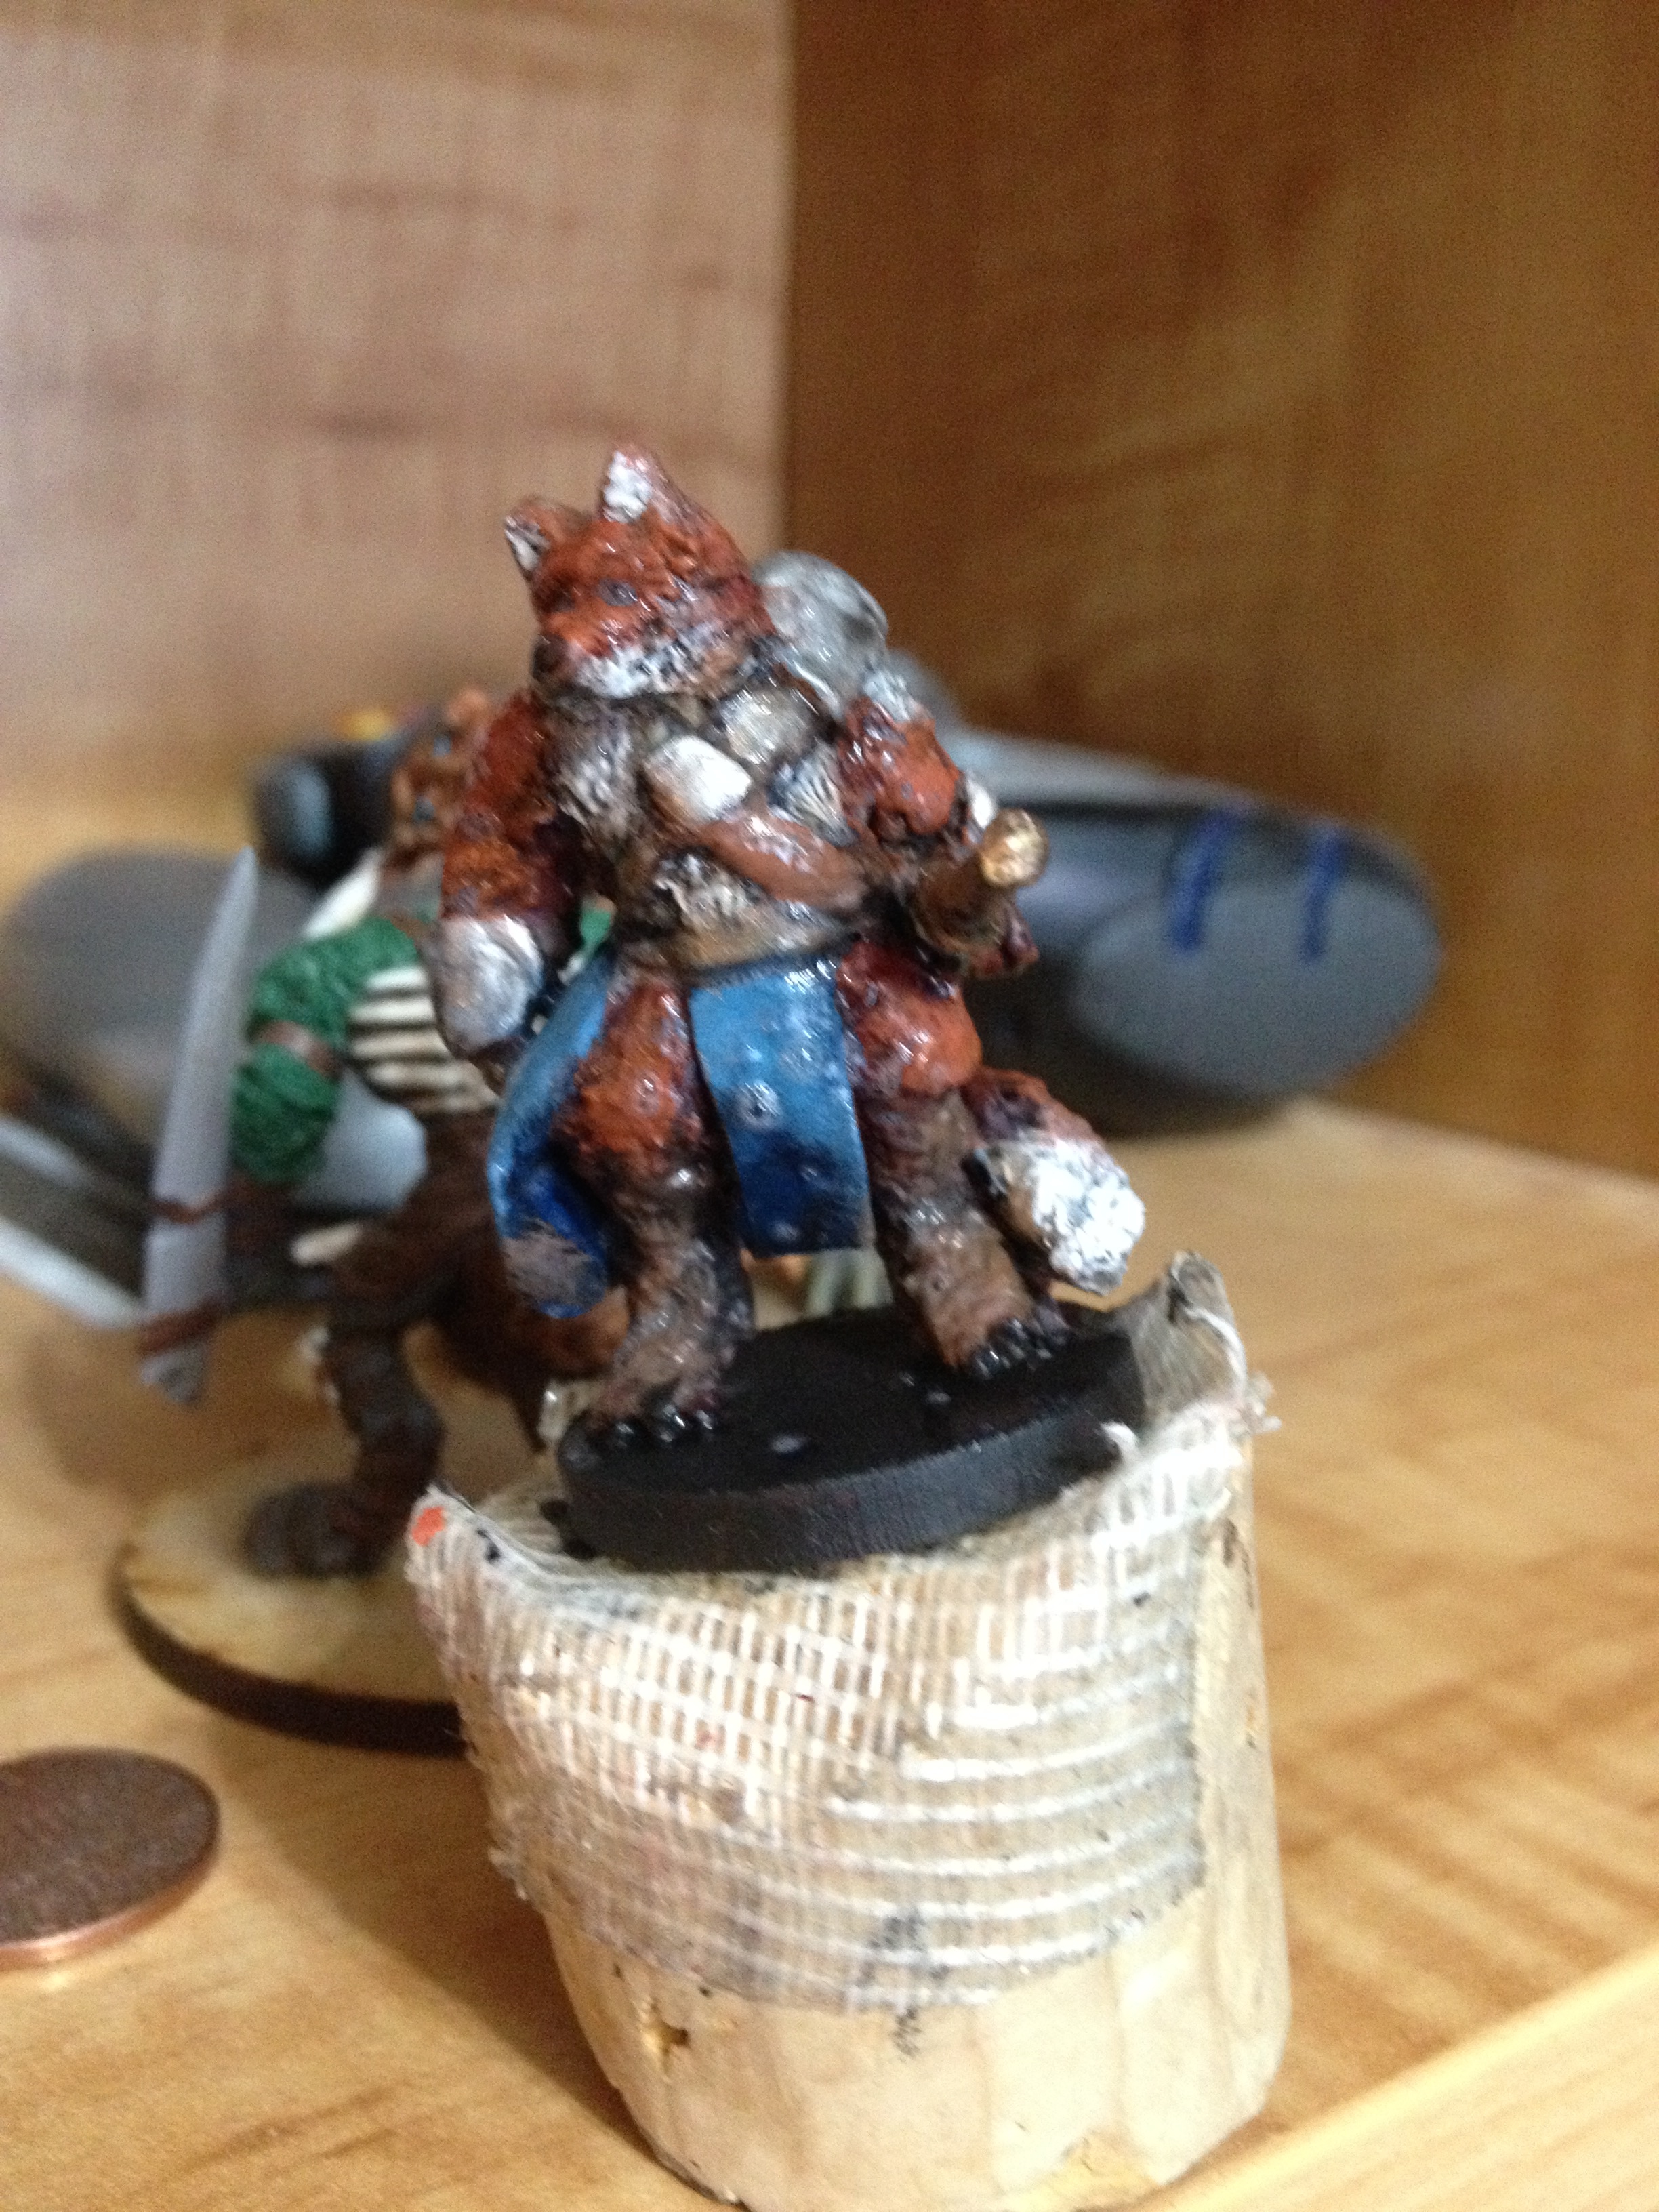
- A nice shot of my mini mounted on the cork. Did I mention that its being held in place by two-sided carpet tape? Because it is.
-
- This is what my model looked like after all of the washes that I walk about. Pretty dark, eh?

-
- Good show of the wash’s ability to stick to crevices; look at the inverted part of the cloth. Had to clean this up TWICE.
-
- You can really see the Carrot Red Highlights in this picture.

-
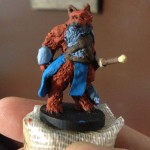
- The model is wet with matte. Look how much better he looks already!
-
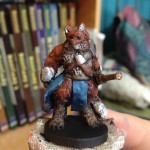
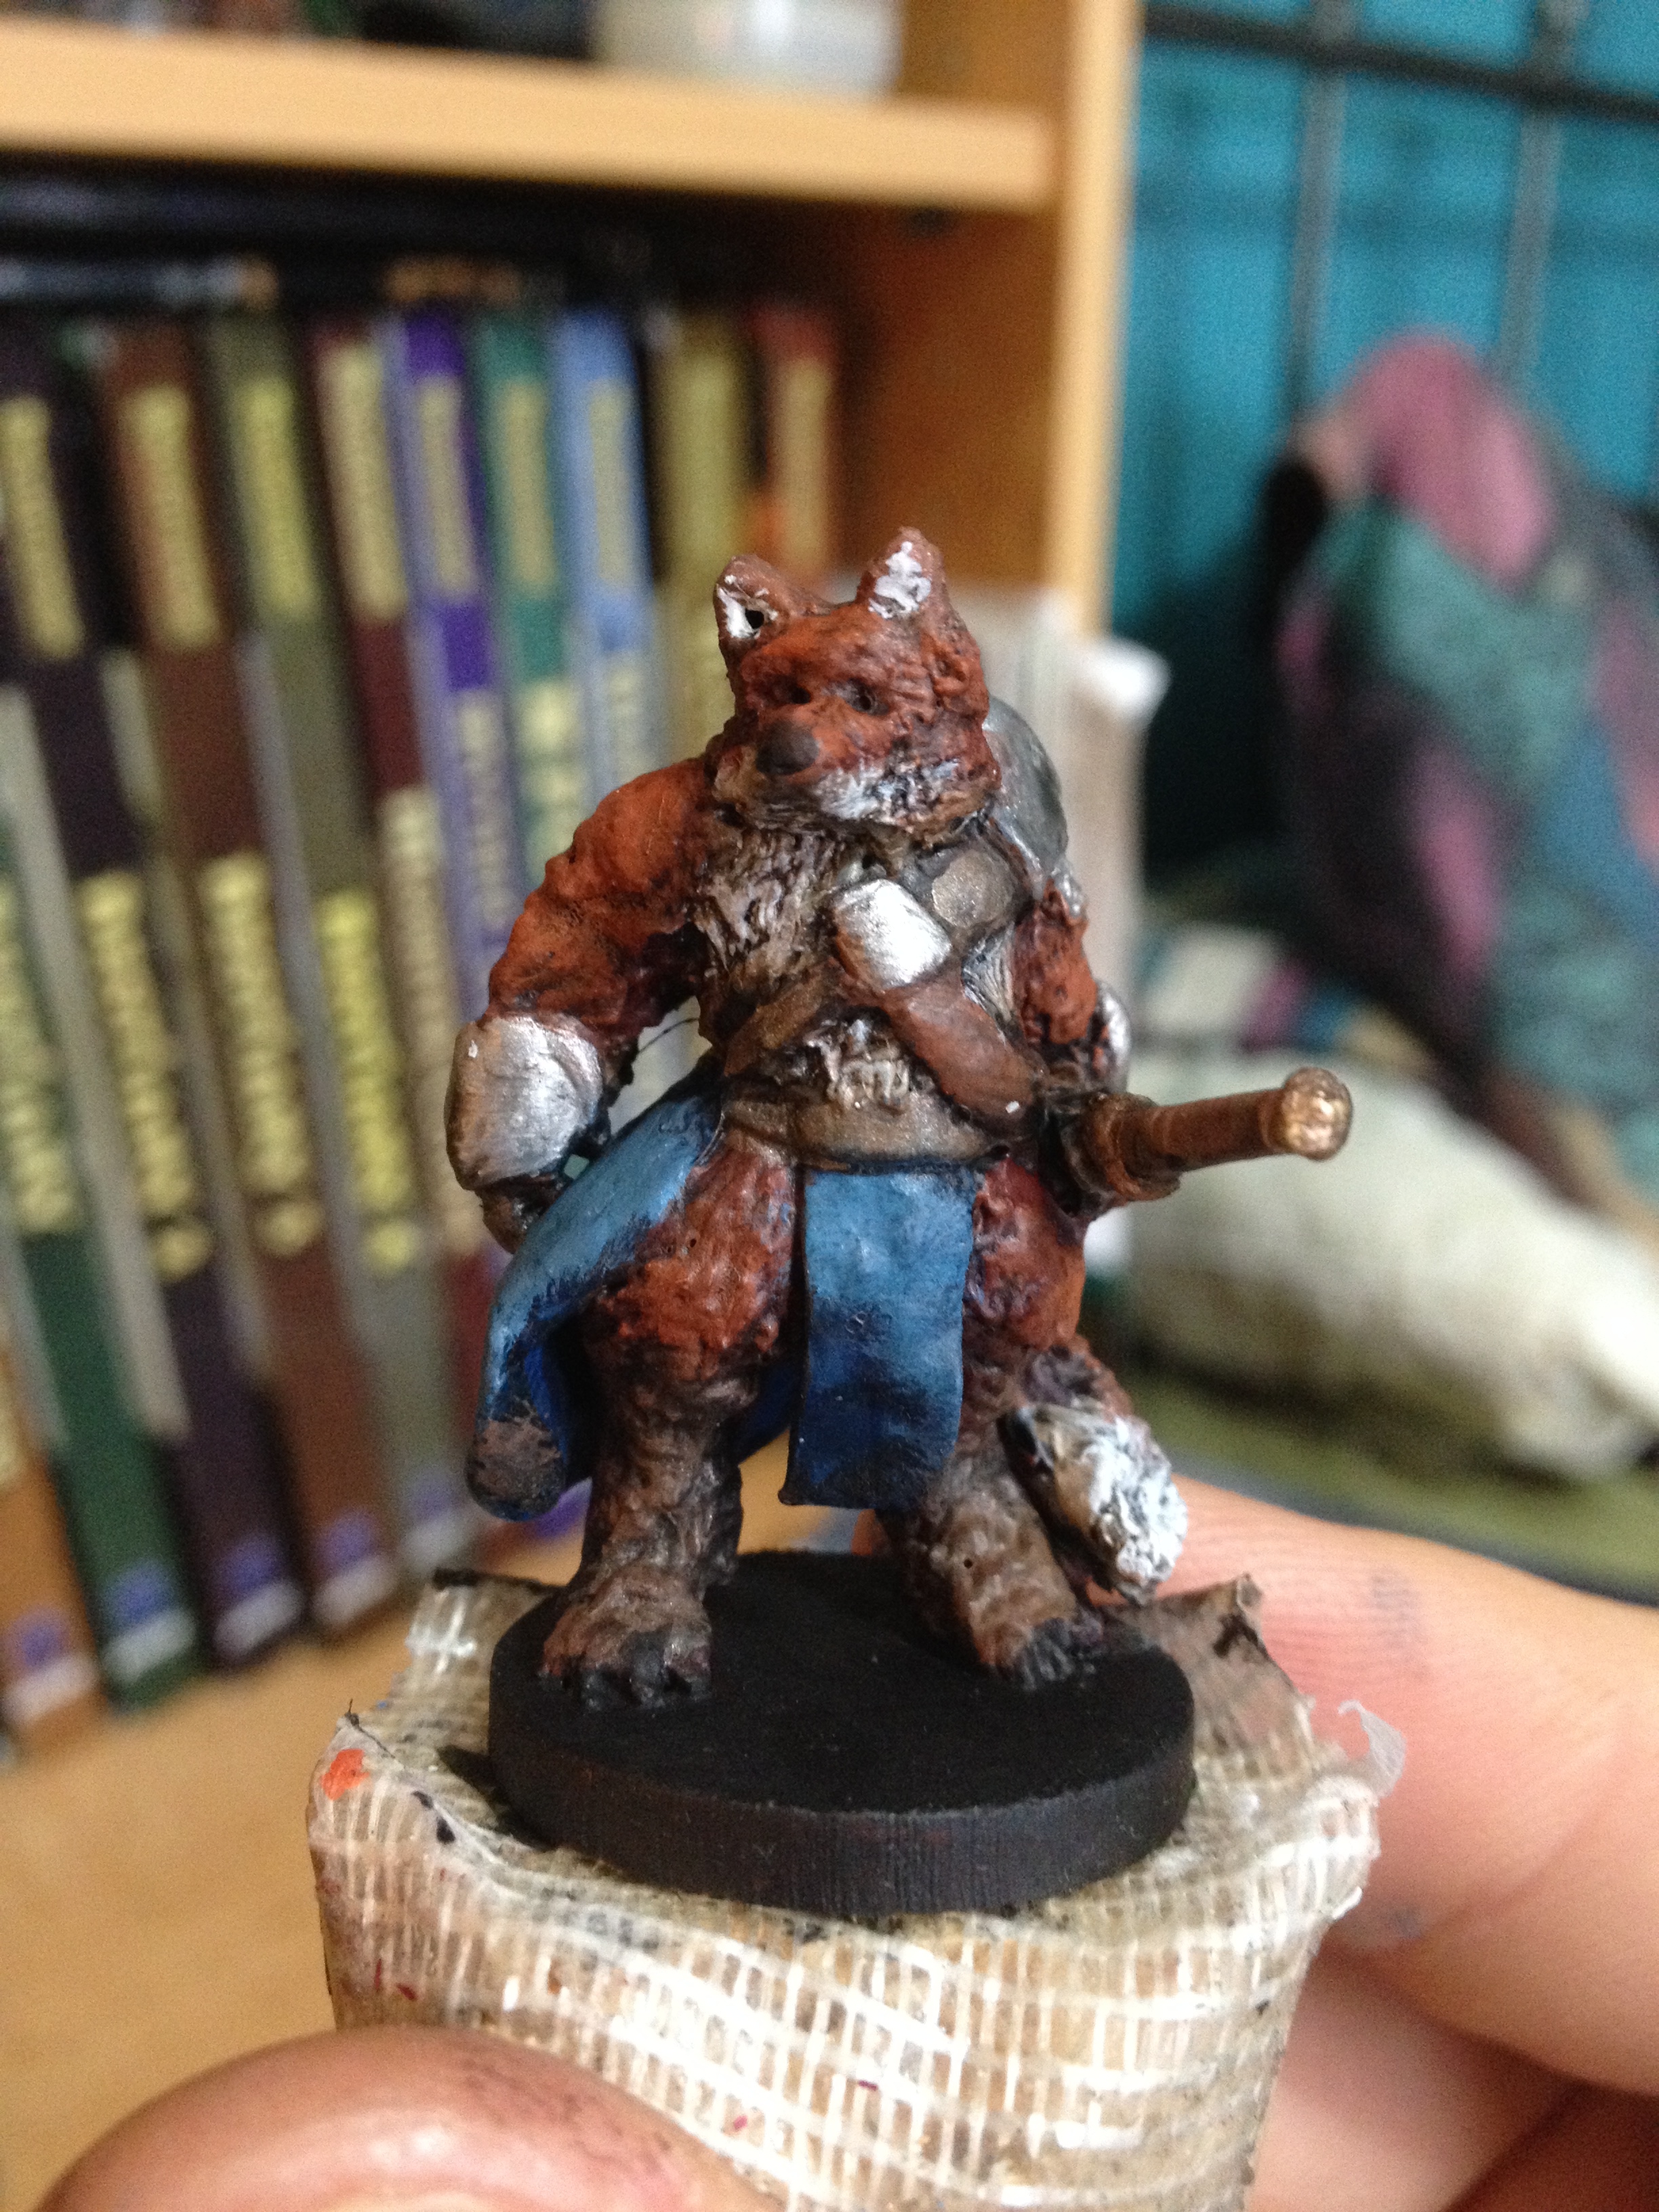
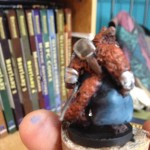
- This is what my mini looks like after all of the tricks that I talk about.

-
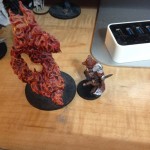
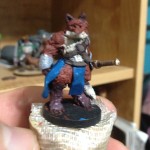
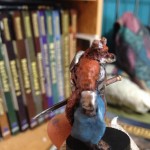
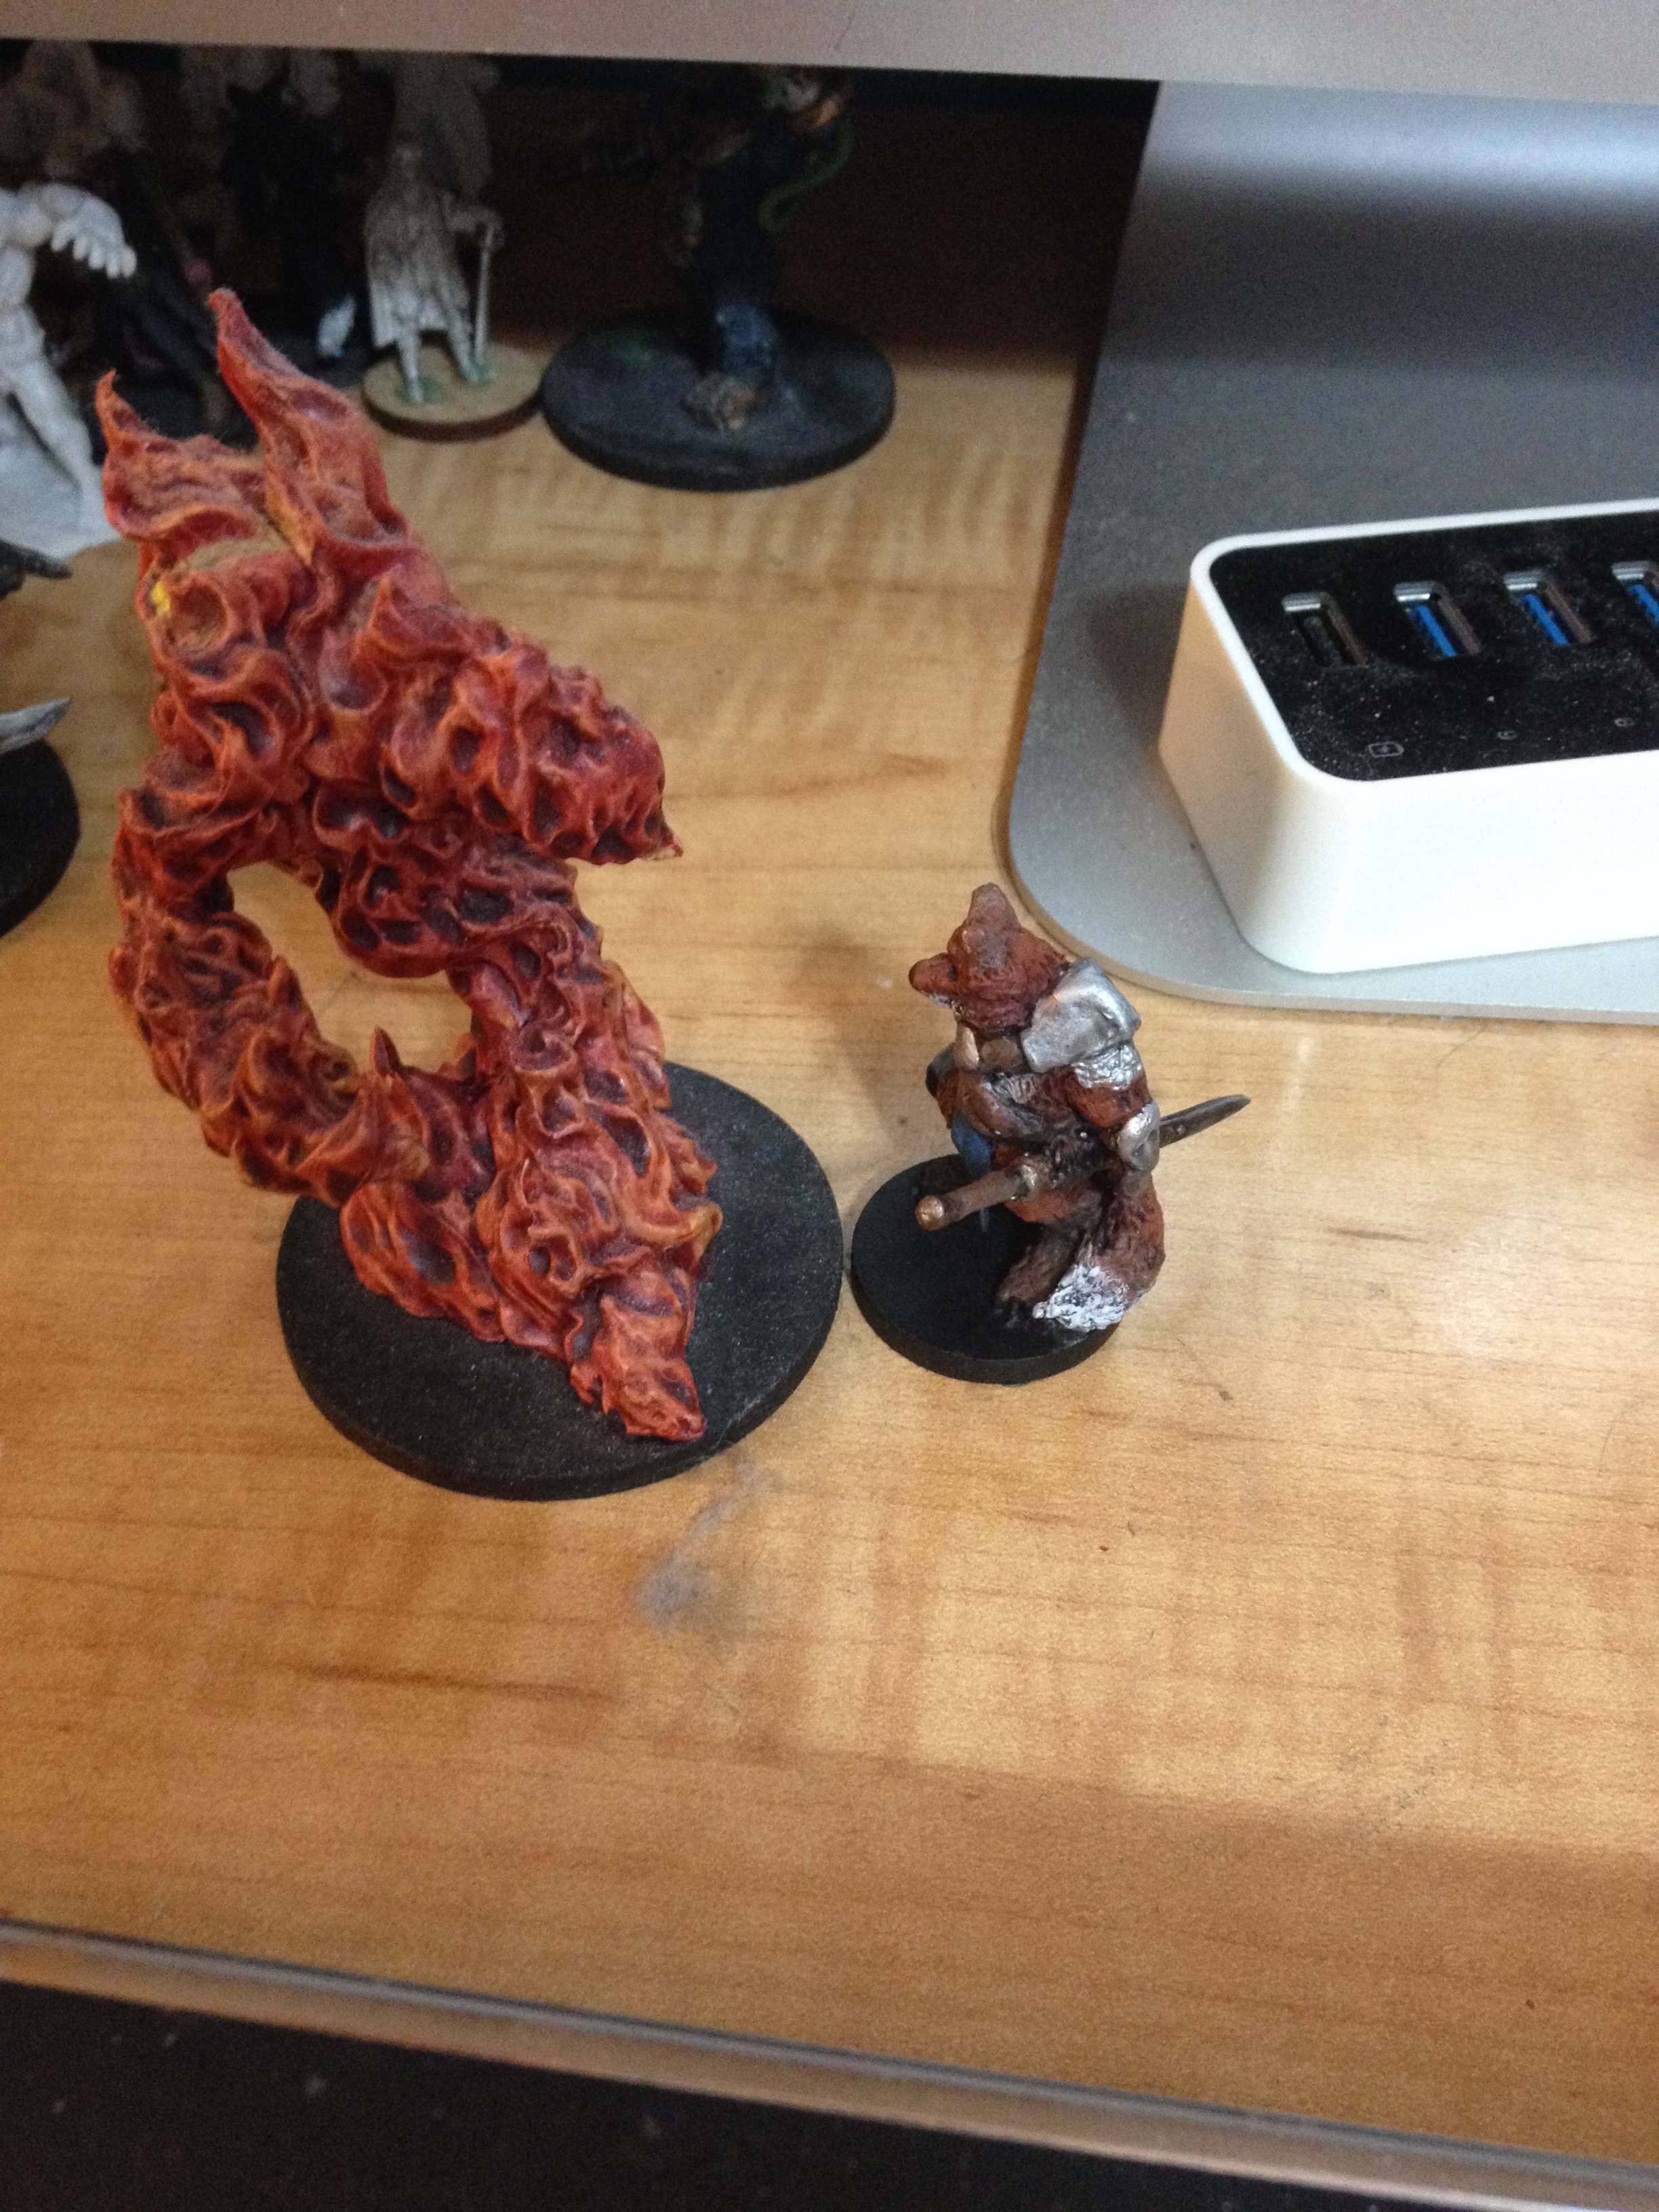
- … this doesn’t seem like a fair fight for a Level 2 Bloodrager….

Leave a Reply