
Welcome to Craft Wondrous Item, where the Know Direction Crew show you all of the neat things that they’ve been crafting! Today, Private Sanctuary Podcast’s cohost, Guidance’s author, and self-stylized Everyman Gamer Alex Augunas is going to be showing you the techniques he used to create a miniature for his PFS Bloodrager, Kodaehan, who was featured in an Iconic Design last Friday.
Prologue: Gathering the Tools
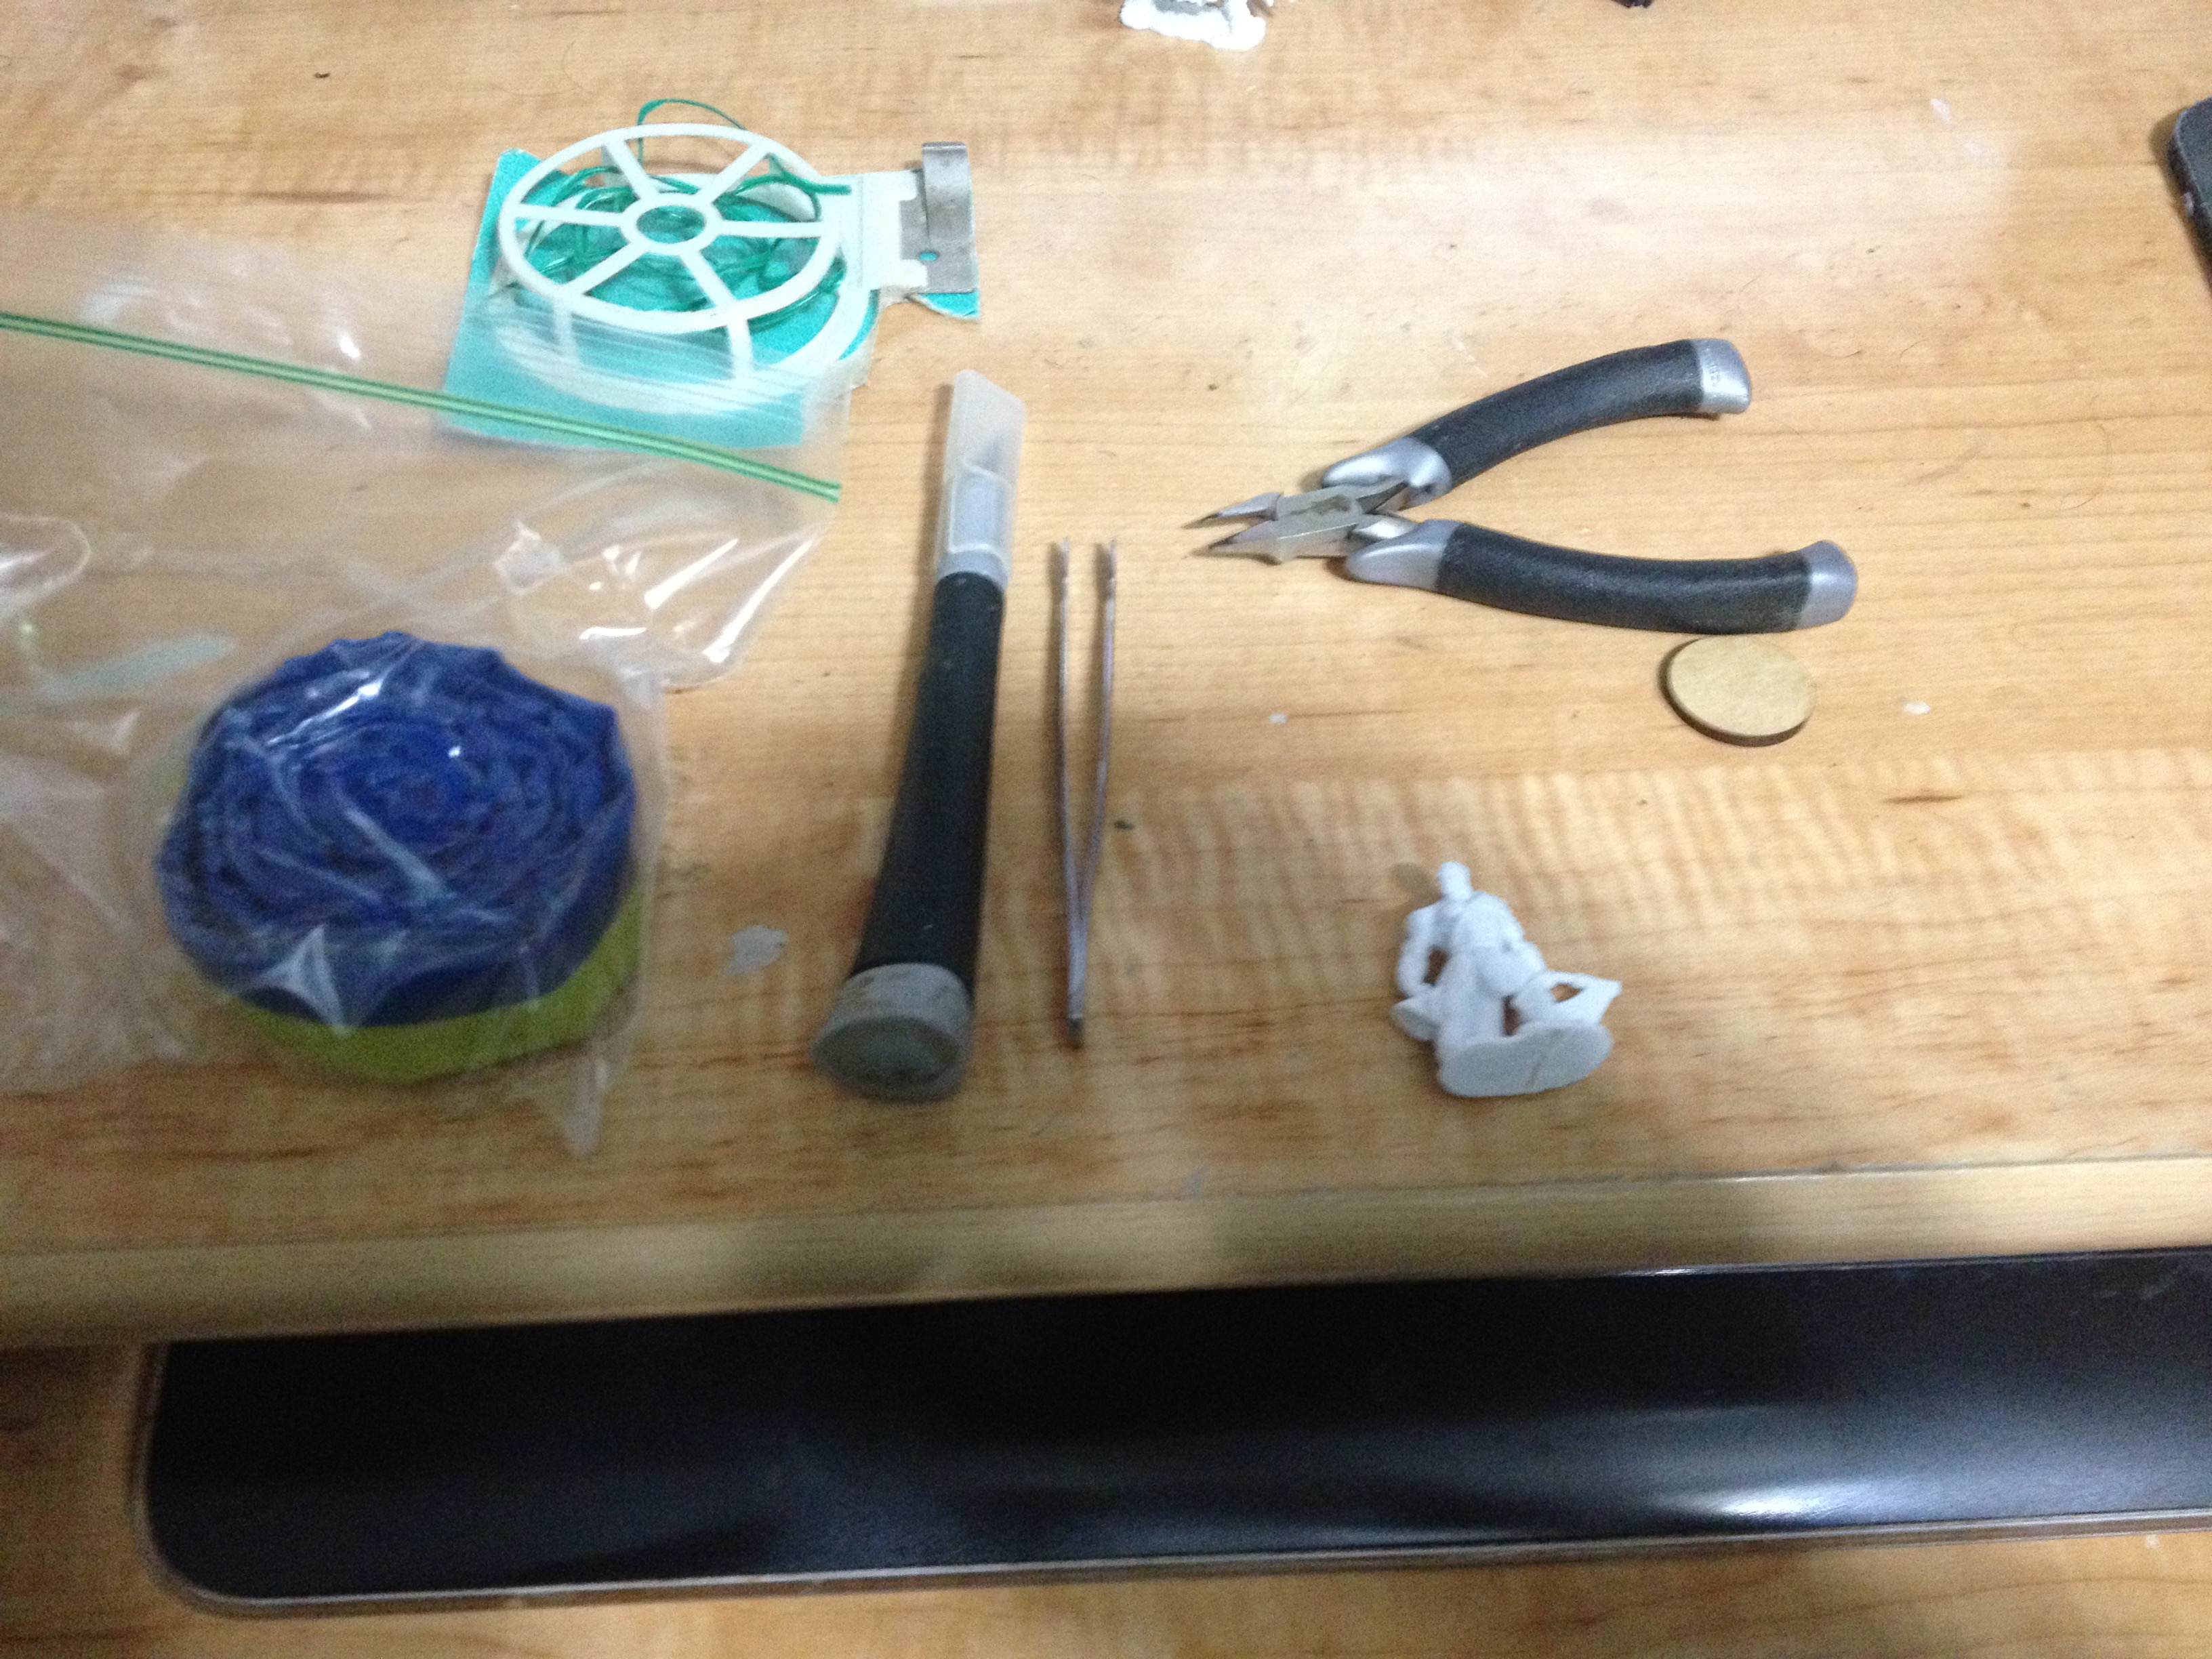
Before I started working on my bloodrager mini, I needed to gather the tools that would enable me to customize my miniature. The picture doesn’t show all of the tools that I used (I ended up buying a few more while working on the sculpting part in order to improve my end product), but I’ll stop and discuss everything that I use.
 Electric Wire: In the picture, this is the teal-colored spool in the top-left corner. Beneath the rubbery exterior of this wire is very thin, very flexible, but very strong metal. I find that paper clips are too thick for modeling work, which is why I opt to use this stuff. You can buy it at just about any department store.
- Greenstuff: This is the blue-and-yellow coil in the picture. Greenstuff is a type of two-part epoxy puddy that consists of a blue part and a yellow part. When you mix them together, they turn green and slowly harden. While hardening, you can sculpt fairly complex detail into them, and greenstuff is the industry standard for most miniature sculptures. You can buy this stuff at most hobby stores that cater to war games like Warhammer, but I prefer to order it on ebay; the price is about the same, but you can buy it in MUCH larger quantities. That spool in my picture is about $15 worth of greenstuff.
- Scissors (Not Shown): This is an ordinary pair of scissors. I use this specifically for cutting greenstuff. Try to grab a pair made of stainless steel so the greenstuff slides right off of it.
- Exacto-Knife: For cutting stuff, namely pewter models, plastic models, and greenstuff. This is an important tool all-around. The knife shown in the picture that I use is a Games Workshop hobby knife. About the only thing you’ll find different about it is its extra thick handle, which is designed to be more comfortable while you’re cutting stuff.
- Hand Drill w/Fine Drill Bit: I use a standard hobby drill. Mine is a Games Workshop brand, but Army Painter has a nice one too. The holes made by this drill are about the same size as a paper clip, and you ultimately want to shy away from power tools because of the small size of what you’re working with.
- Pliers / Cutters: The force of the squeezing blades is perfect for quickly cutting wire and miniatures.
- Super Glue (Not Shown): I don’t know why I forgot to show this, but I did. The best two kinds to use in my experience are Loctite and Zap-A-Gap. Loctite is better, but you also get less glue for your buck. Zap-A-Gap has to be imported, so you’re only going to see it online or in game stores while Loctite can be bought in any Home Depot-style store.
- Sculpting Tools (Not Shown): I ended up picking these tools during the greenstuff sculpting step. Prior to this, I did almost all of my sculpting with “improvised tools,” like using the flats of my knife blade and stuff. Then the Saturday that I started working on this model, I went to my FLGS and saw these tools by Army Painter on sale, so I bought them. Support my store, get better tools for the job. Seemed like a win-win.
- Painting / Sculpting Pad: You’ll start seeing this towards the end of my sculpting stage. I bought it at the same time as my sculpting tools; basically, its designed so greenstuff doesn’t stick to it and if cut, the pad seals the cut somewhat so it doesn’t get wrecked. Helpful, but not required.
Now its time for the fun part: the sculpting / assembly!
 Set Us Up the Mini
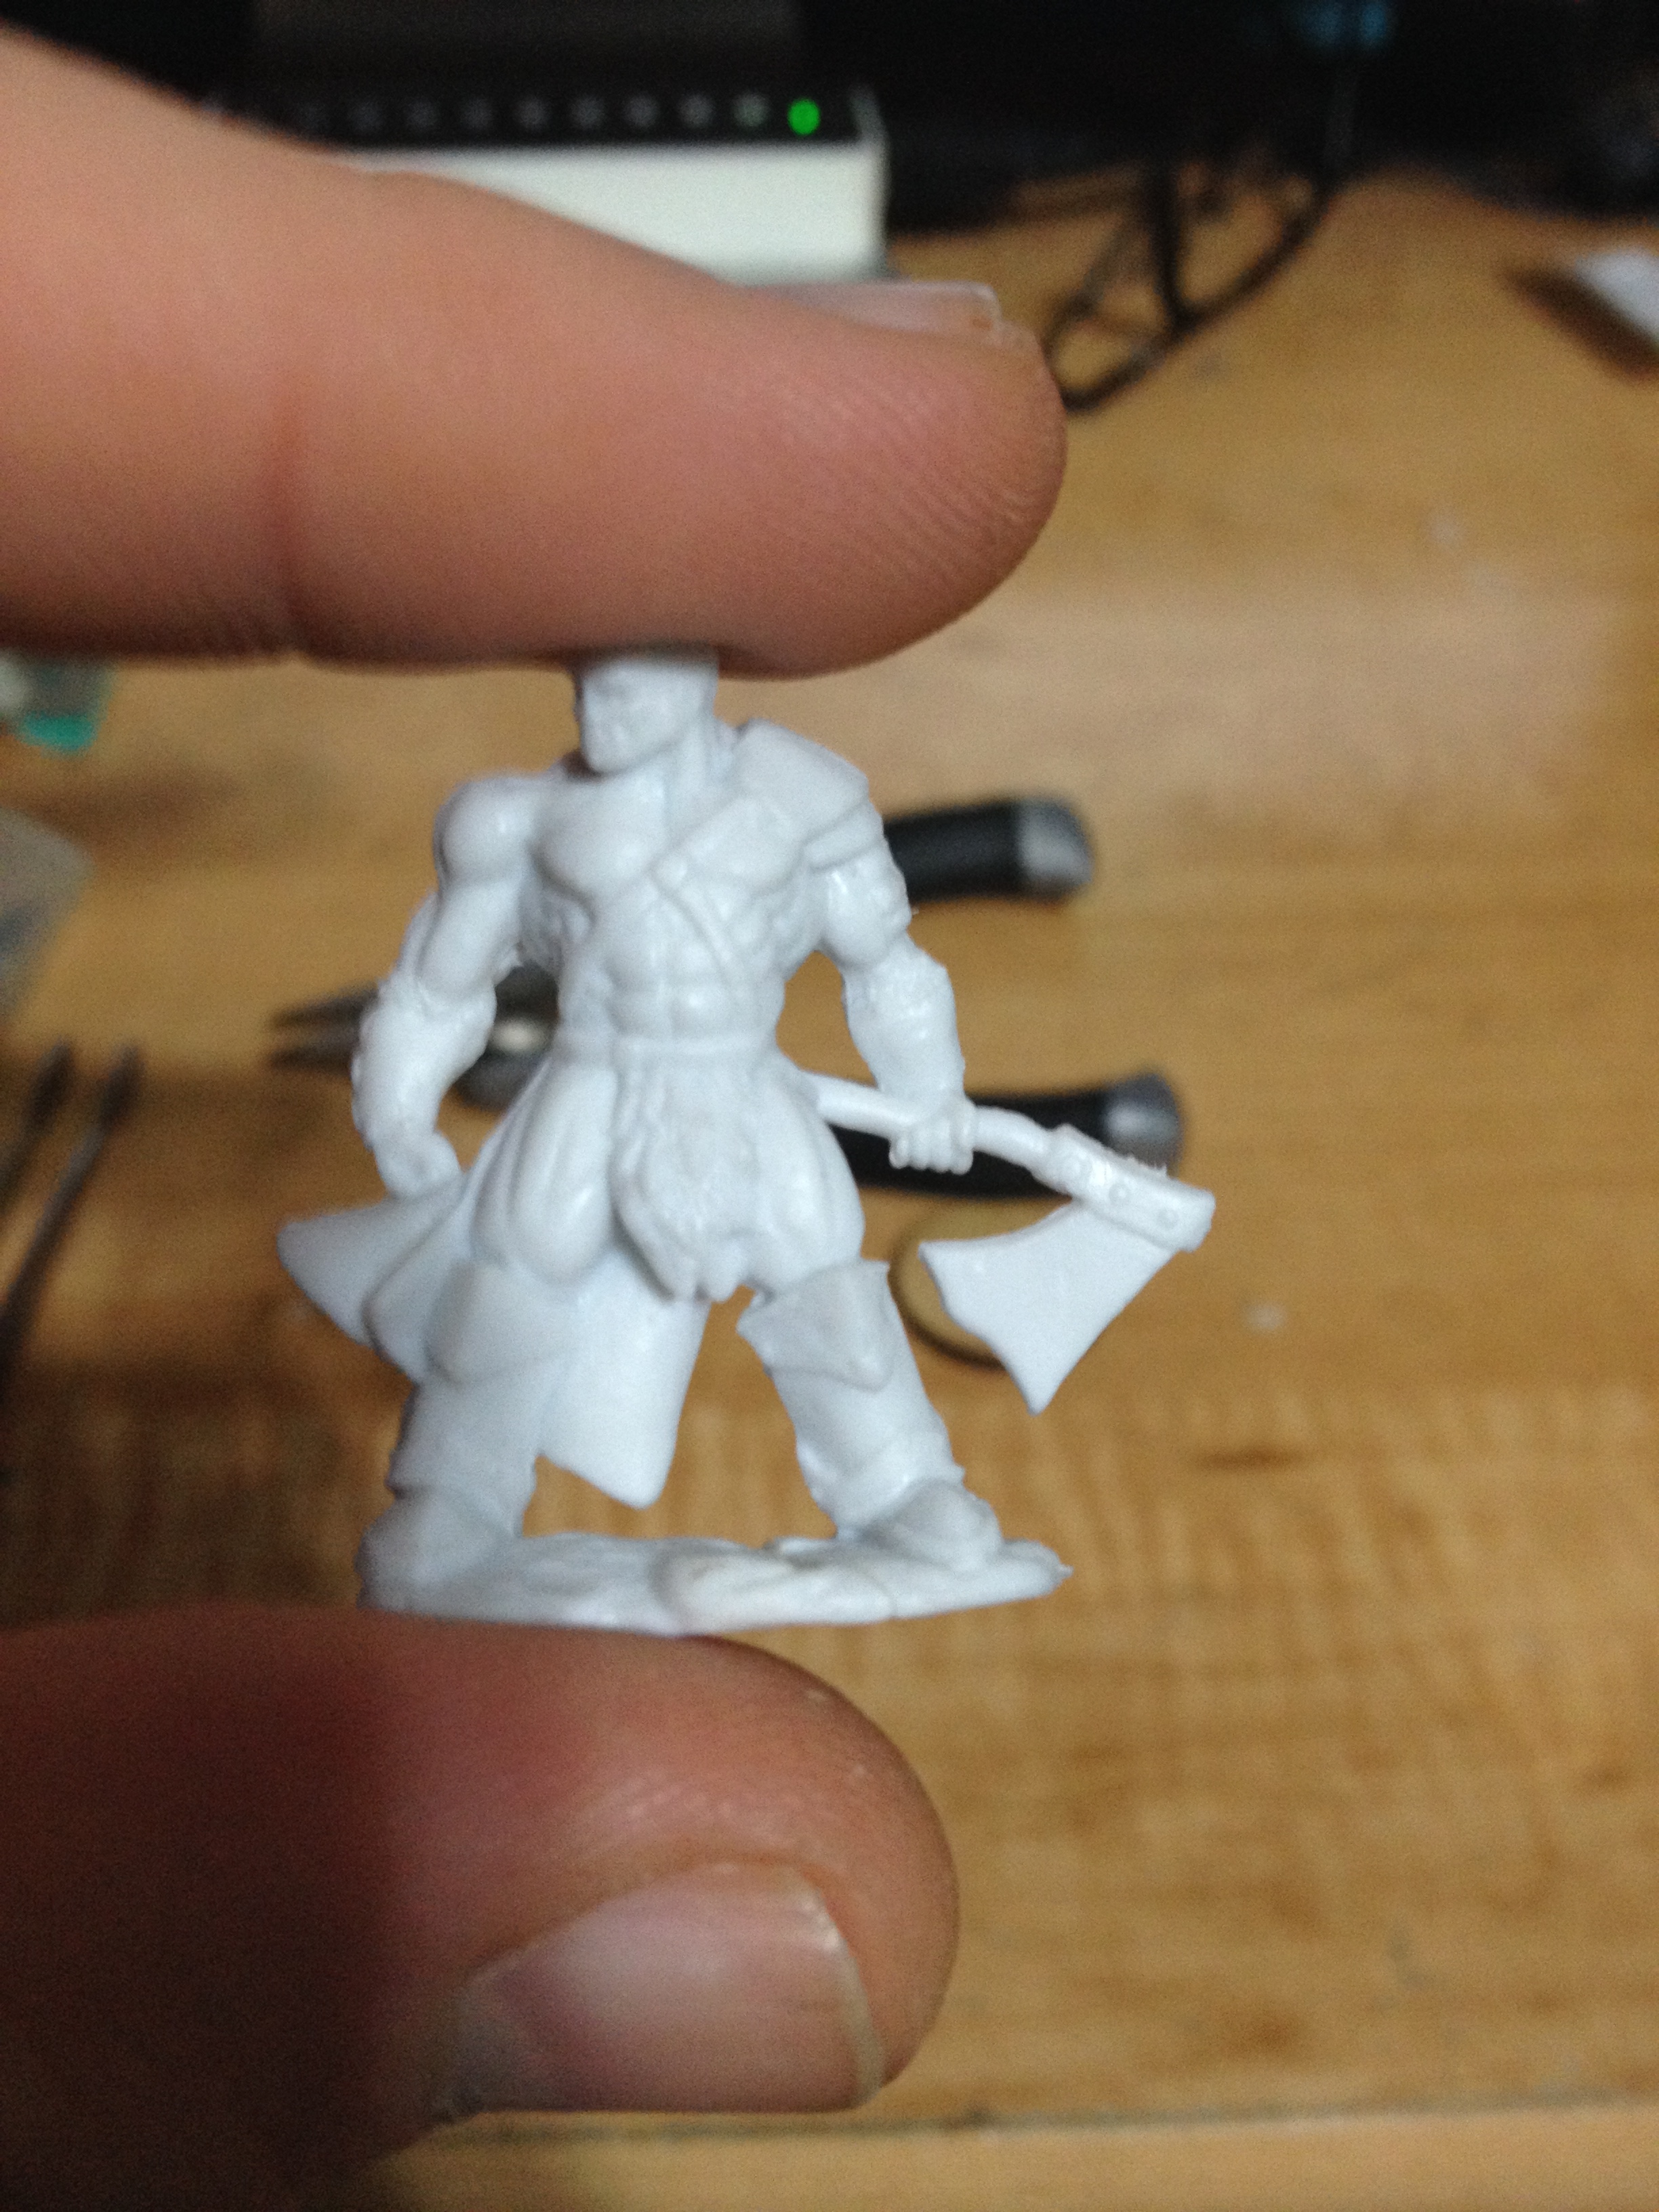
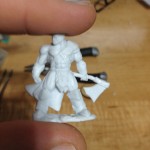
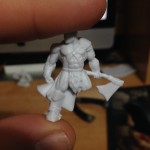
Since I’m not a great sculpture without guides (as you’ll soon see), I started by picking a miniature that was pretty close to what I wanted mine to look like. I chose this very typical-looking human barbarian, from the Reaper Bones Kickstarter. For one, Reaper Bones are VERY easy to cut, making them awesome for conversion work. I tried to pick a very generic model with lots of shown skin; I want my kitsune to show a lot of fur.
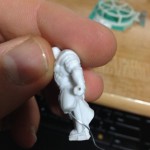
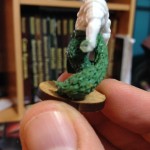
First, I need a very basic model to get onto my base. If you’ve read the Kitsune Compendium, which I wrote, you likely know that I prefer my kitsune to be digitigrade, which means their bone structure supports them by effectively walking on their toes, or digits. Think of how a dog’s hind legs look. I started by cutting the miniature off of its “broccoli base,” or the bit of plastic that the miniature was sitting on so it could remain standing upright. Then, I chopped off the miniature’s easy leg (the one without any frill behind it) and drilling a hole into it. Then, I glued some wire into the new hole and waited about 20 minutes for the wire to set. Then I u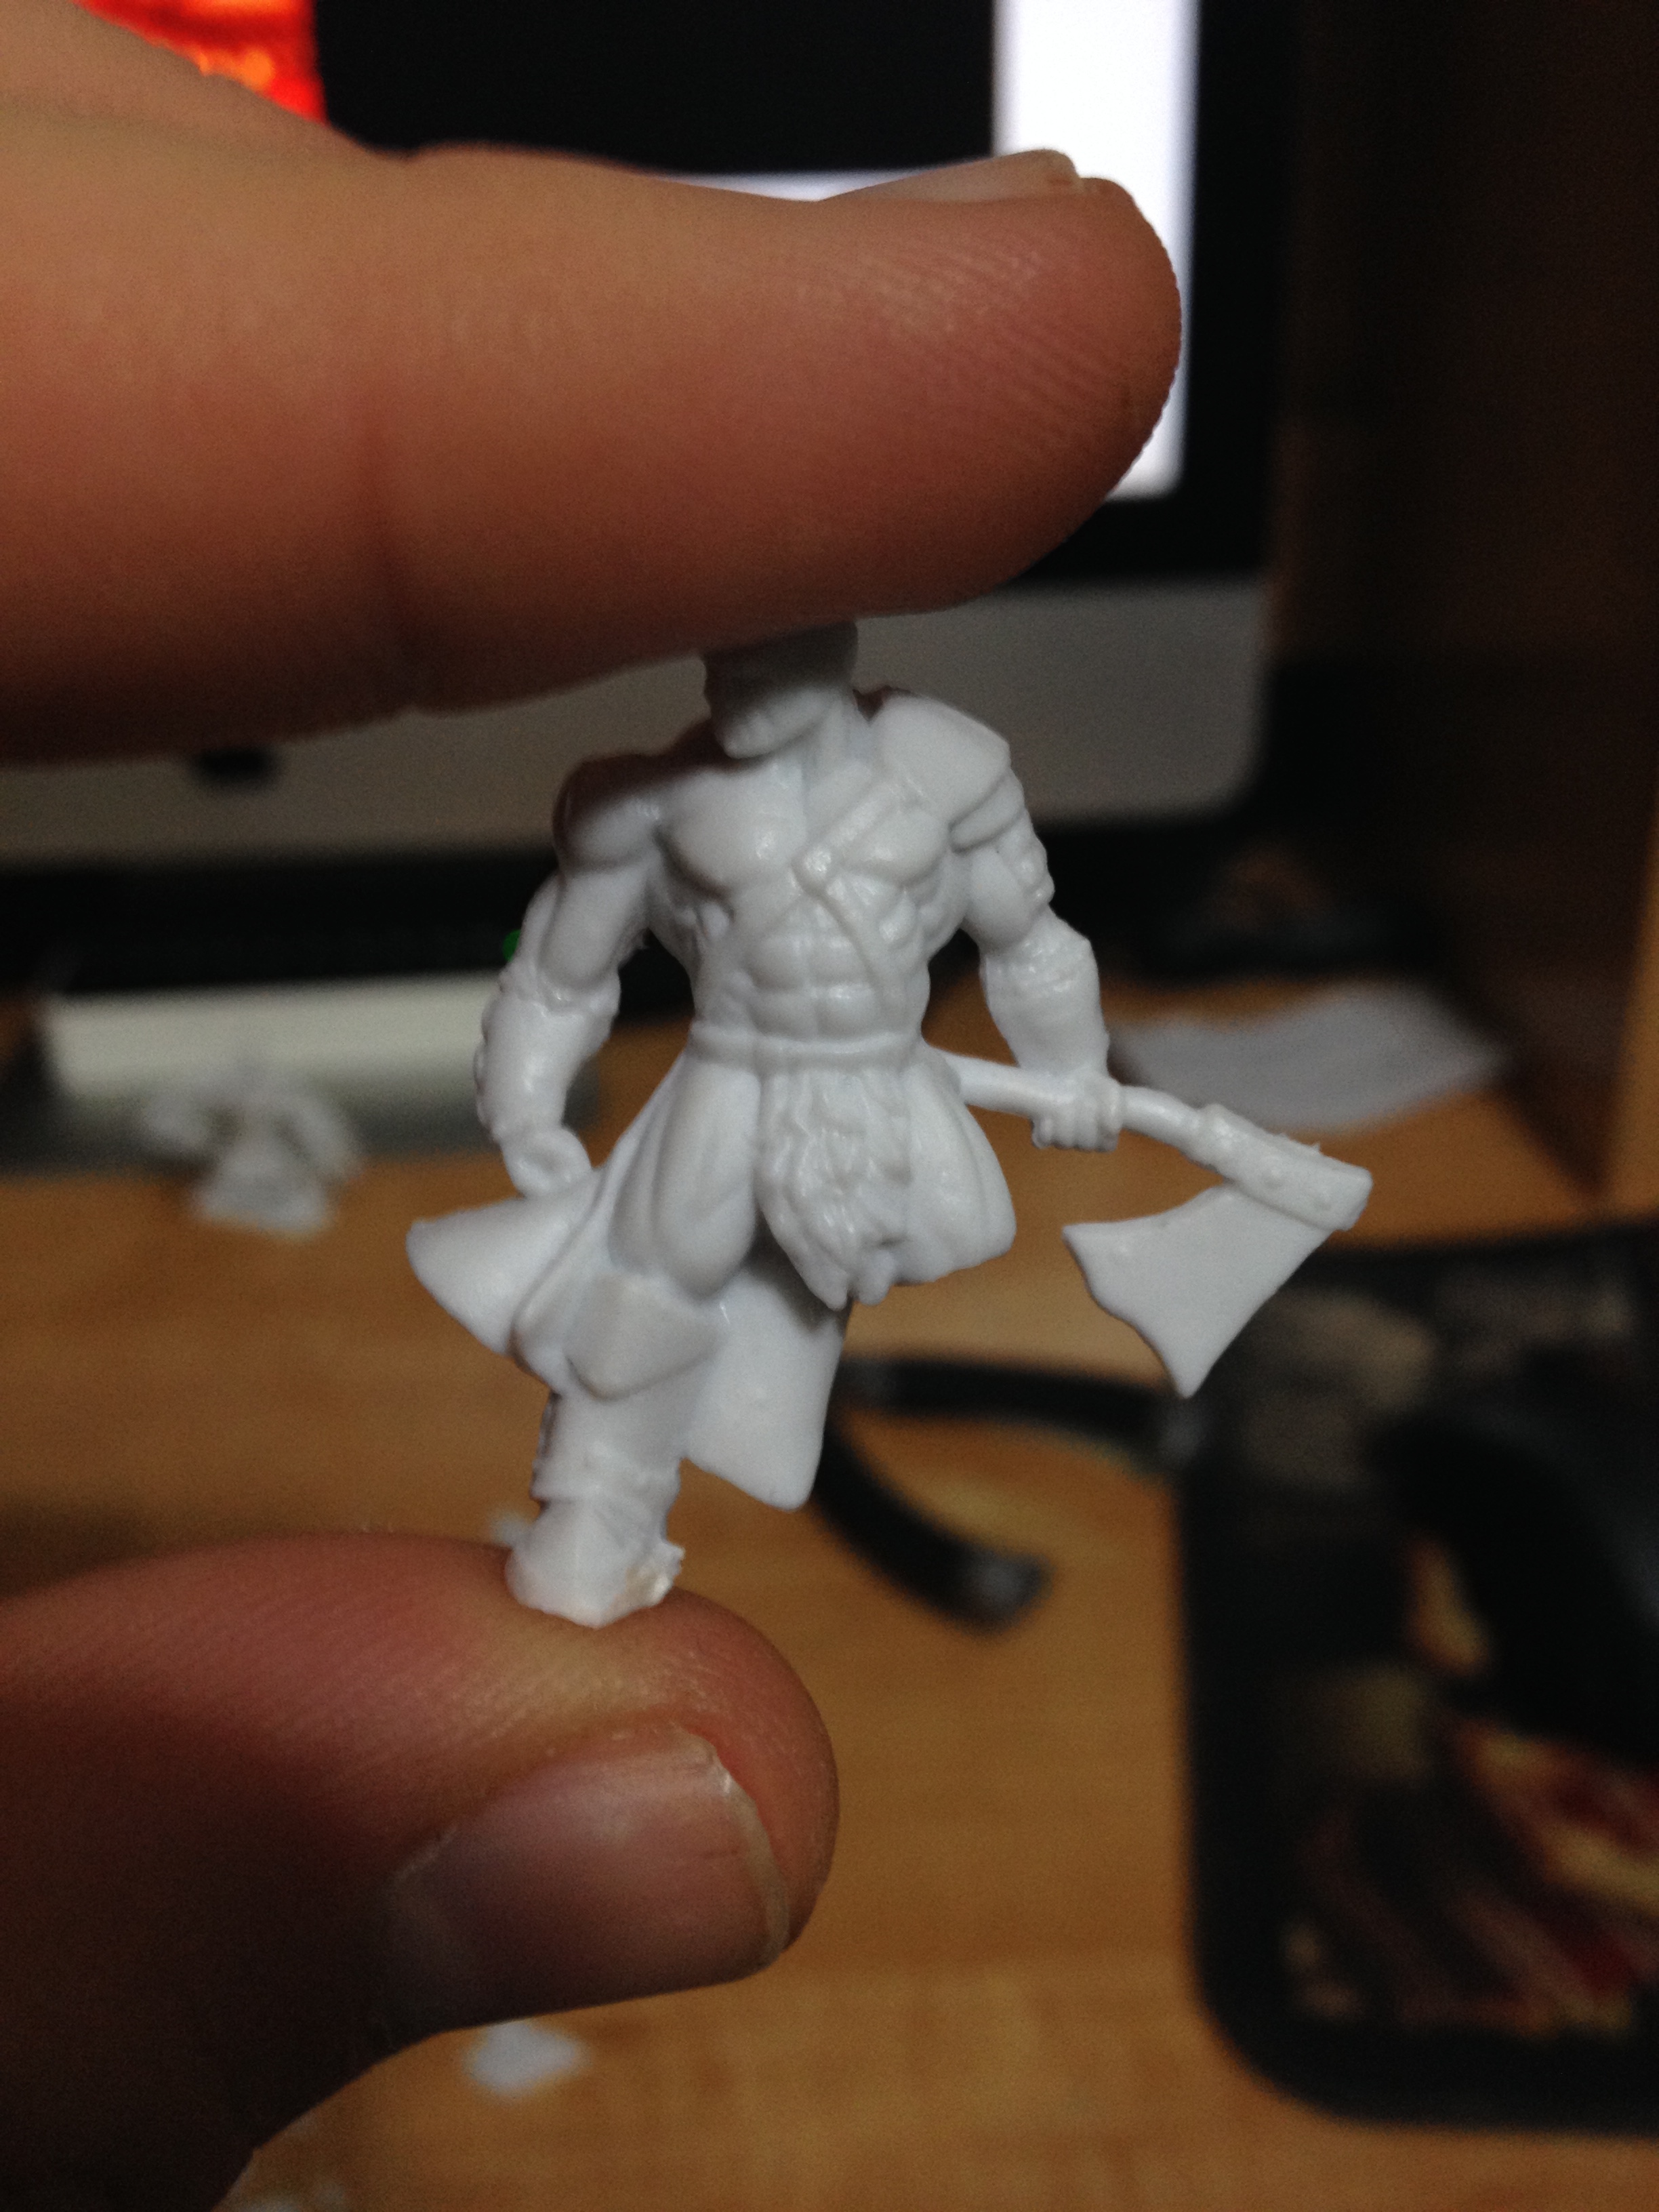 sed my tweezers to bend the wire into the general shape I wanted, then put a very thin layer of greenstuff on the wire-leg. This is so in later steps, the leg will have something for more detailed work to stick to.
After I was finished with the first leg, I moved on to the second one. This time, I had to chop off most of the cloak/cloth that was flowing behind the mini, but cloth is easy enough to model back on. I put on a dab of glue and set up the next leg to begin drying.
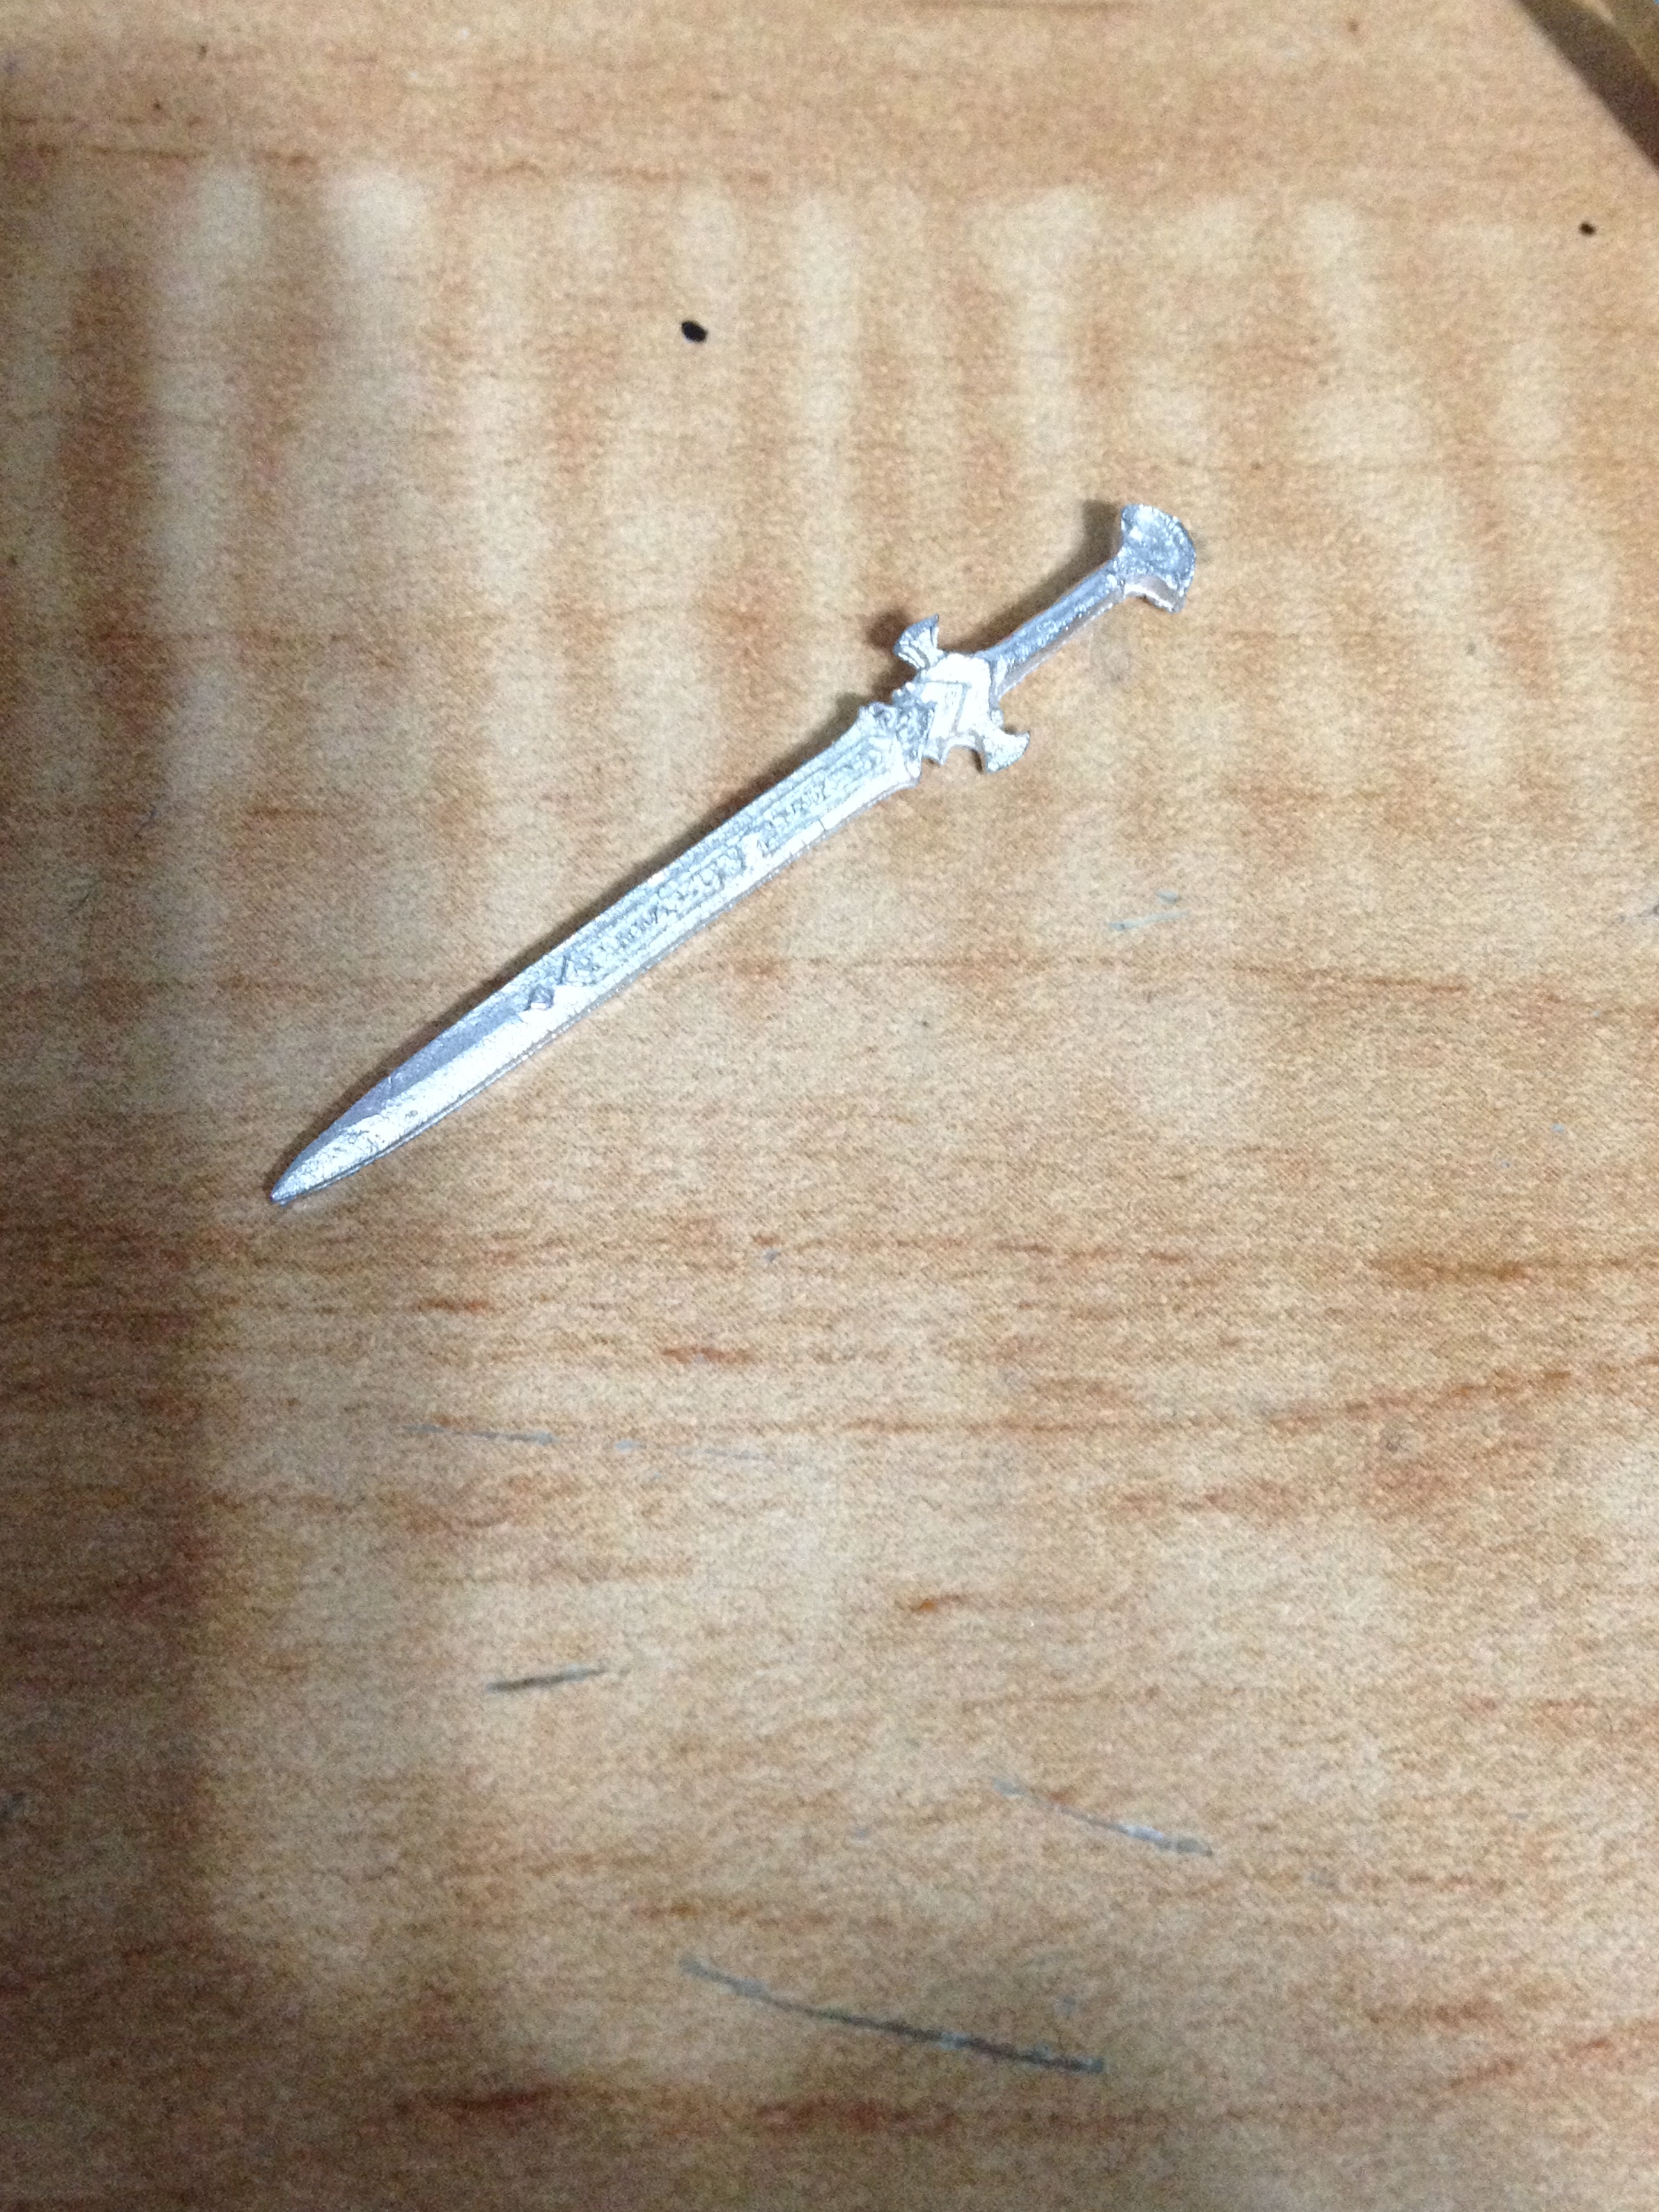
Meanwhile, I started playing with the sword that I wanted to put on the miniature. I cut off the axe and filed down the back part of the handle, erasing all traces of it. Then I drilled a hole through the sword and played around with gluing the sword to the miniature. The result … was ridiculous. It stuck out a full inch from the model, meaning that there was a whole square other minis couldn’t be standing next to my miniature in. I ripped off the sword after the next step (after I saw him mounted on a base) and resolved to find something to do with it later.
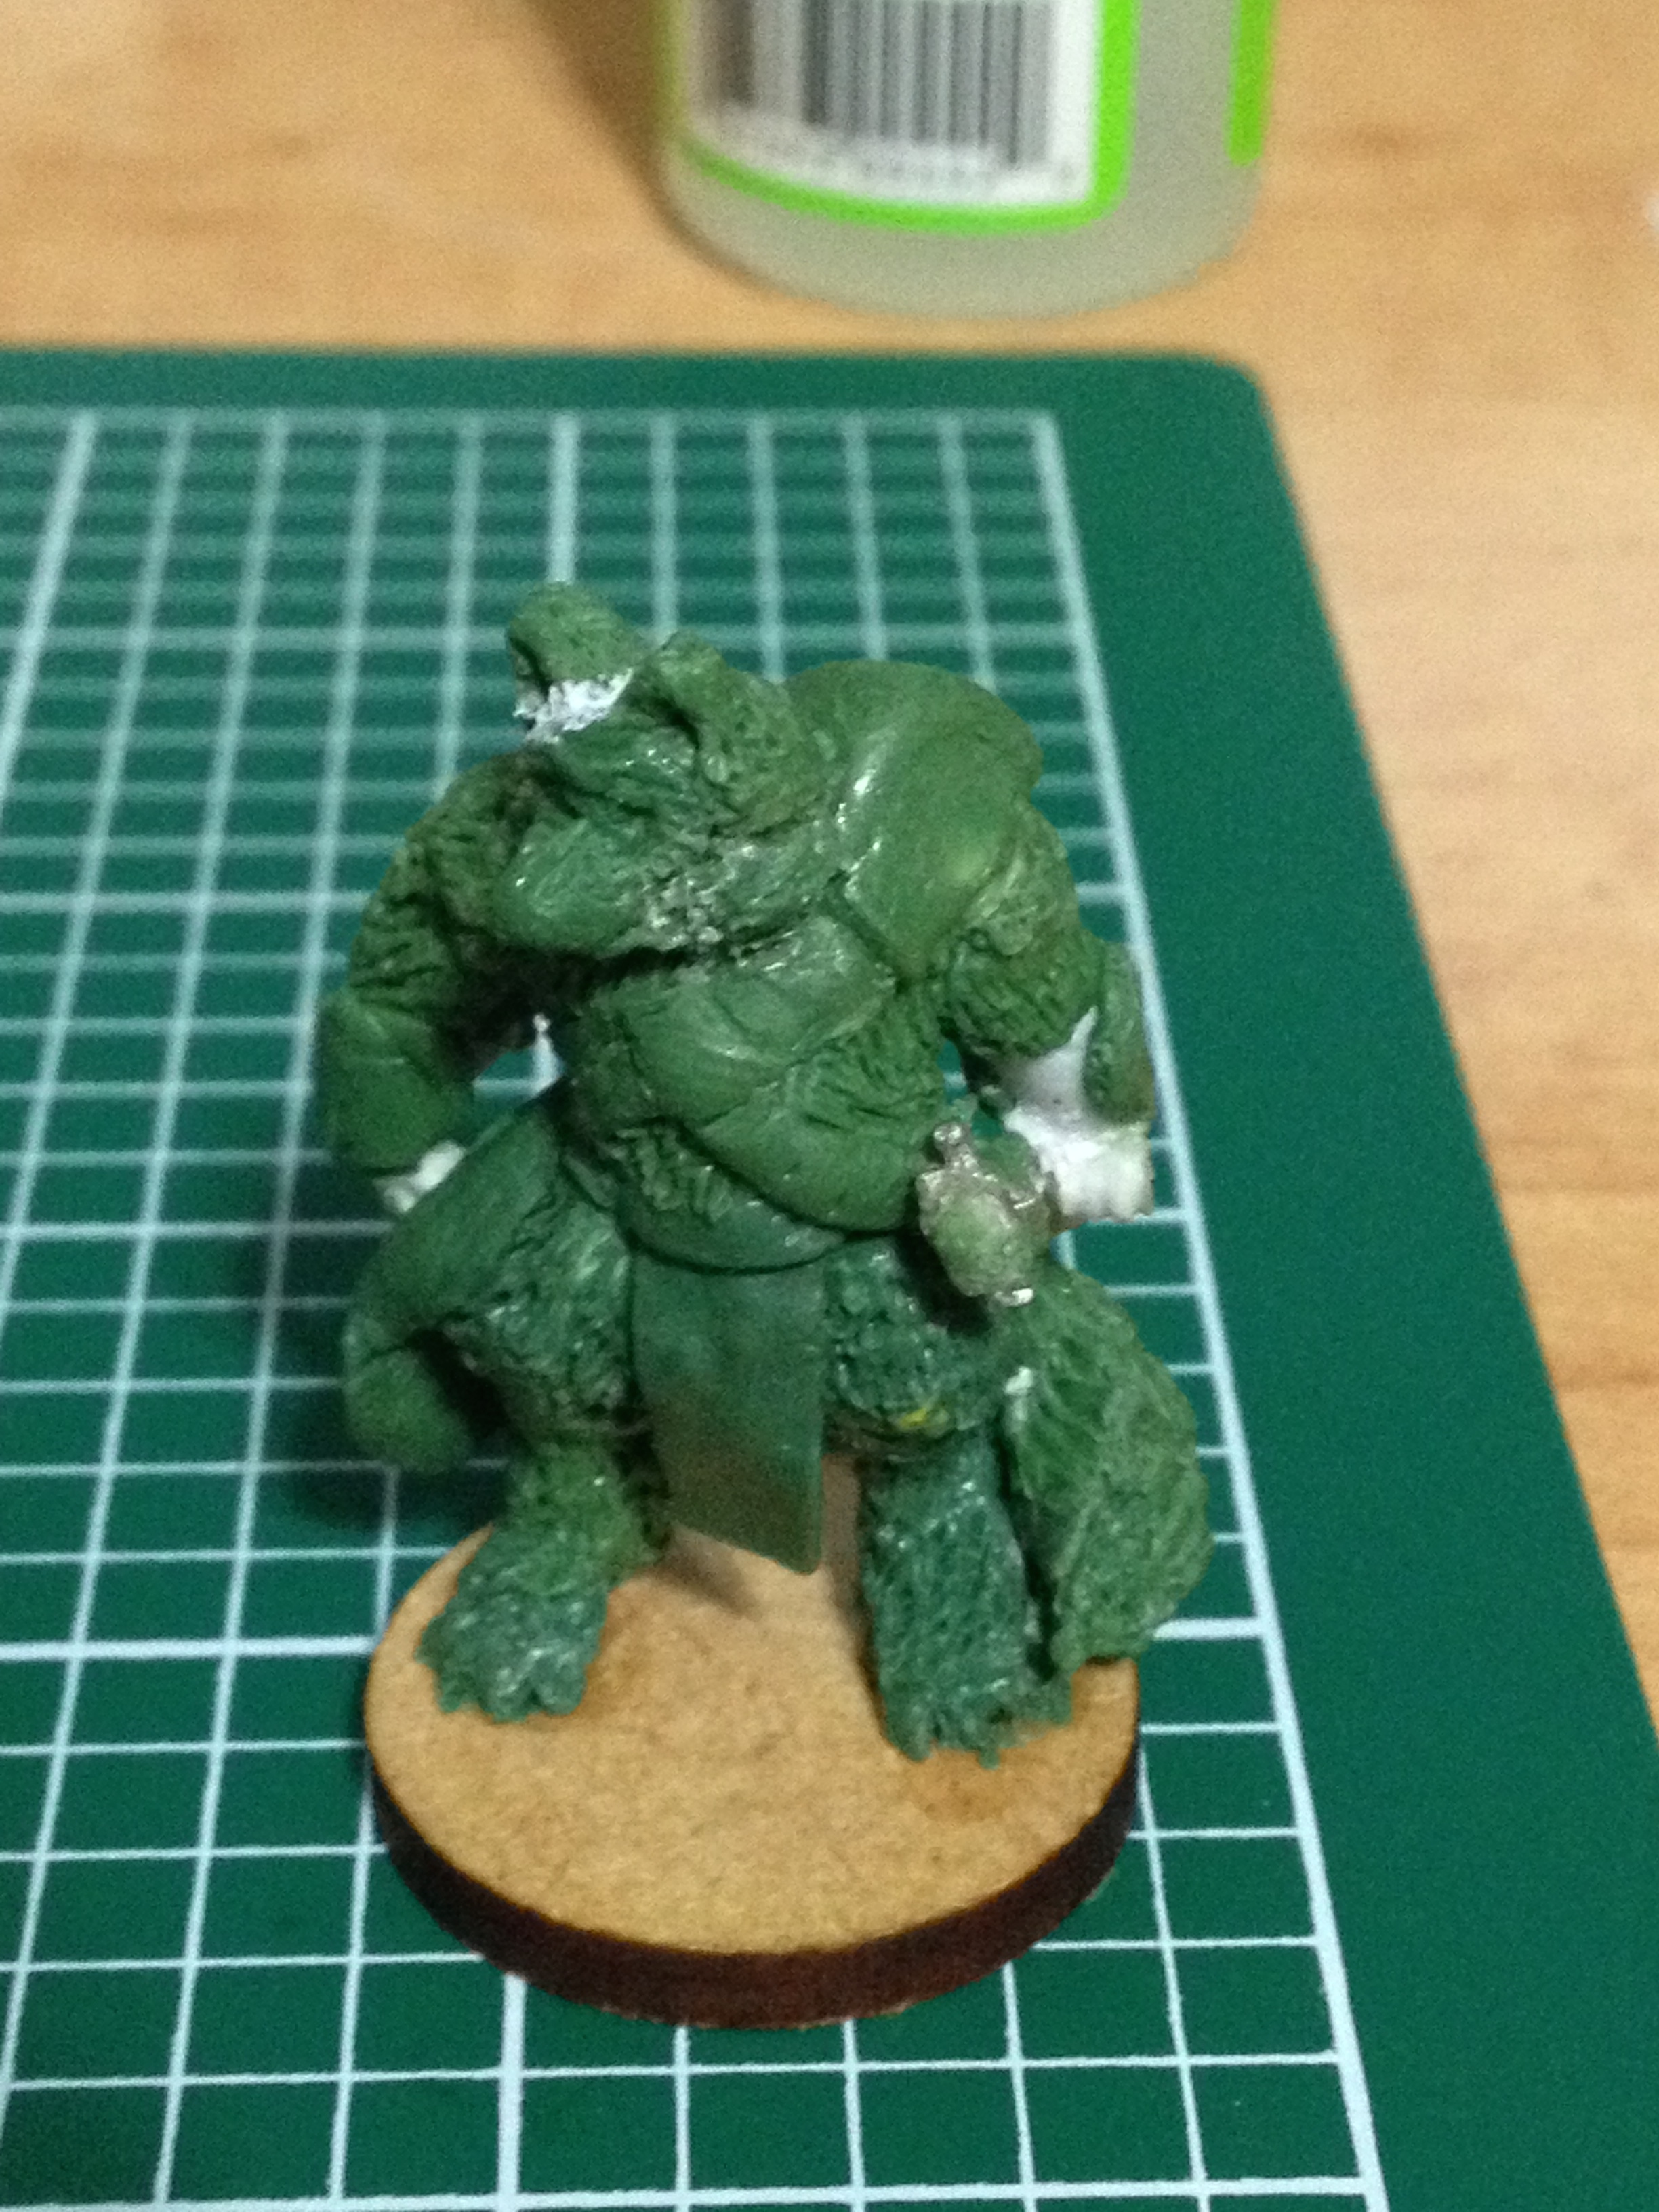
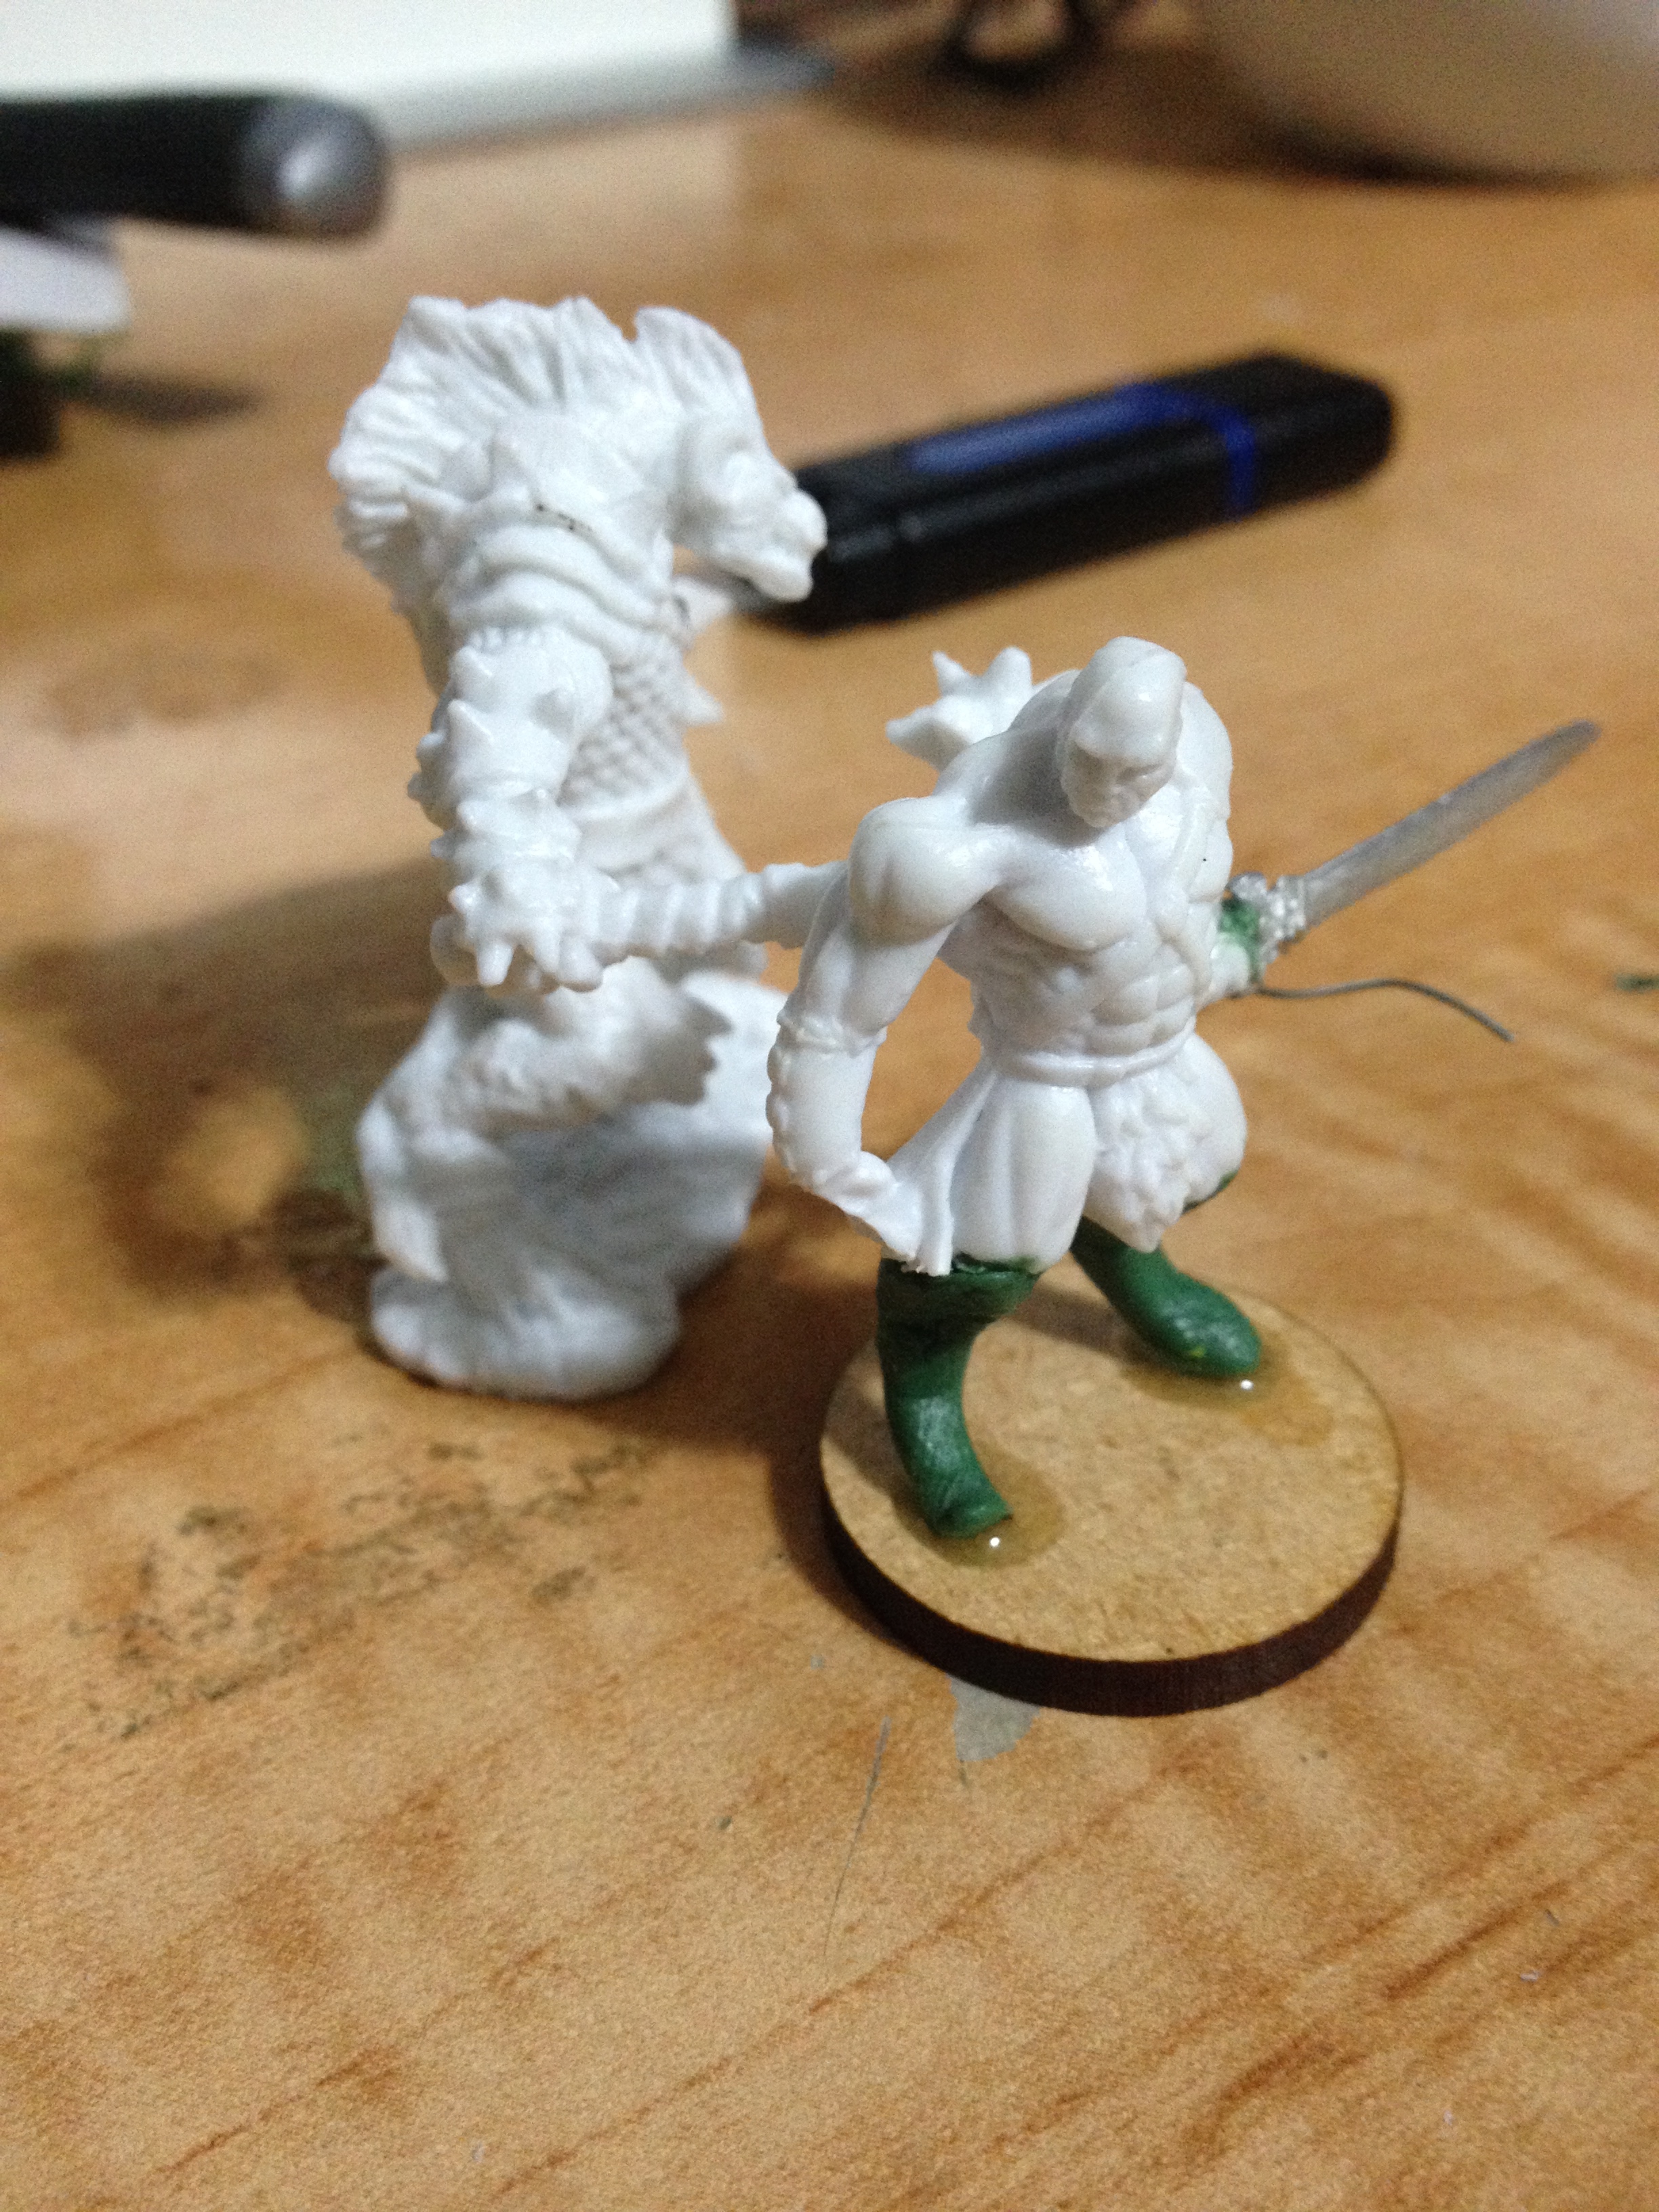 When both of the legs had dried, I adjusted them slightly and glued my barbarian to his wooden base. Then I drilled a whole just slightly above where his butt would be and measured out some wire that was roughly the same length as one of his legs. At this stage in the game, I didn’t bother to adjust it much. Afterwards, I glued the miniature onto a wooden base (I use wooden bases from Warsenal because they’re dirt cheap in bulk and you can order them to just about any size). In the picture, you can see me measuring my bloodrager up to a gnoll miniature, also from the Reaper Bones II Kickstarter. He’s not as big as a gnoll, but slightly taller than he was before. Perfect! Onward to sculpting!
Sculpting the Miniature
Since I had those green twigs for legs, I decided to start from the bottom-up. You always want to pick a direction like that and move towards the opposite end of the miniature, because even if you mount your miniature onto a cork like I do (gives me more room to hold the miniature, leading to increased support) you’re going to inevitably put your fingers where they shouldn’t be and loose a LOT of detail work, 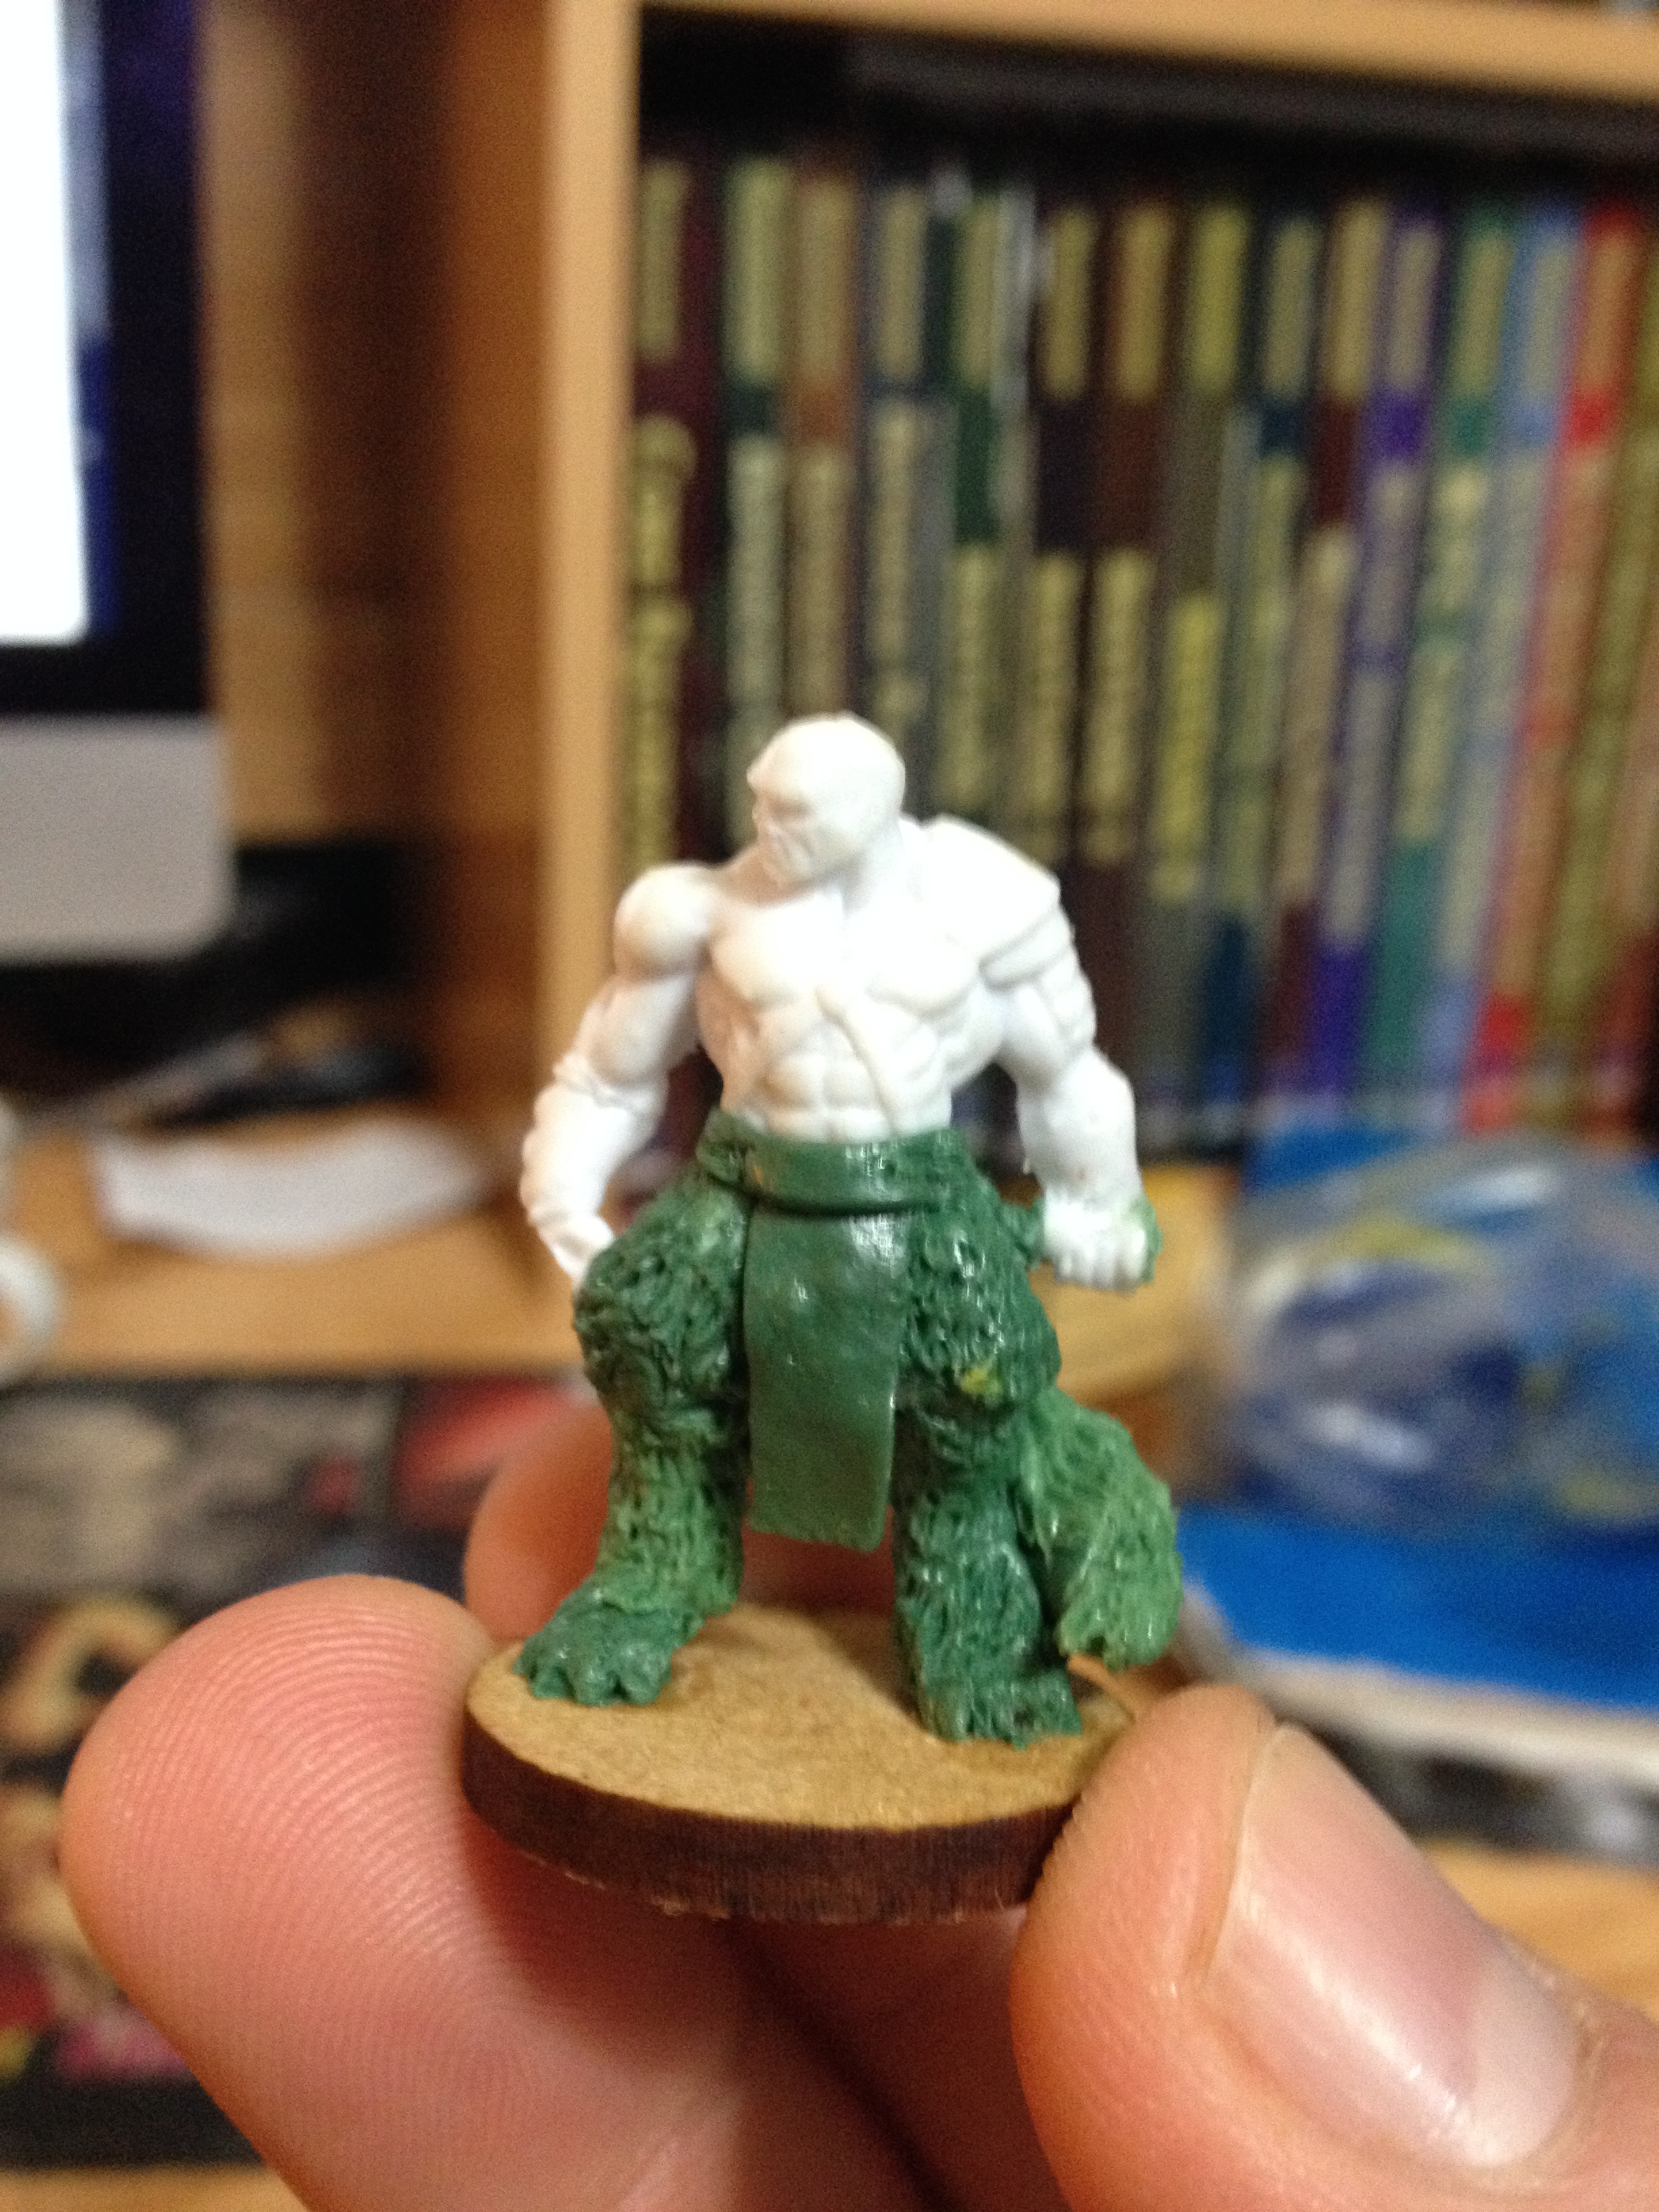 something that you can’t afford to do with an epoxy as fast-drying as greenstuff.
Before I talk about sculpting, here are two pro-tips for sculpting with greenstuff. First, greenstuff needs to be “activated” in order to work properly. Greenstuff activates in the presence of warm water, so I like to go to my sink, let the hot water run for about a minute, and then mix the blue putty with the yellow putty under the hot water. This mixed the greenstuff quickly and gives me an increased amount of time to begin sculpting. This is due to my second pro tip, you can control what greenstuff sticks to by wetting surfaces. For instance, the greenstuff is likely to stick to your knife and sculpting tools normally, but if you wet them it will peel off effortlessly. Always wet your fingers, tools, and the sculpting surface to prevent unwanted adhesiveness!
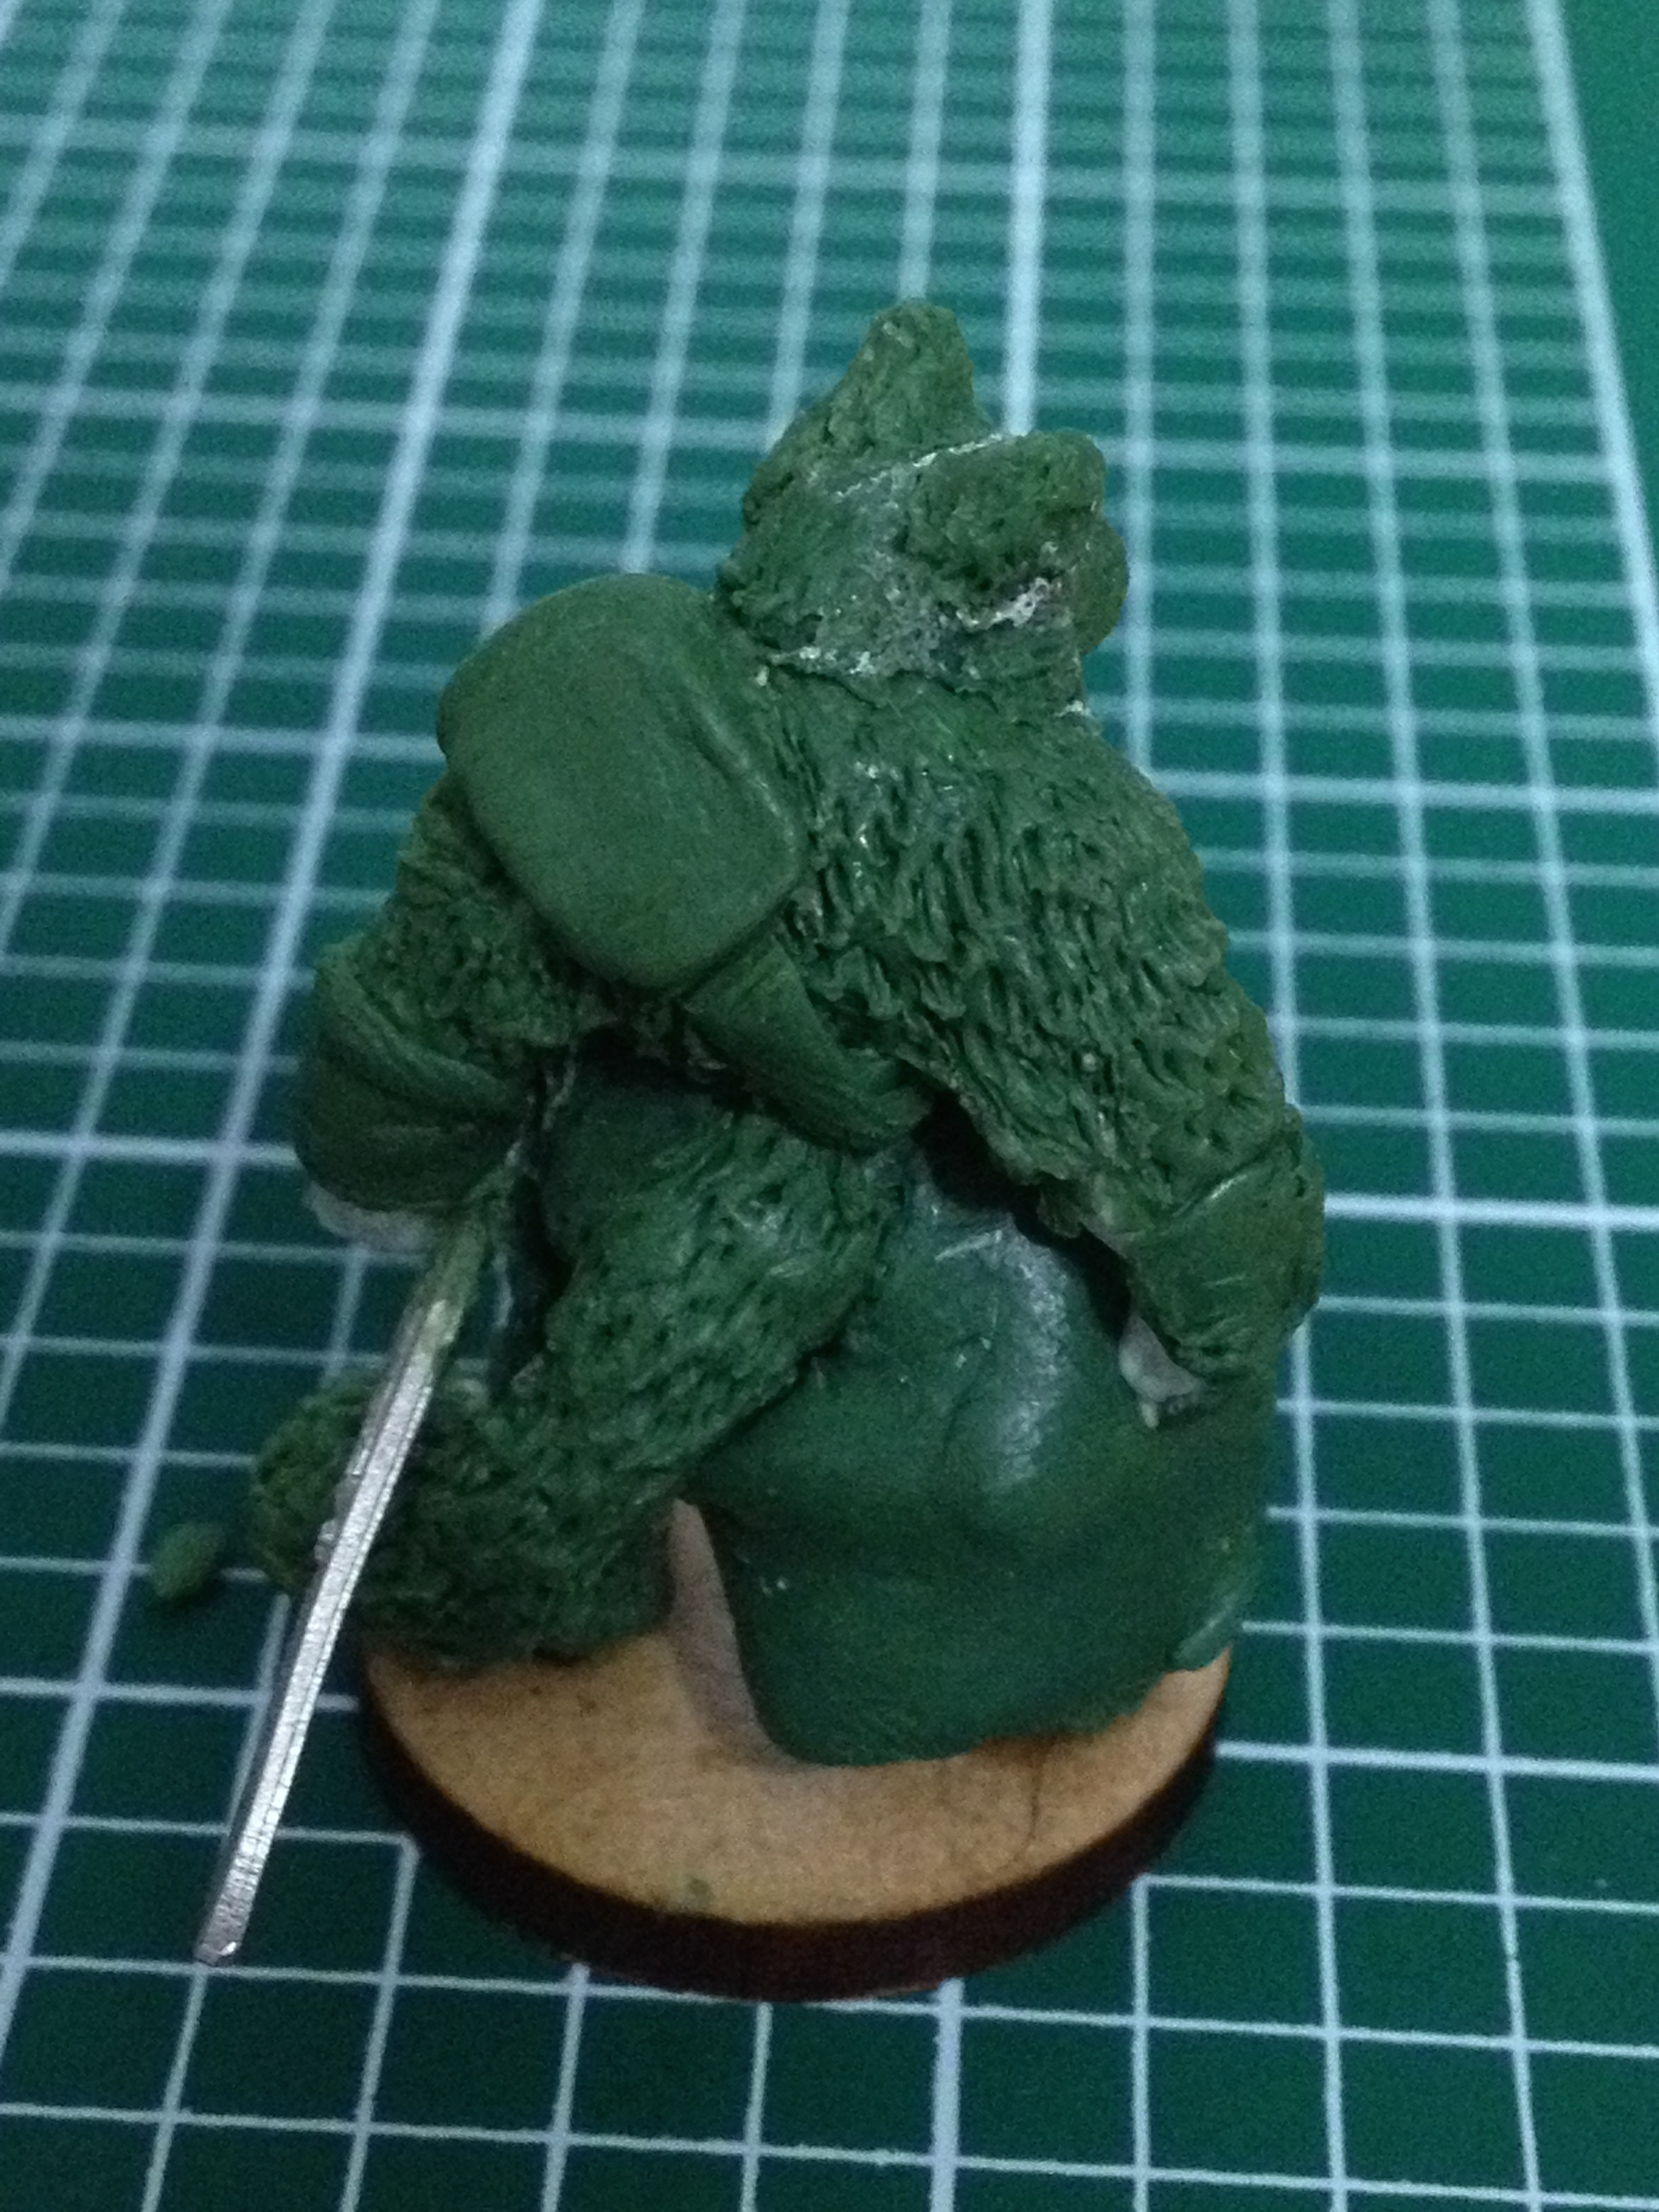
Back to sculpting! What I did was start with the miniature’s “foot” and glob on enough greenstuff so the miniature’s limbs were about as thick as I wanted them to look. With the greenstuff in place, I carefully made small cuts, a millimeter long and a tenth as deep, in to the greenstuff. This gives the greenstuff’s texture the likeness of fur, which is important when you’re playing a kitsune. I stopped at about the ankle 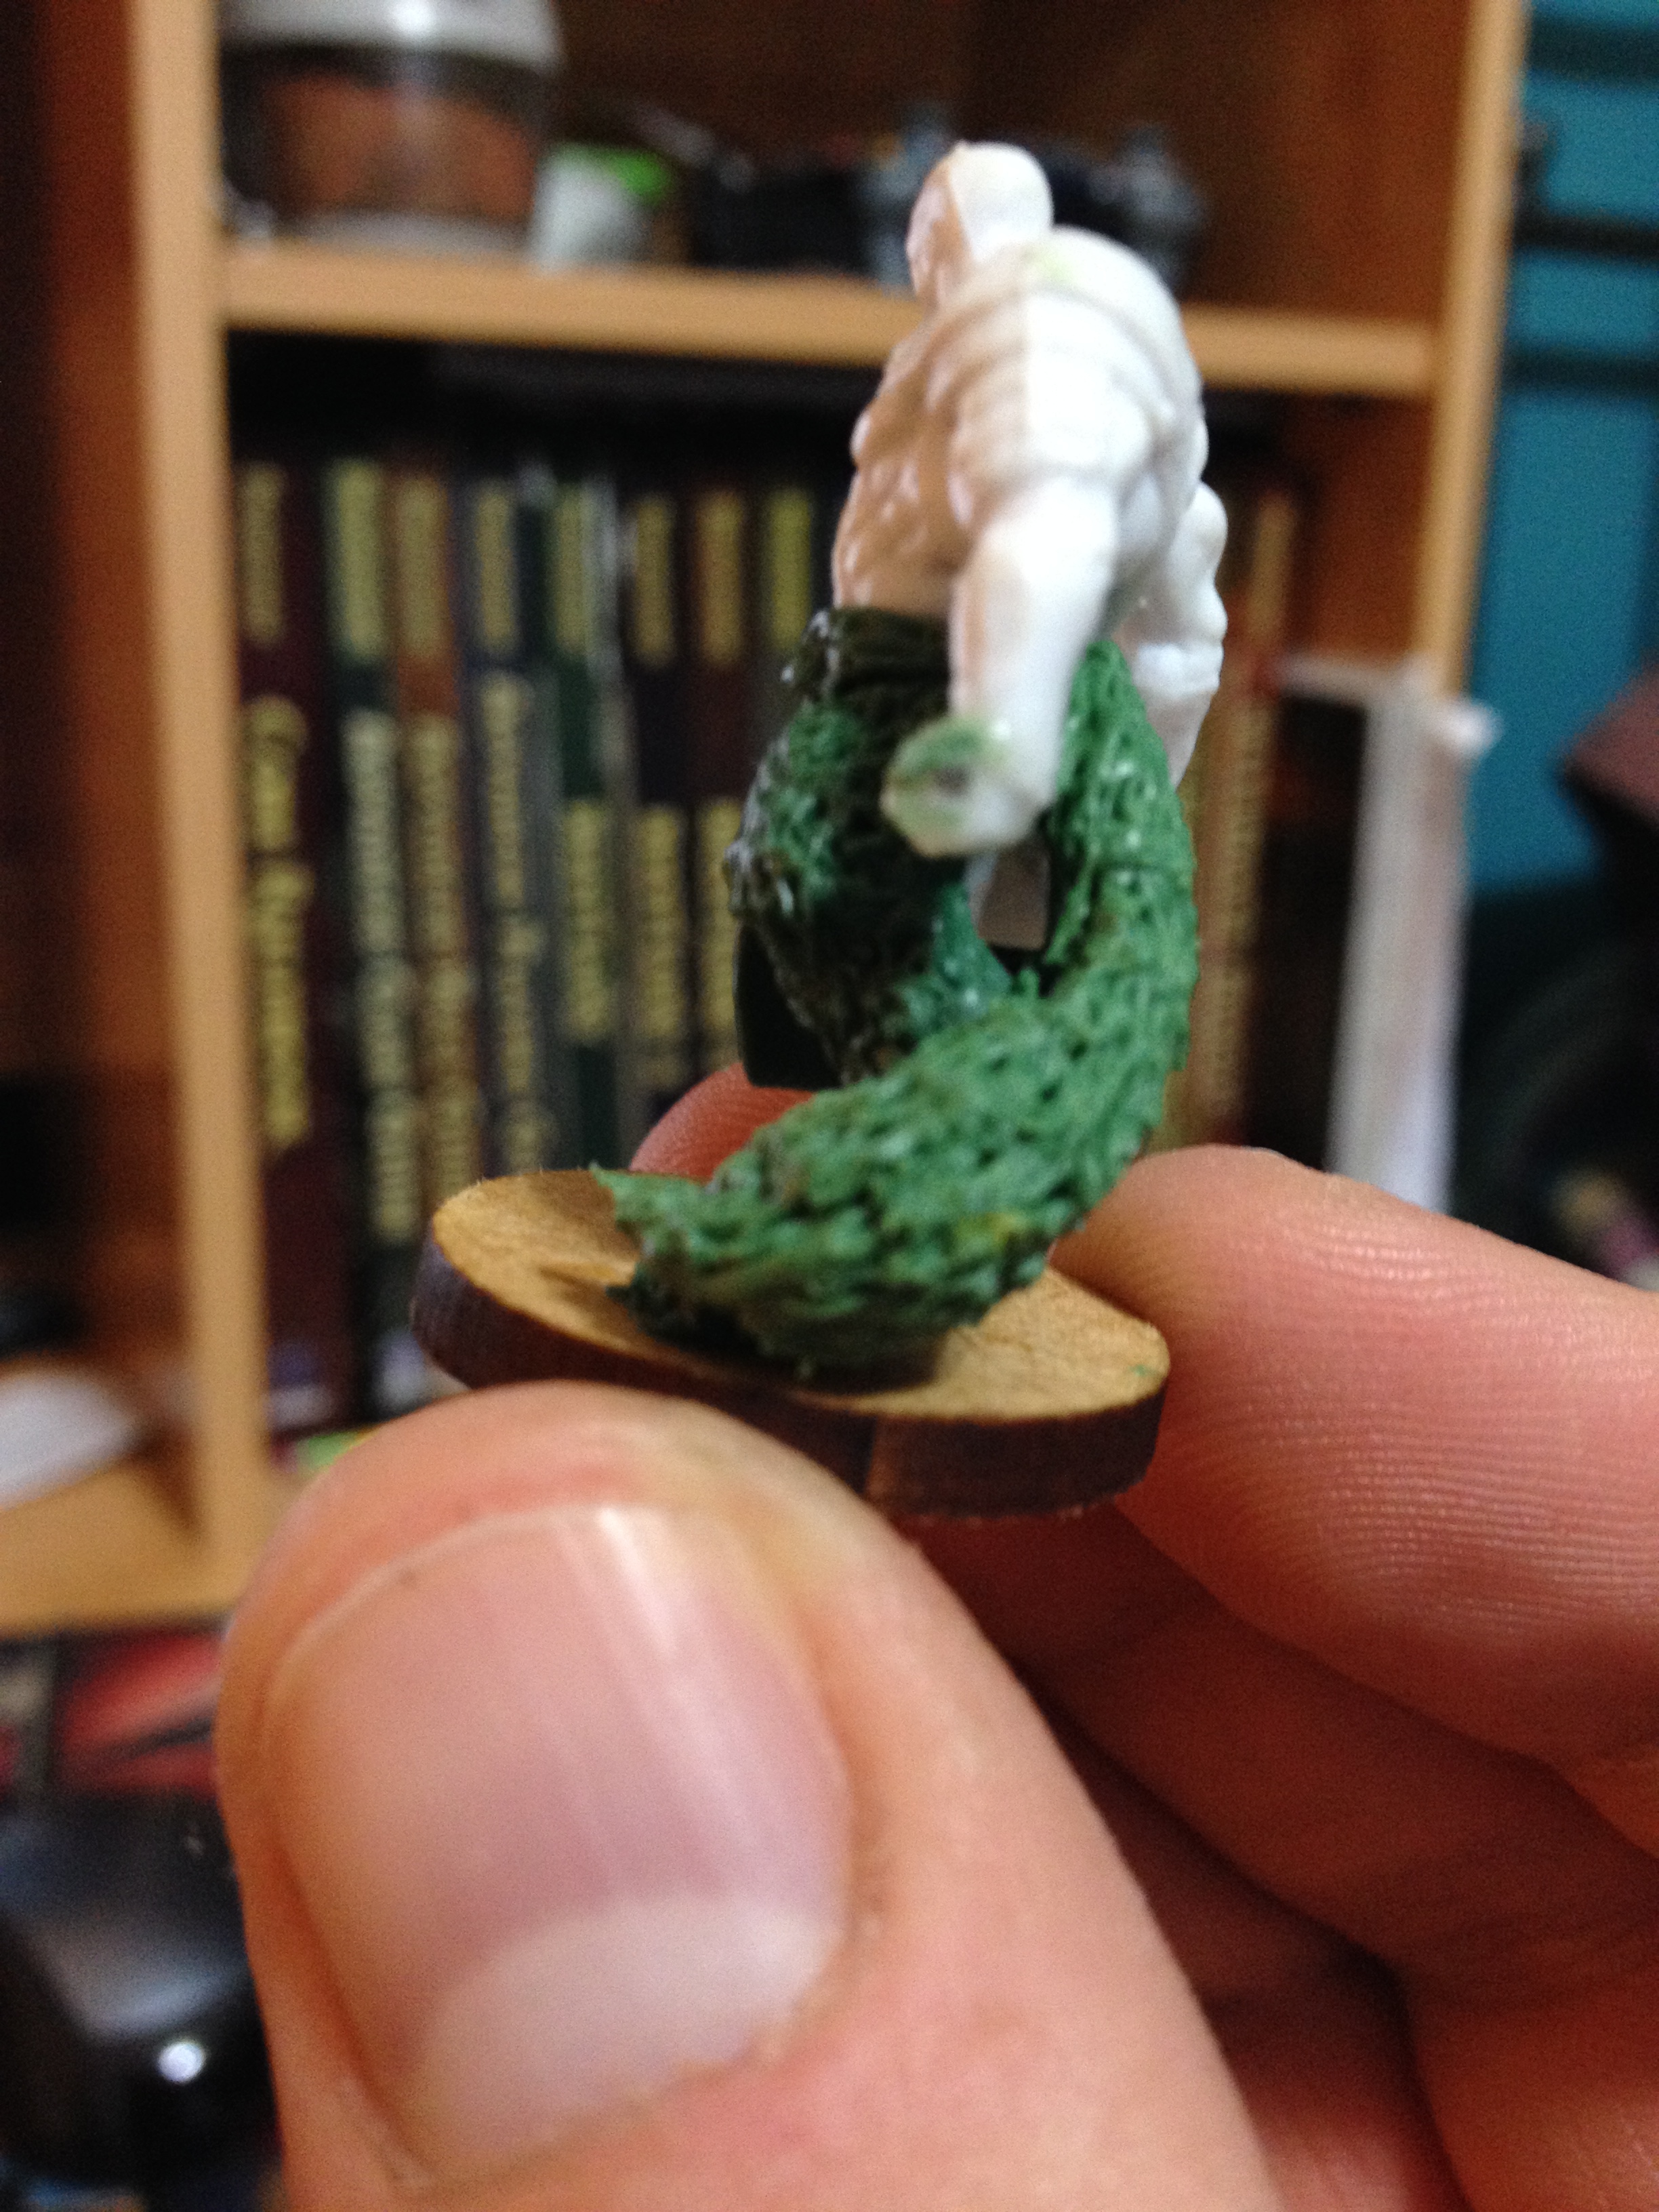 joint on both legs, put the miniature someplace safe, and waited a day or so for the greenstuff to dry. The next day, I did the kitsune’s shins and thighs in the same manner and on the following day I did the kitsune’s tail. With the model’s lower half nearing completion, I decided to enhance the tabard that the base human model already had. I took a wad of greenstuff and rolled it out on a wet, plastic surface to be roughly as thick as cloth. (If I had owned it at the time, I would have used my new Army Painting mat instead of plastic, however.) Then I took a round implement and flattened out the greenstuff before cutting it into a long, rectangular shape. I stuck this shape over the human model’s tabard and repeated the process to make a thin belt for my model to hold the loincloth / tabard in place. Then I took my tweezers, wetted them a little, and then adjusted the tabard so it looked like it was moving with the miniature’s pose slightly. With the tail, belt, and cloth finished, I put my miniature someplace safe and let the greenstuff sit for about a day.
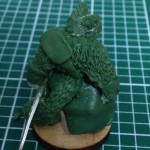
With the bottom half complete, I was ready to begin sculpting the top. Carefully, I put small globs of greenstuff on the model over his chest, taking extra caution to make sure I wasn’t covering his bandolier, which I liked the look of. Pushing the greenstuff into the groove of his muscles, I began to sculpt more fur across the barbarian’s chest, just as I had done on his lower parts. I left his hands and wrist armor clear as well. I let the fur harden overnight, and the next day I sculpted on the bandolier and the pauldron. In order to make the armor look decent, I followed the base armor’s layers and used my knife to keep the edges of the 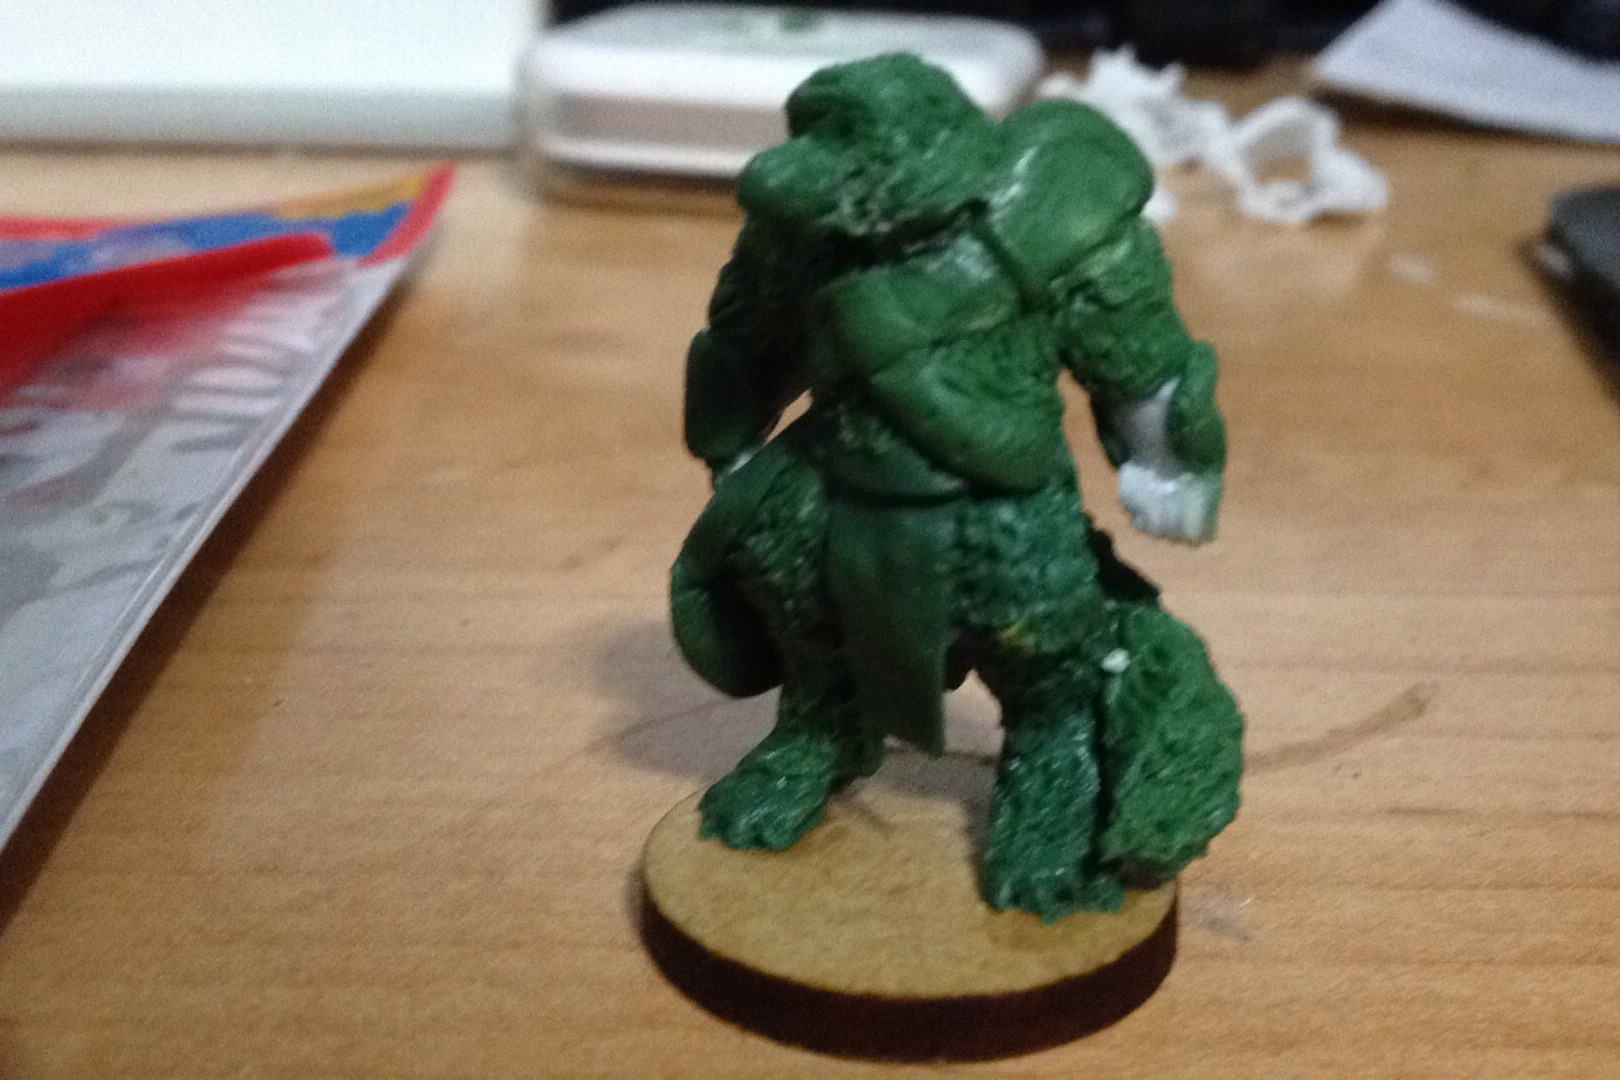 armor sharp. Once the armor was in place, I used the blunt end of my tweezers to flatten the armor along the inside so the edges were raised, giving it a metallic quality. Then I used my knife to re-sharpen the edges. This process of alternating sharpening and flattening took about five minutes of work, and along the way I had to constantly re-sharpen the details on the bandolier. When I was satisfied, I put the miniature down for the night. The next day, I followed the same procedure that I used for the pauldrons to make a swooping back-cloak. I cut off one of the miniature’s hands so I could lift the entire arm up and slide the cloak on underneath it. In retrospect, I should have done this before the top, because I ended up cracking some of the fur on the miniature’s shoulder, which needed to be re-sculpted. When that was done, I made armor for the miniature’s wrists in the same manner that I sculpted the pauldron, although it took a LOT less time because there was less detail on the wrists. (To compensate, there were two bracers instead of one pauldron, I guess.)
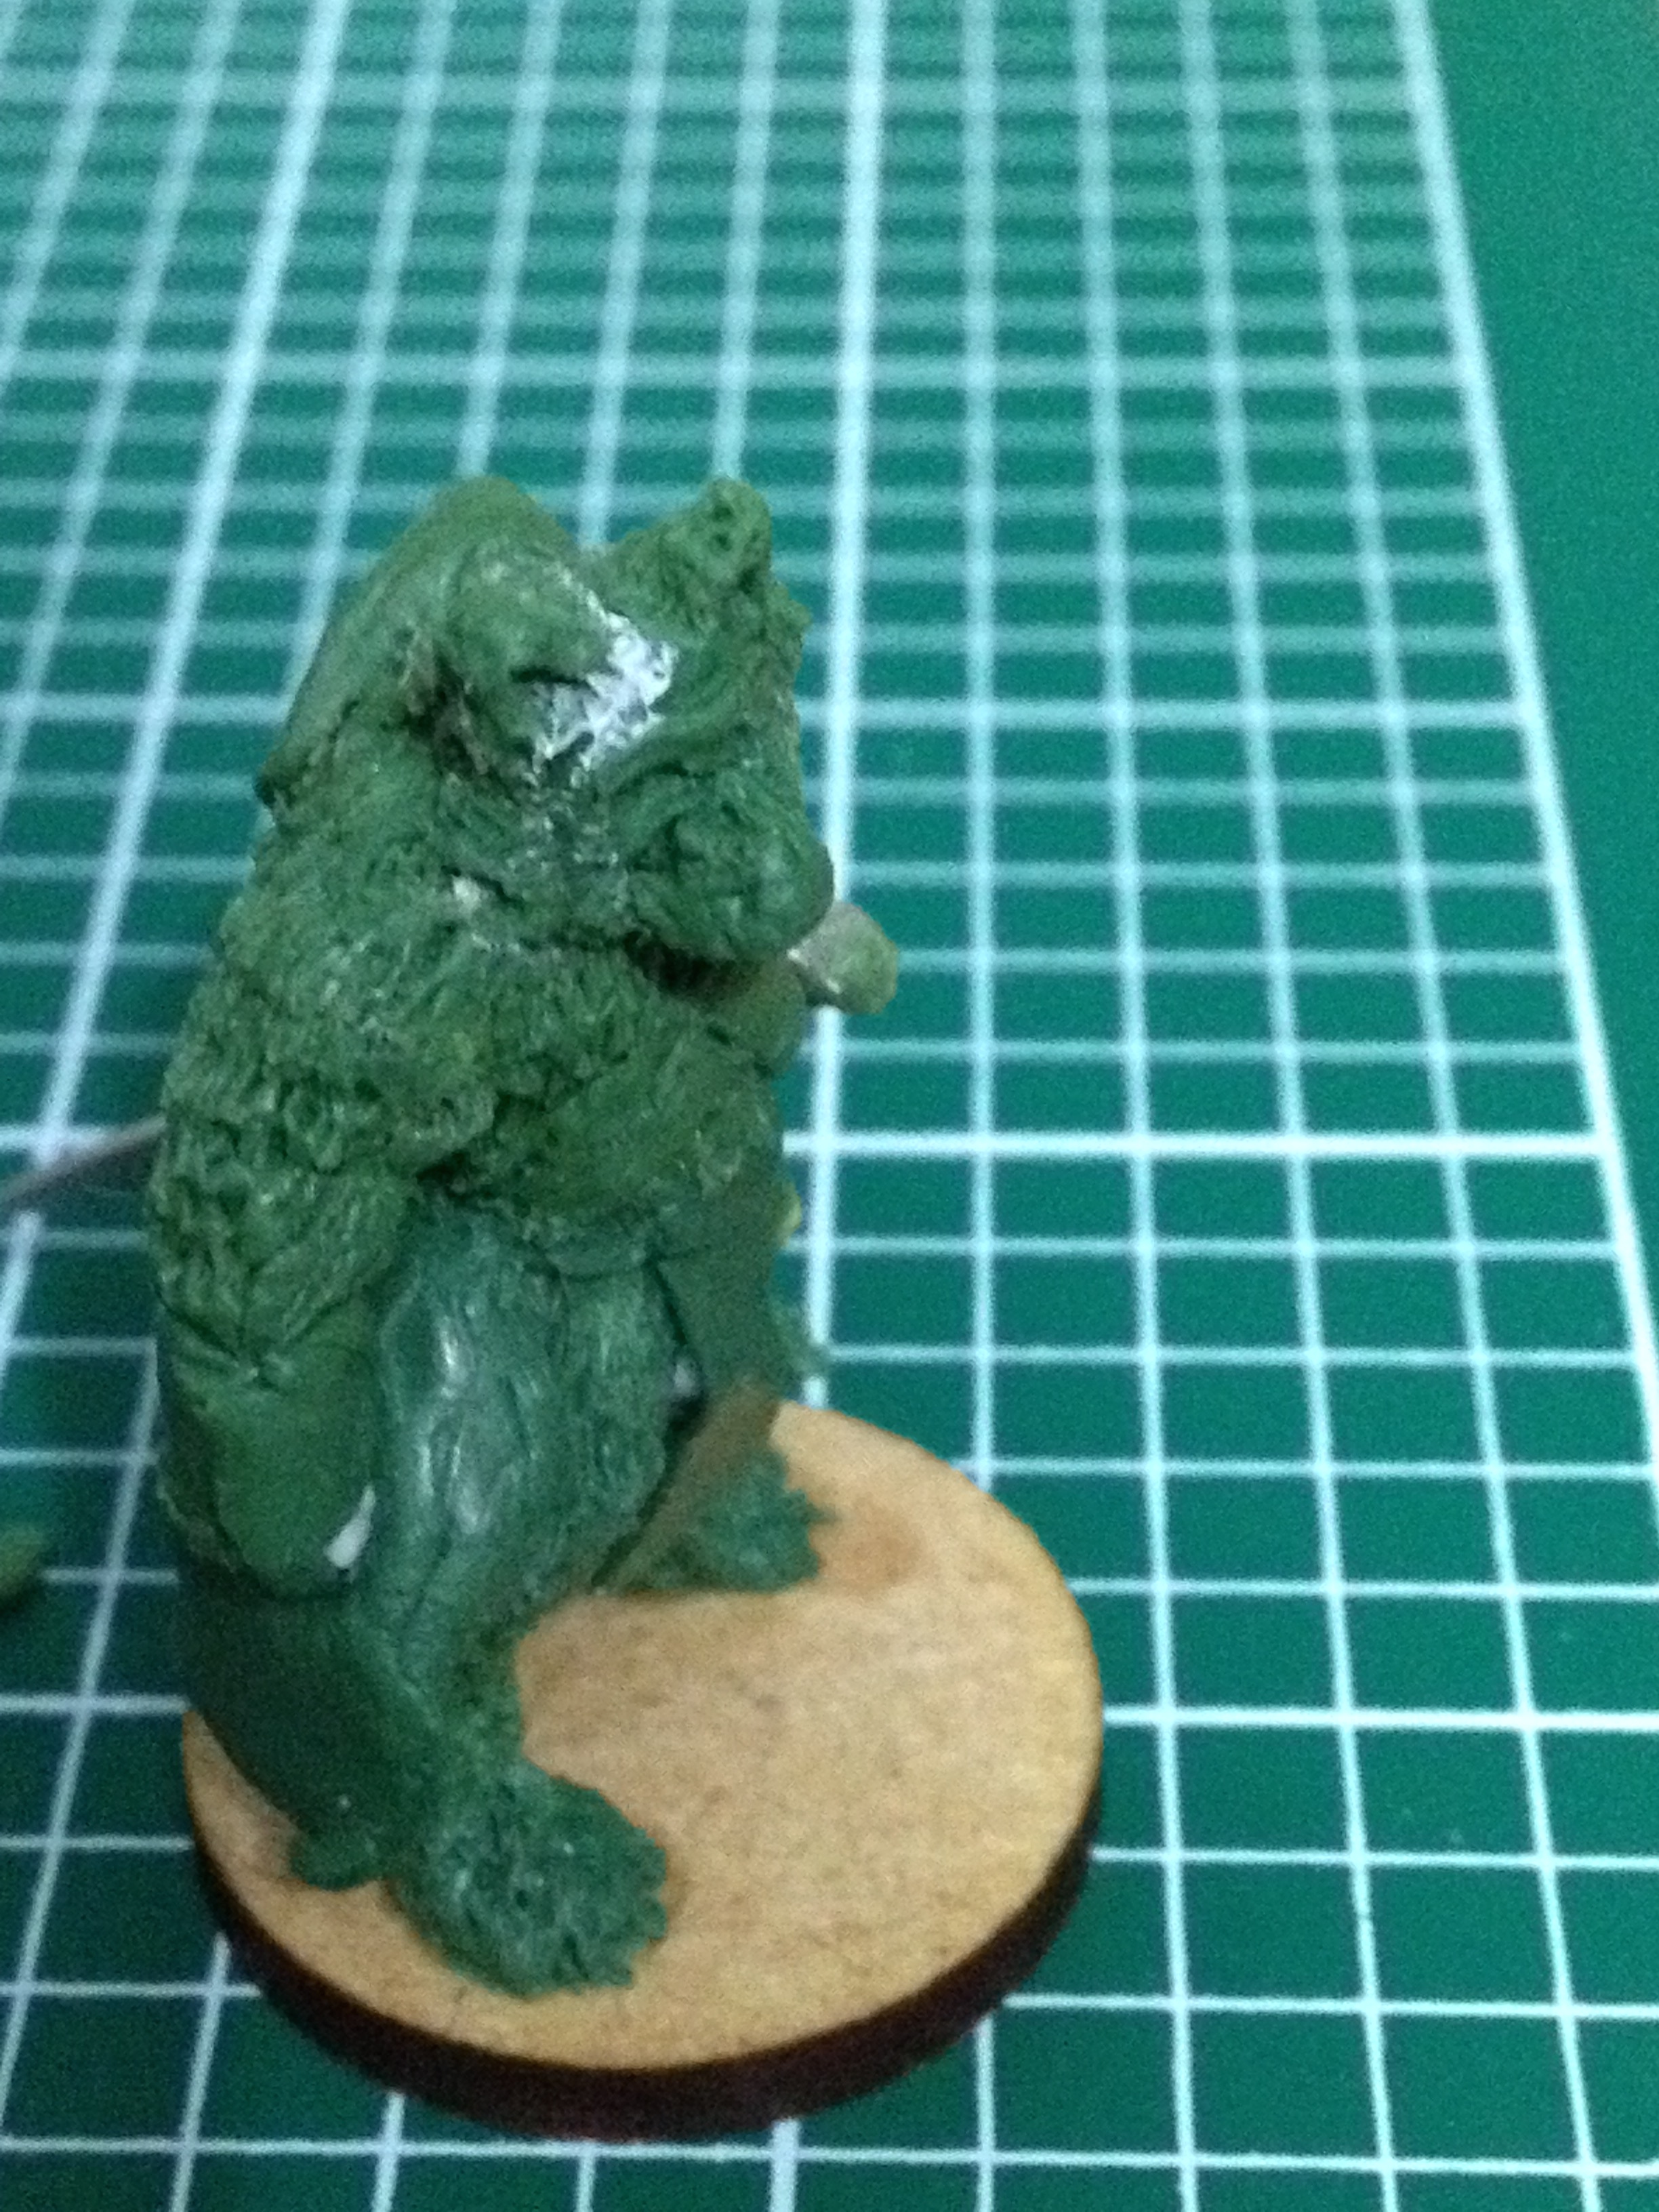
The next day, I began working on the hardest part of sculpting: the head. The bad news about head sculpting is that the Uncanny Valley really gets in the way of this. For those who haven’t heard of this psychological concept, the Uncanny Valley is the idea that the more human something looks, the more we notice the ways in which it is clearly not human, and are thereby repulsed by the juxtaposition of human 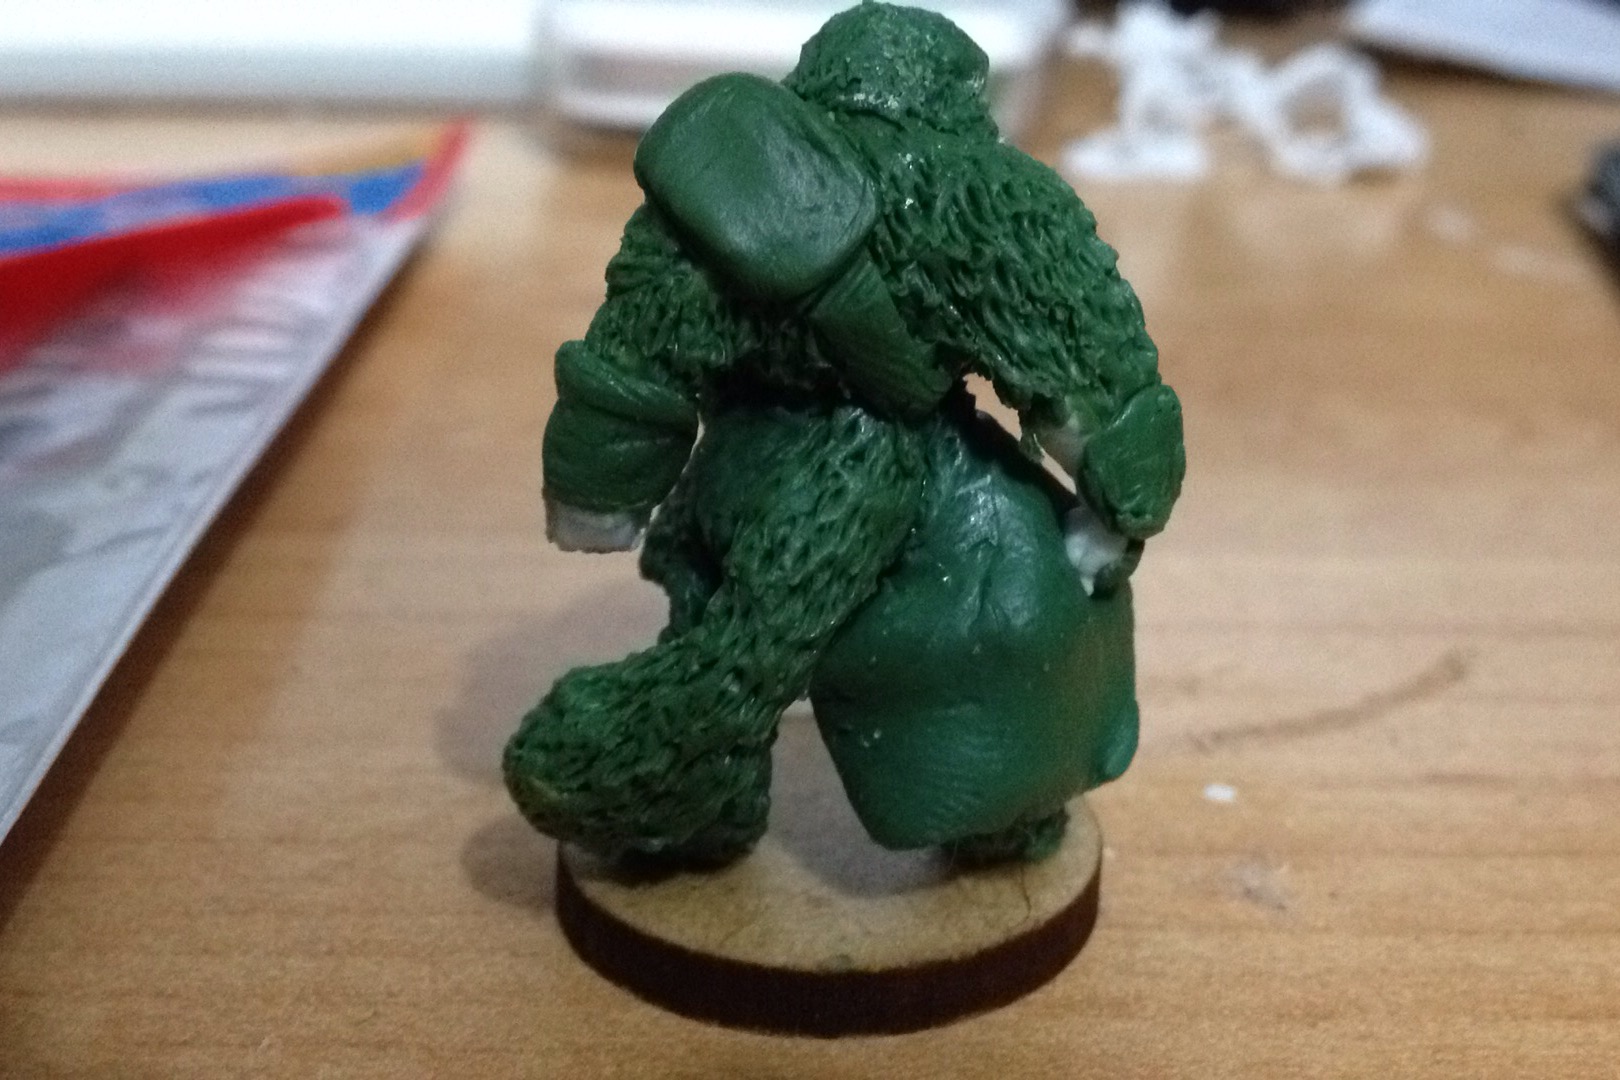 and inhuman. (This is one reason why bizarre animation, like a Simpsons character, can look pleasing, even adorable, while many CGI effects fall flat on their faces.) Lucky for me, kitsune aren’t very human-looking, so psychologically I don’t have to be too exact. My strategy was simple, first, I put some greenstuff on the human’s back in a sloped fashion. Then, I covered the face with some greenstuff, taking extra care to tuck some under his chin in order to define it. Then, I took my knife and drew a cross down the center of the model’s face, where I intended its nose/snout to line up with, and then I drew a horizontal line over where the mini’s ears were. Then, I put a small piece of greenstuff just below the line and slowly sculpted it out in a triangular shape so it looked like a wolf snout. Meanwhile, I used my knife to push the greenstuff away from two points on the line where I intended the kitsune’s eyes to be, literally hollowing out its eyes. After that was done, I used my knife to sculpt in fur across the head, fixing the details on the eyes and snout while working to make them more believable. For instance, I was careful to put no fur where I knew the kitsune’s nose would go, and I also kept a bit of unsculpted area to act as the model’s eyebrows. I had to do this for about 20 minutes as the greenstuff hardened; if I had just let the model sit, gravity would have pulled the otherwise unstable and weak putty that made the model’s mouth/snout down, making him look like Gonzo the Great rather than a fox. When I was satisfied that the model’s snot had solidified enough that I could trust it to stay by itself, I put it somewhere safe and allowed it to dry for the night.
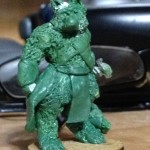
 After the face was finished, I still had three more target areas to complete: the greatsword, the ears, and the little spaces on the forearm. I began with the ears, starting by taking small orbs of greenstuff and making them into rough triangle shapes. In my experience, ears NEVER stick where you want them to go, so I took a small dab of super glue and placed them where I wanted the ears to go on the miniatures, sticking the greenstuff down in those spots. The greenstuff reacts quickly to super glue, causing it to harden and turn whitish in color, so I quickly began using my knife to push greenstuff away from the venture of the ears, hollowing them out into a familiar fox shape. When I was happy with each ear’s shape, I used my fur texture technique to make them furred and then quickly let the miniature set for a few minutes while the superglue did its job. When I was convinced that the model wasn’t sticky any more, I came back and globbed some extra greenstuff next to the greatsword’s guard. This miniature is big enough (and the character strong enough) that he could wear the sword at his side, which ended up working MUCH better because now the miniature can actually be placed next to others. Its probably not historically accurate, but the miniature blade is small enough that it works for my purposes. I quickly glued the sword into place and called it a night, deciding to leave the little areas of flesh under the arms for later. (I didn’t want to take the chance that I’d ruin those delicate ears, which I’ve done before MANY times on other kitsune models.)
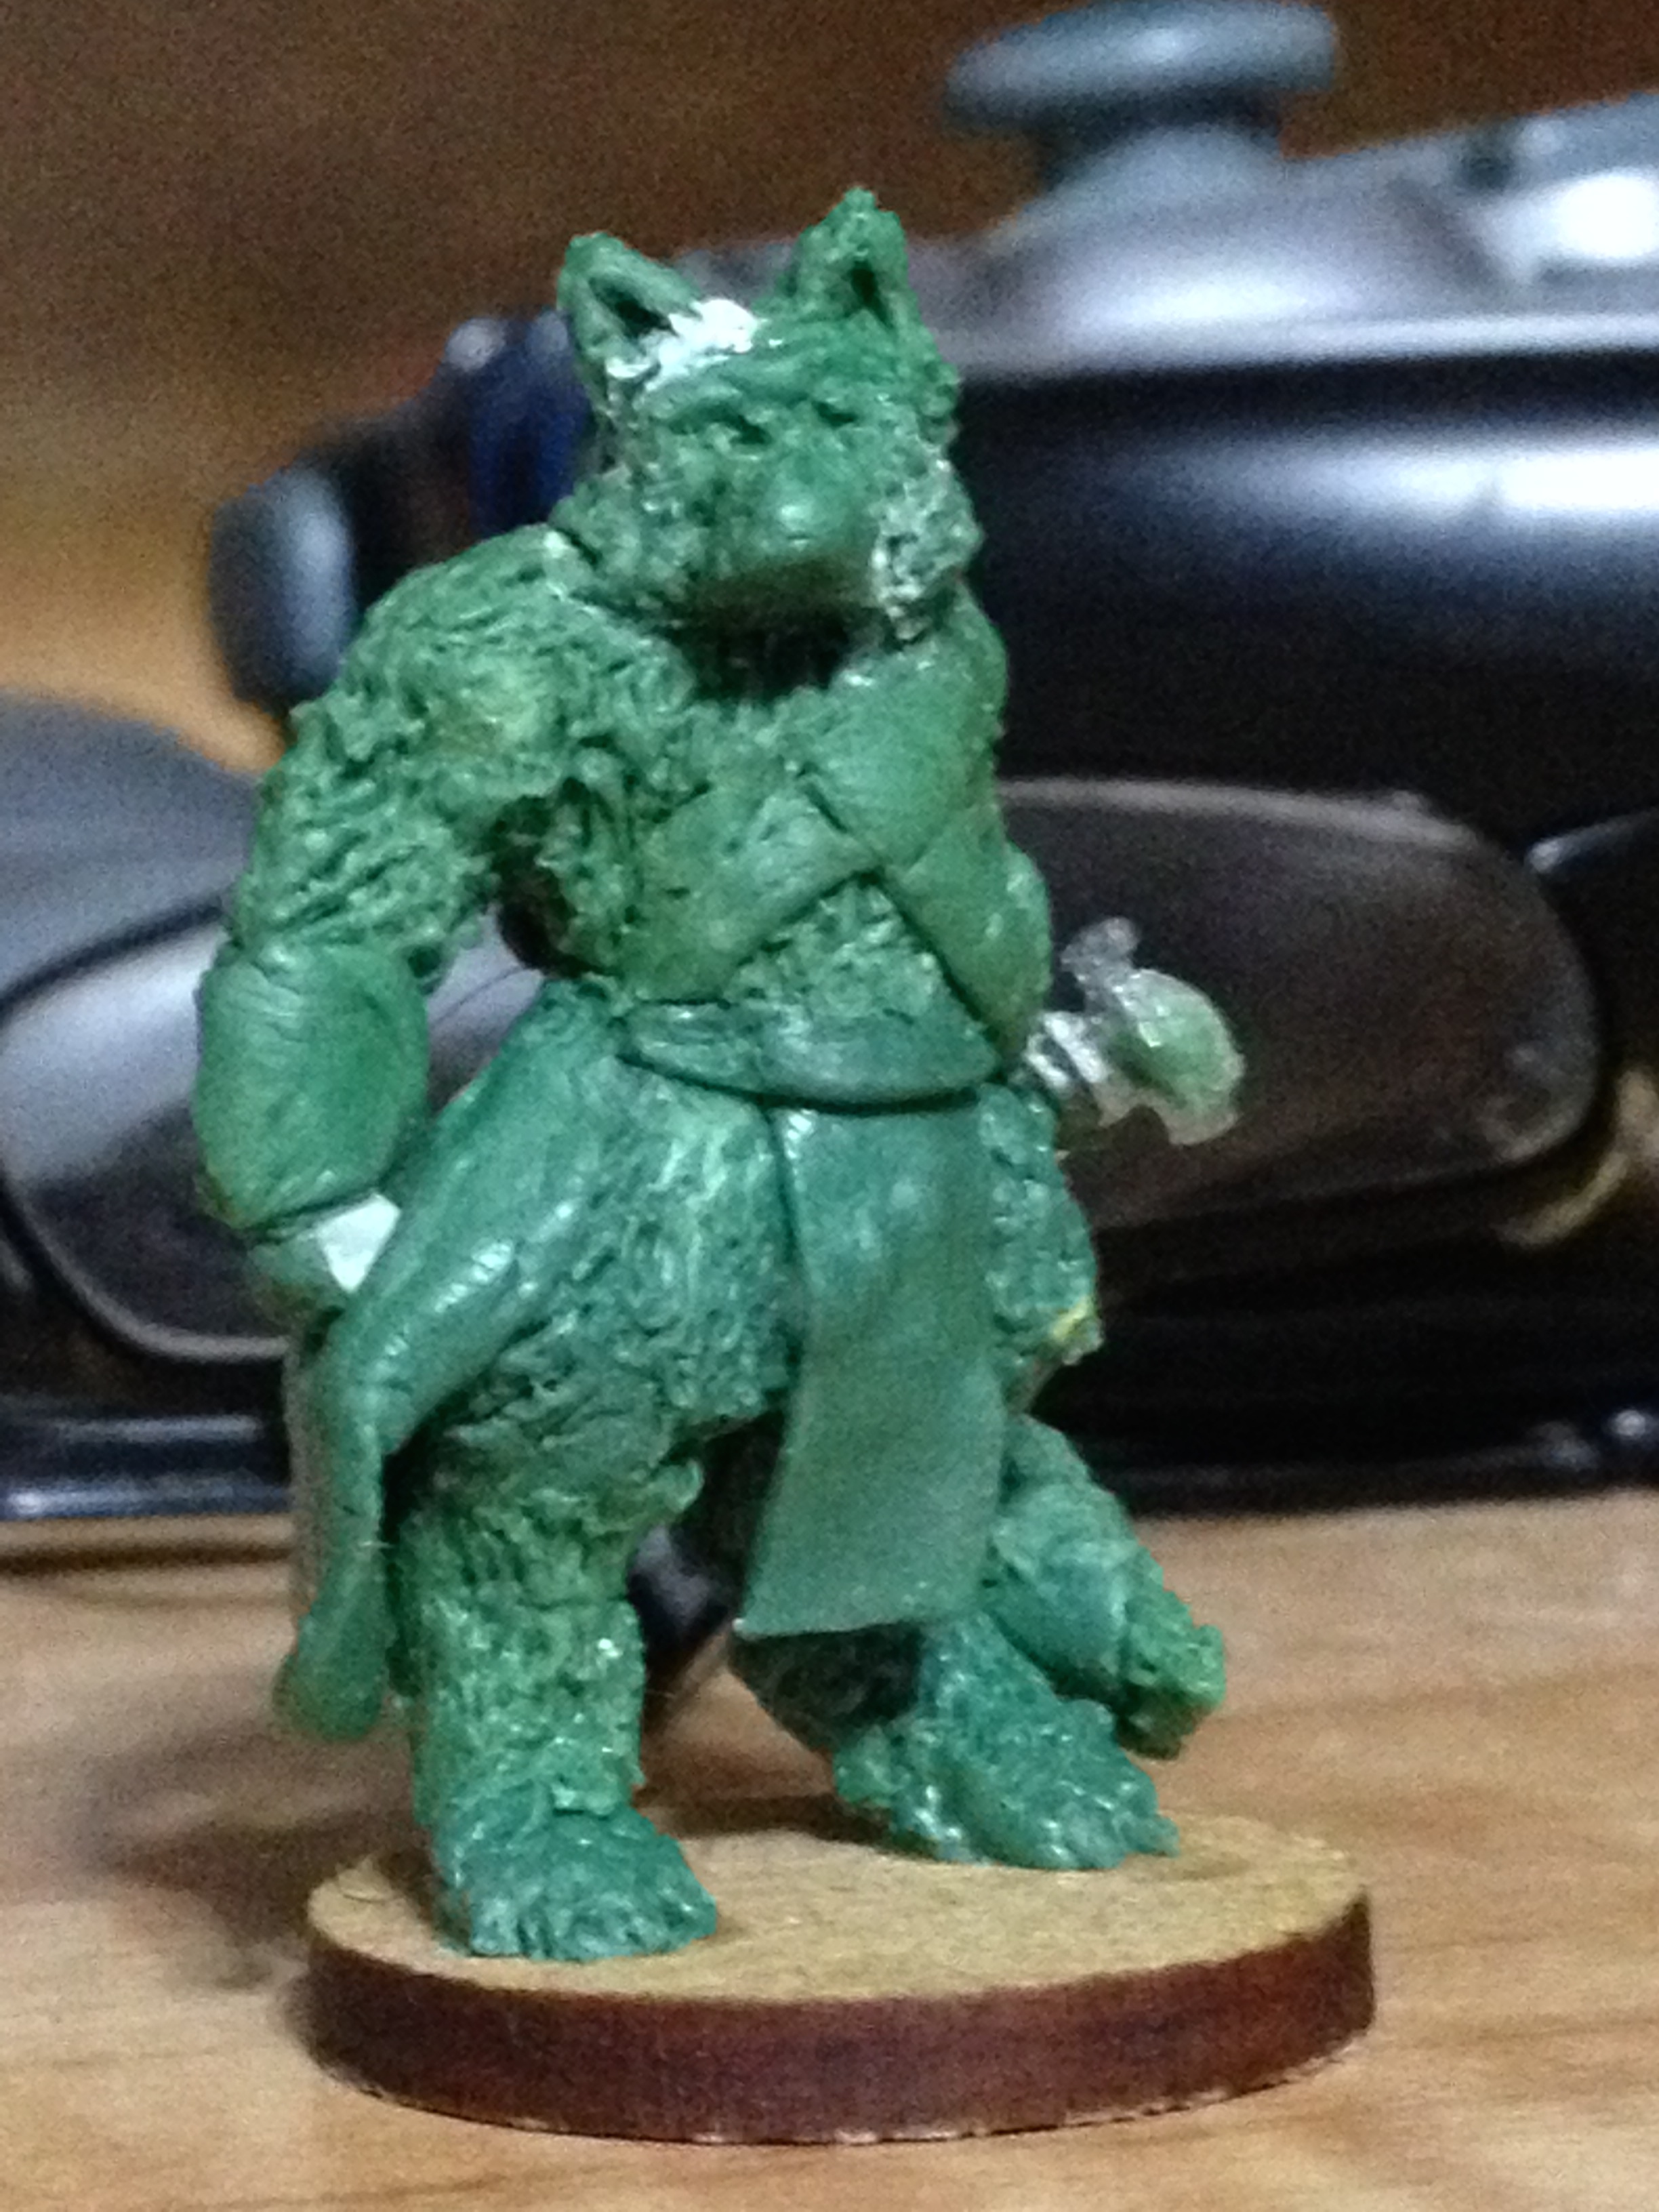
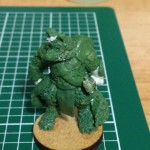
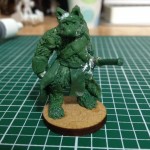
Its not the most beautiful or professional model in the world, but its mine!
On the final day of sculpting, I took some greenstuff and spread it between the edges of the bracer armor where I could, pushing the greenstuff into place with my sculpting tools. Then, I used my knife to make it look like there were straps connecting the two sides of each bracers together. When I was satisfied, I sat the miniature down to dry … and was DONE with the sculpting!
Next up on my agenda is to take the model and paint it. Since painting is its own separate craft from sculpting (and because I haven’t finished it yet as of the time of this article), I’ll save my step-by-step on painting the miniature for a different blog article on a different day!
What did you think of today’s craft? What other stuff would you like to see the Know Direction team create? Leave your answers and comments below, and we’ll see what we can do for you. Since this is also my blog article for the week, I’ll see you on Friday for Iconic Design and next Monday for part 2 of this series, where I paint the bloodrager. Take care!
Alexander “Alex” Augunas has been playing roleplaying games since 2007, which isn’t nearly as long as 90% of his colleagues. Alexander is an active freelancer for the Pathfinder Roleplaying Game and is best known as the author of the Pact Magic Unbound series by Radiance House. Alex is the owner of Everyman Gaming, LLC and is often stylized as the Everyman Gamer in honor of Guidance’s original home. Alex’s favorite color is blue and his favorite Pathfinder Race/Class combination is kitsune bloodrager, because this joke was so bad it needed to be done twice. WAAAAAAAAAGH!
-
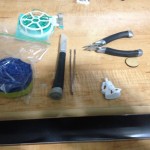
- Tools of the trade.

-

- Manly Man before I ripped him apart and stuck him into a fur-suit.

-
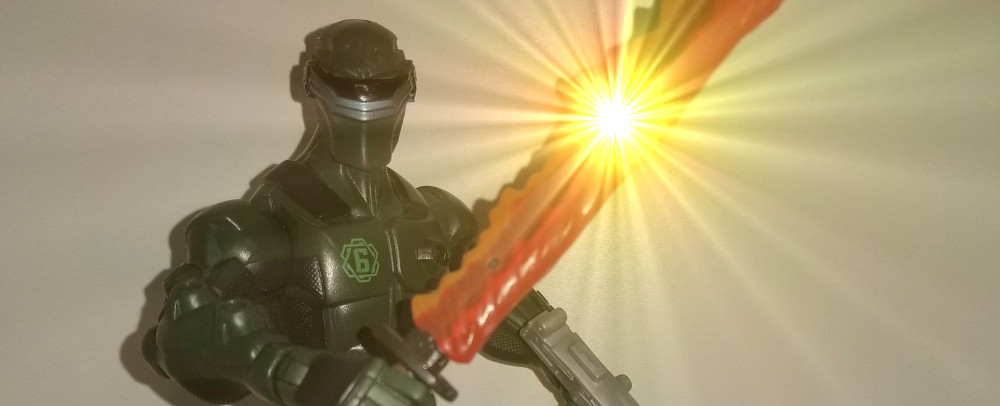
- The blade, before I destroyed it.
-
- ITS JUST A FLESH WOUND!

-
- Gluing the first leg-guide into place.


-
- Close-up on the tail / fur texture.


-
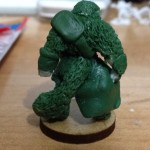
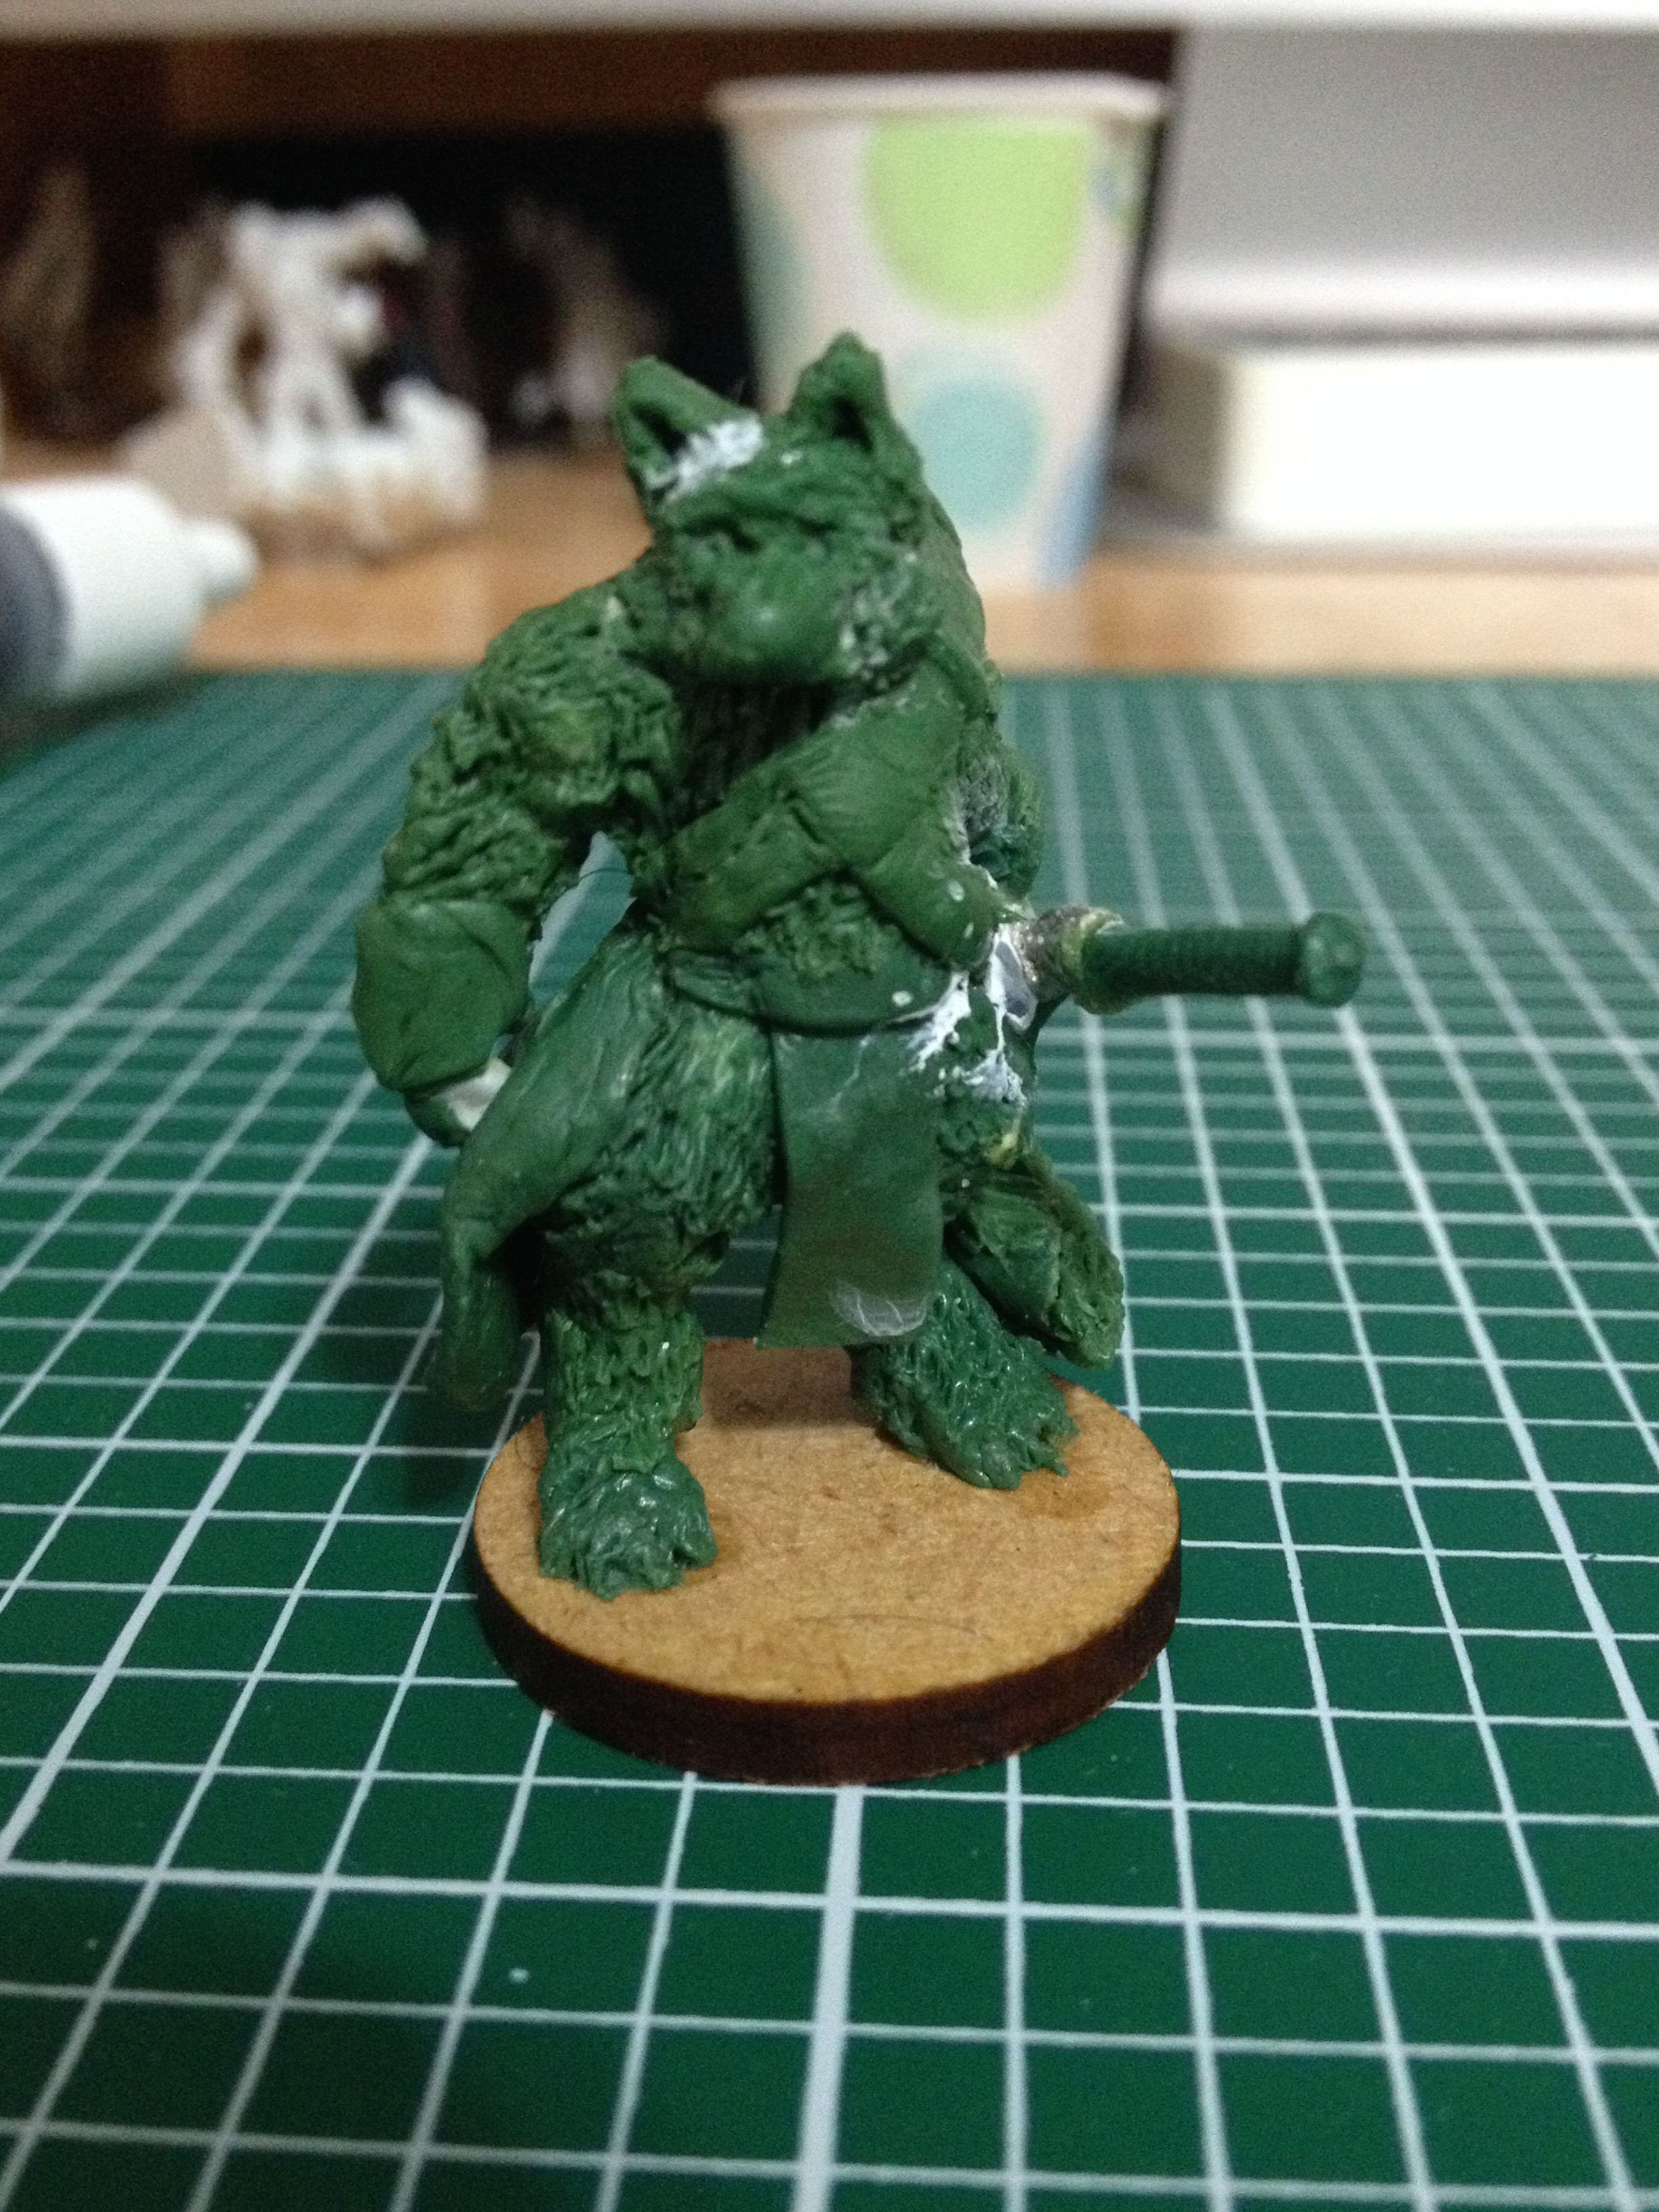
- To the back now, y’all!

-
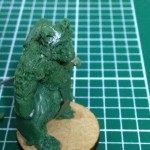
- Slide to the left! (With ears!)
-
- Reverse, reverse!

-
- Every body clap your hands!
-
- Its not the most beautiful or professional model in the world, but its mine!

-
- Added a handle. This aids the conversion!

Nice!
As an ex Games Workshop fanatic, I know how hard custom modelling like this can really be. You have done a fantastic job and created a miniature you should be proud of.
Thanks! Just wait until Monday when I paint him. 😉