Hi, I’m James and welcome to Code/sw- wait just a second… This isn’t Code/Switch, what gives?! For the holidays I turn my brain off for a month long hiatus and enjoy the Christmas spirit, leaving me unable to calculate the bite force of your average Balor. In it’s place I want to share a way to make terrain to amp up your home games!
At Gencon this year I came across some silicon molds from Hirst Arts that allow you to craft plaster blocks. I thought it was a cool idea and picked one up along with some plaster of paris to practice and was impressed with the results. After confirming I liked it, I bought some sci-fi molds for my Dead Suns game and 50 pounds of Dental Plaster and got to work. 20 pounds of dental plaster later I have enough blocks to annoy my wife and almost enough to map out anything put in the AP’s maps. To increase usability I added magnets to the side to better connect pieces and reduce small pieces chances of falling over on a lopsided grid map. In this CWI I’m going to go step by step to how I make walls, step by step.
1st Step – Mise en Place

I gather my materials; Jetdry, A basin of warm water spiked with a bit of jet dry, some empty plastic cups, a flat cleanable work plate, dental plaster, a spackler, and my sci-fi mold.
2nd Step – Clean it Up
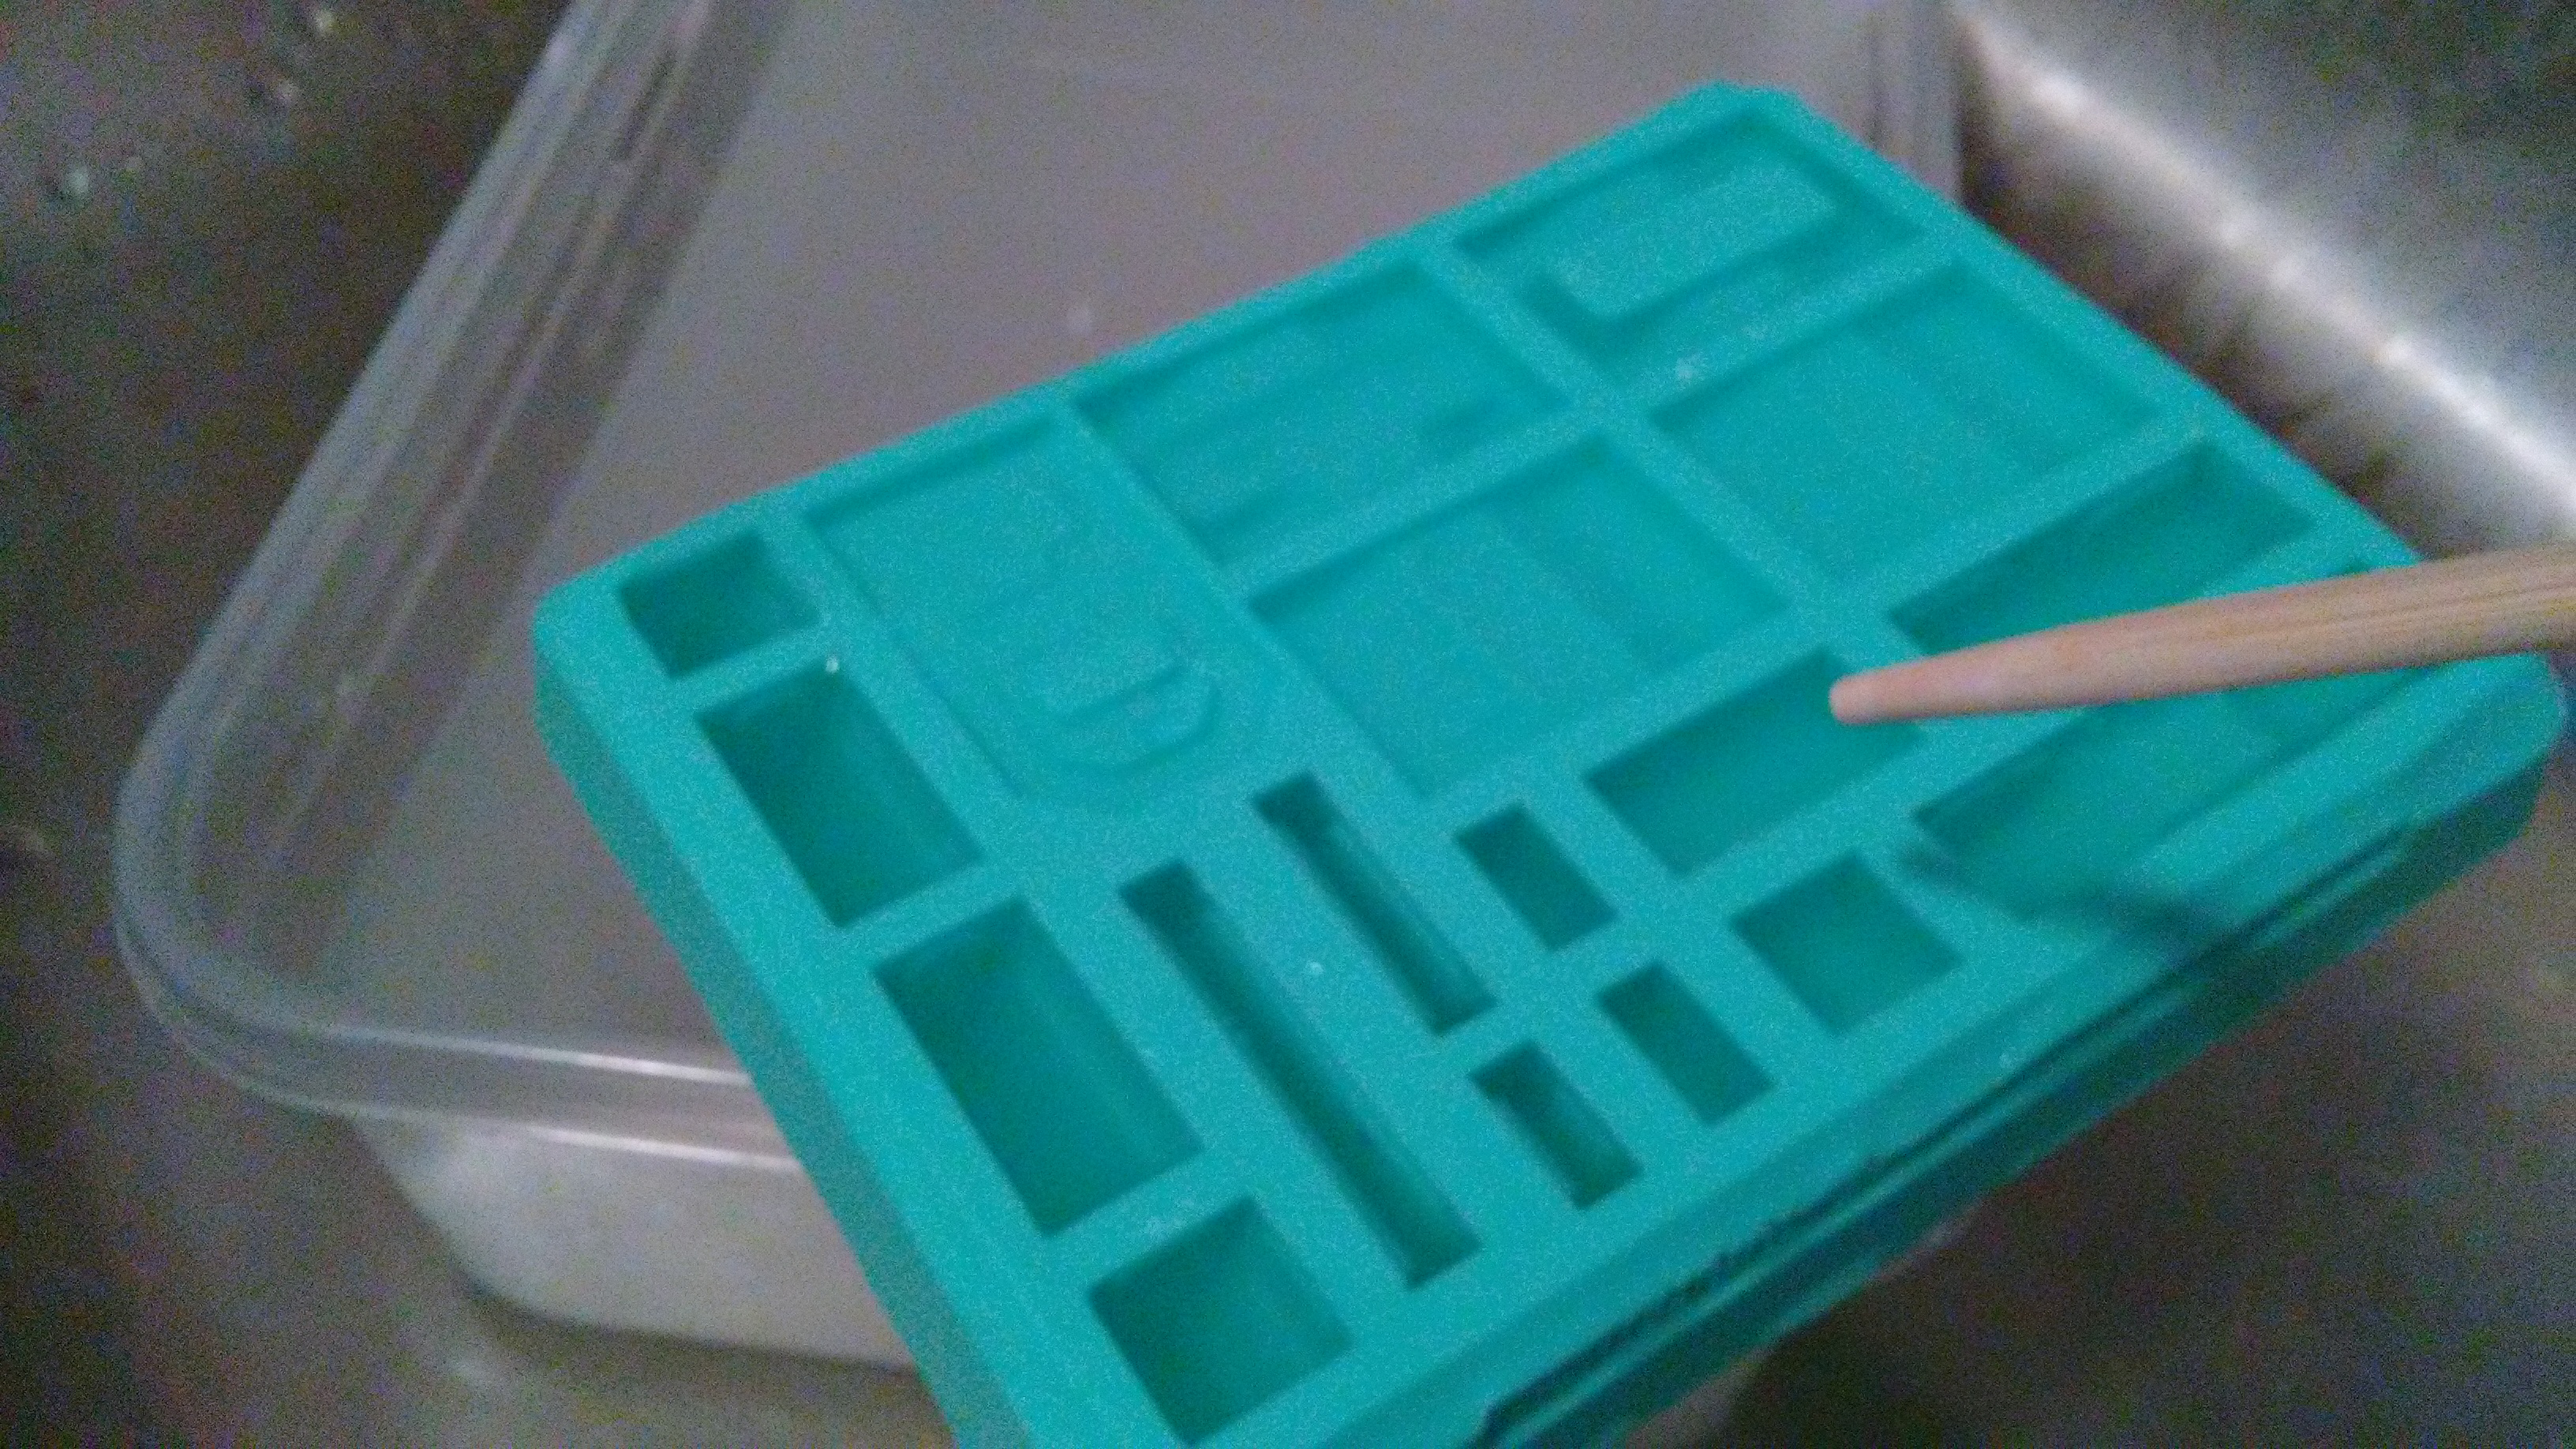
After rinsing my mold, I dipped it in the basin of warm water and jet dry. I made sure the pockets held the solution to highlight any bubbles, which I pushed to the surface to pop. This helps reduce bubbles on your finished products. After the bubbles are gone I bang it near dry in my sink to await plaster.
3rd Step – Mix it UP
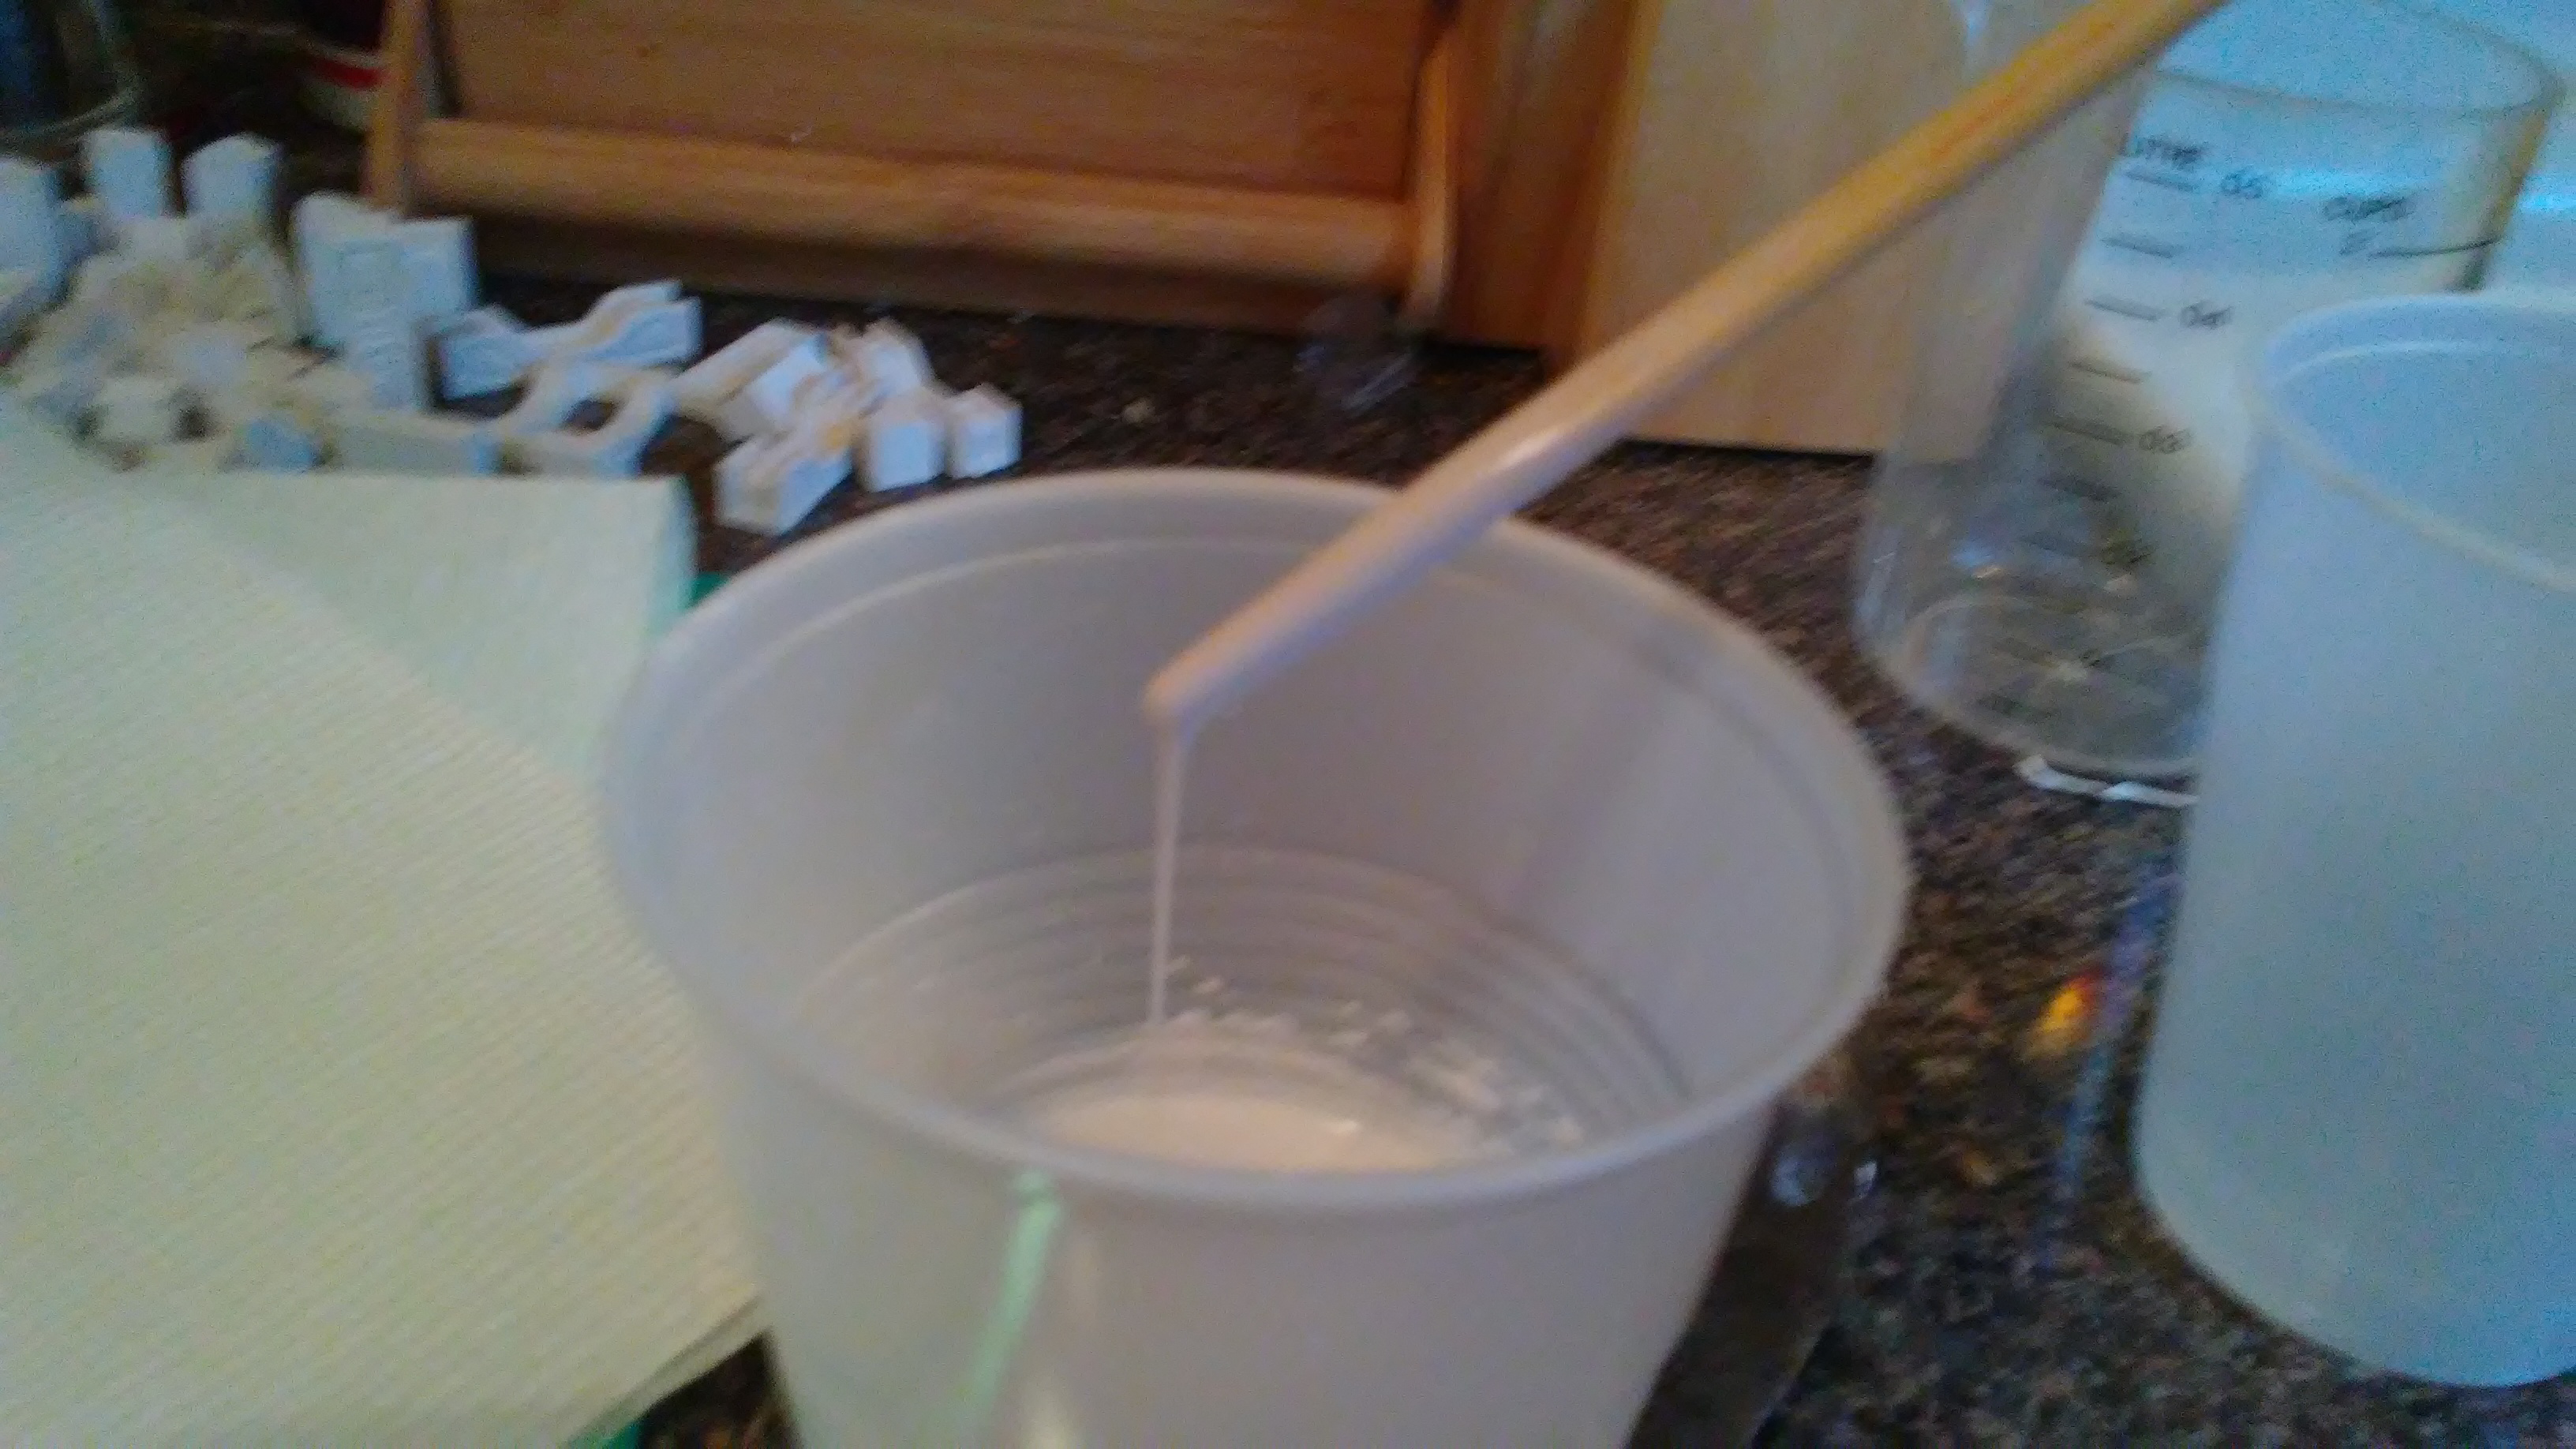
Hirst Arts who I’ve linked above have a ratio for water/dental plaster thats ideal, I eyeball it. Once it runs in a continuous line like this I give is a minute or so to thicken up then pour it. It works best if you slowly sprinkle the powder into the water to reduce bubbles in the solution. You can use plaster of paris, but don’t expect your creations to last long.
4th Step – Welcome to the Pour House
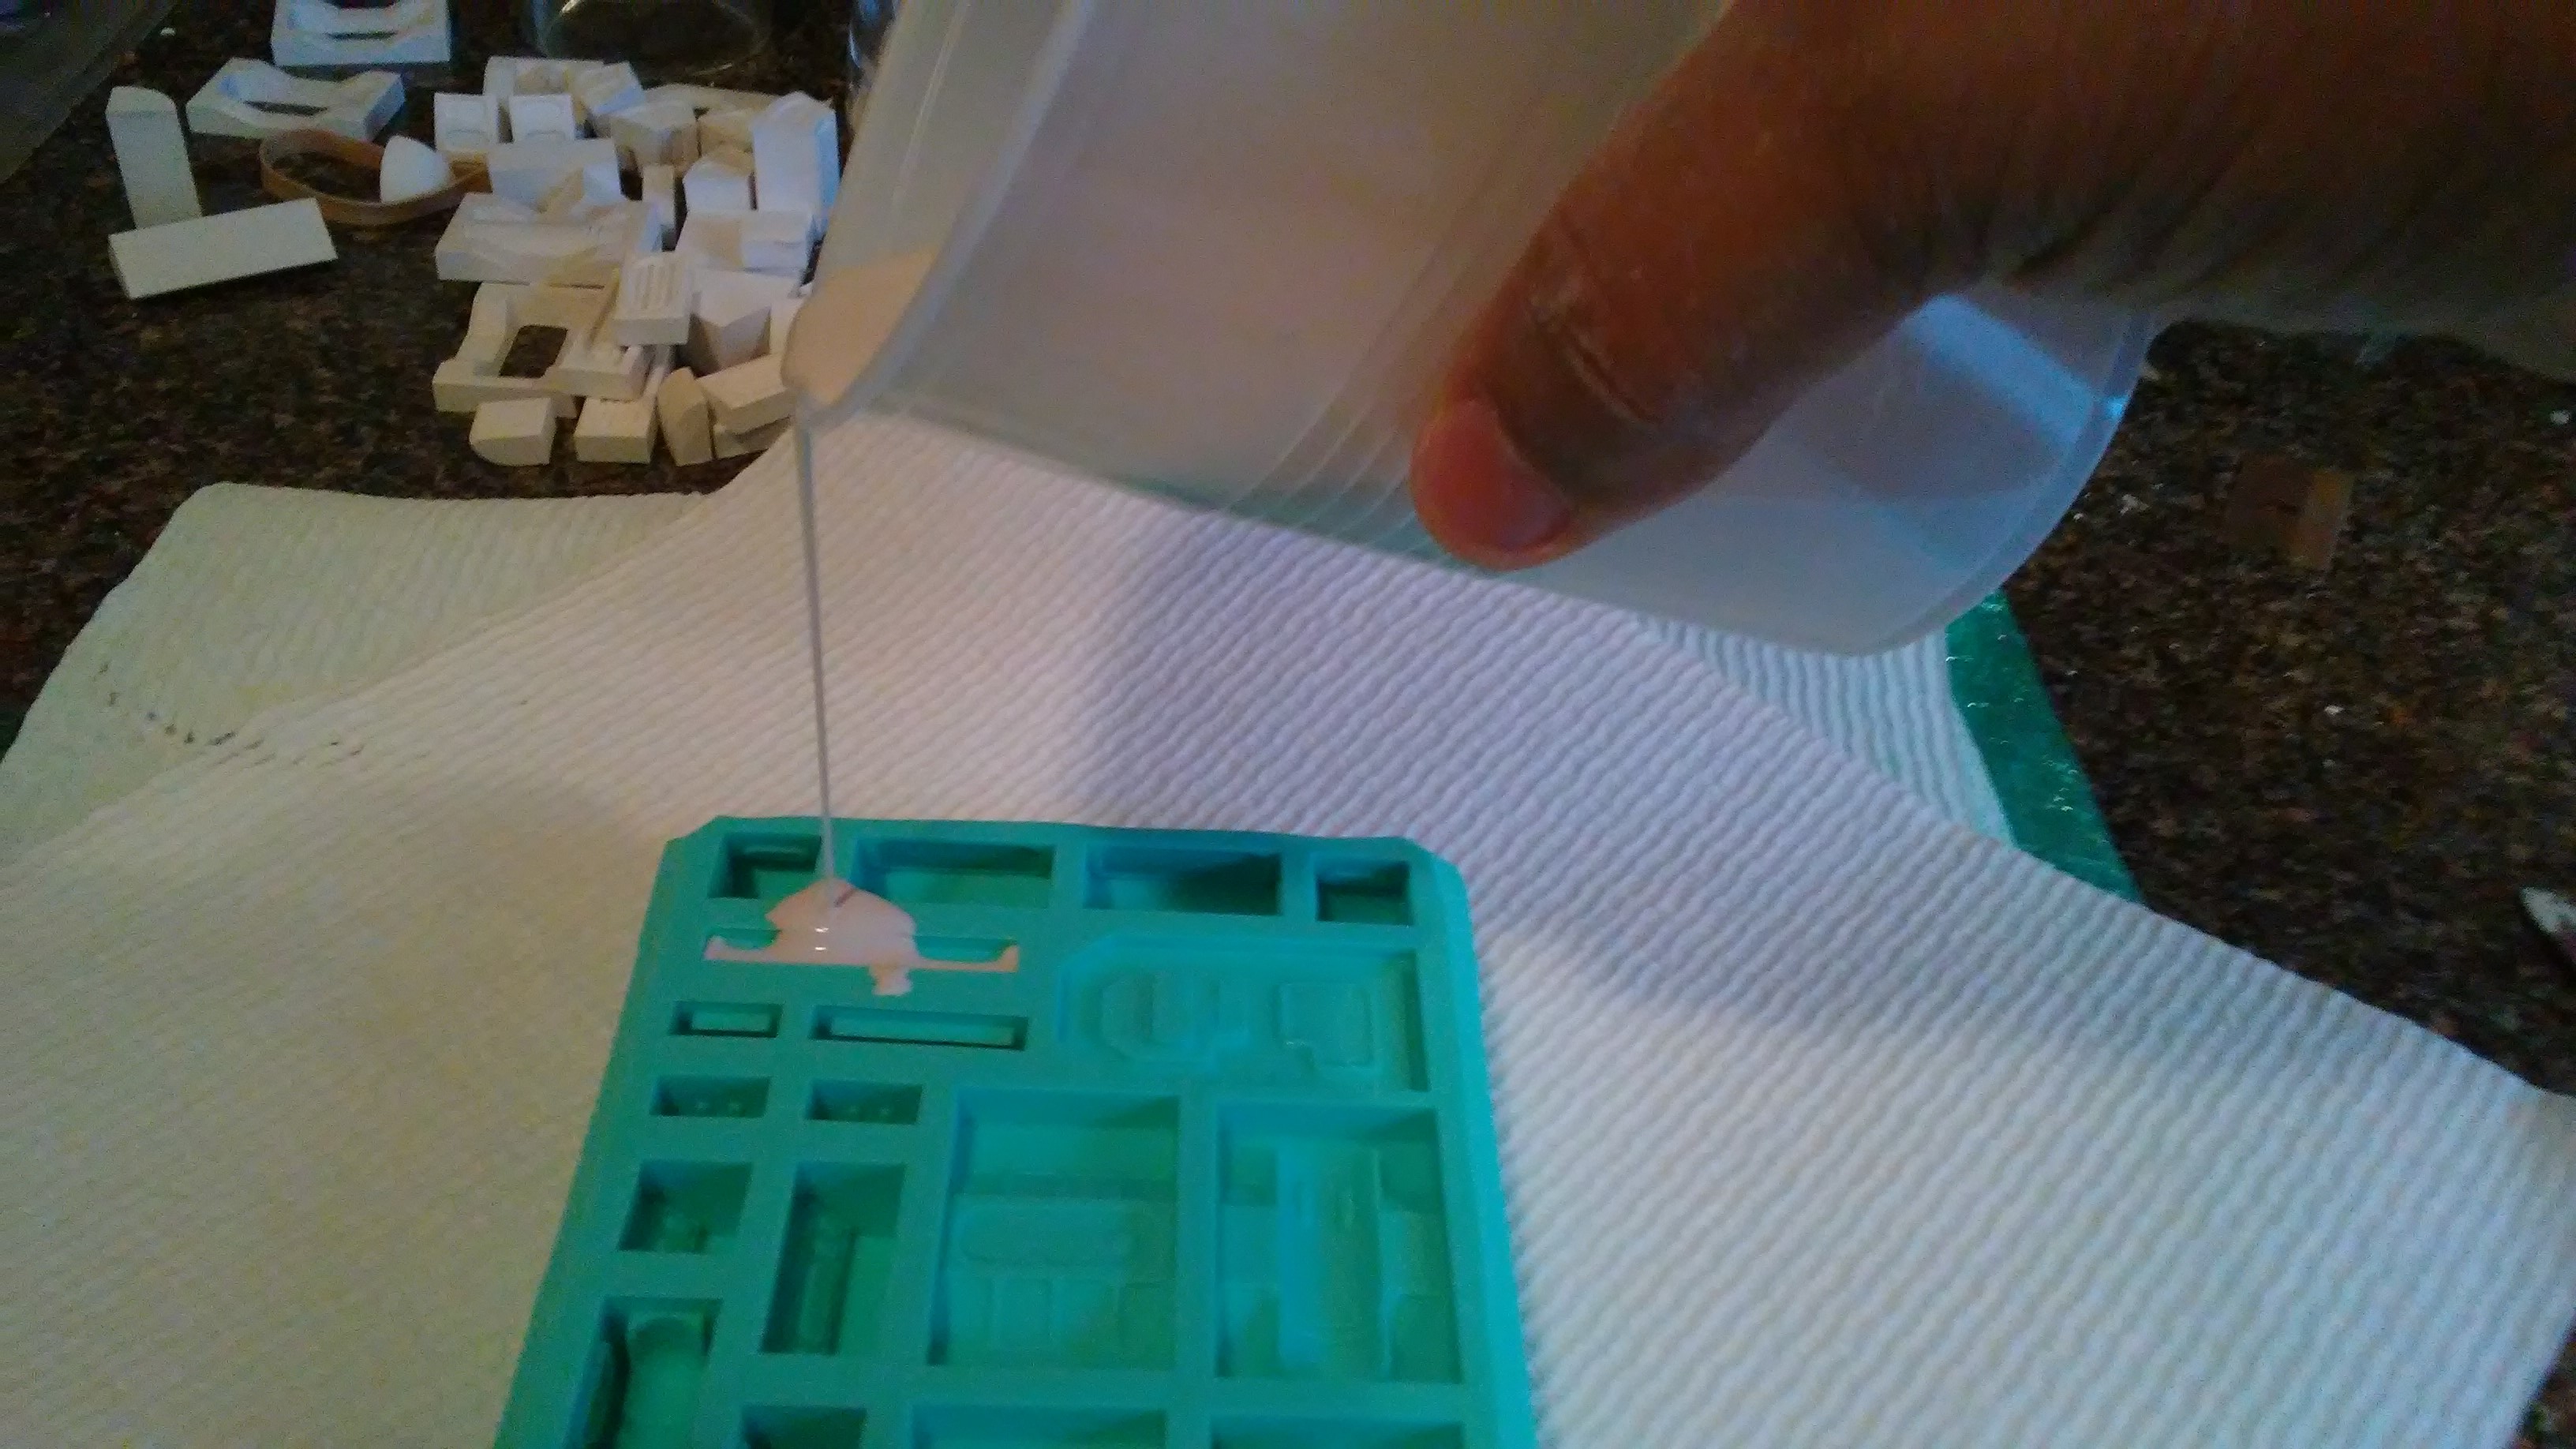
Smooth like pancake batter.
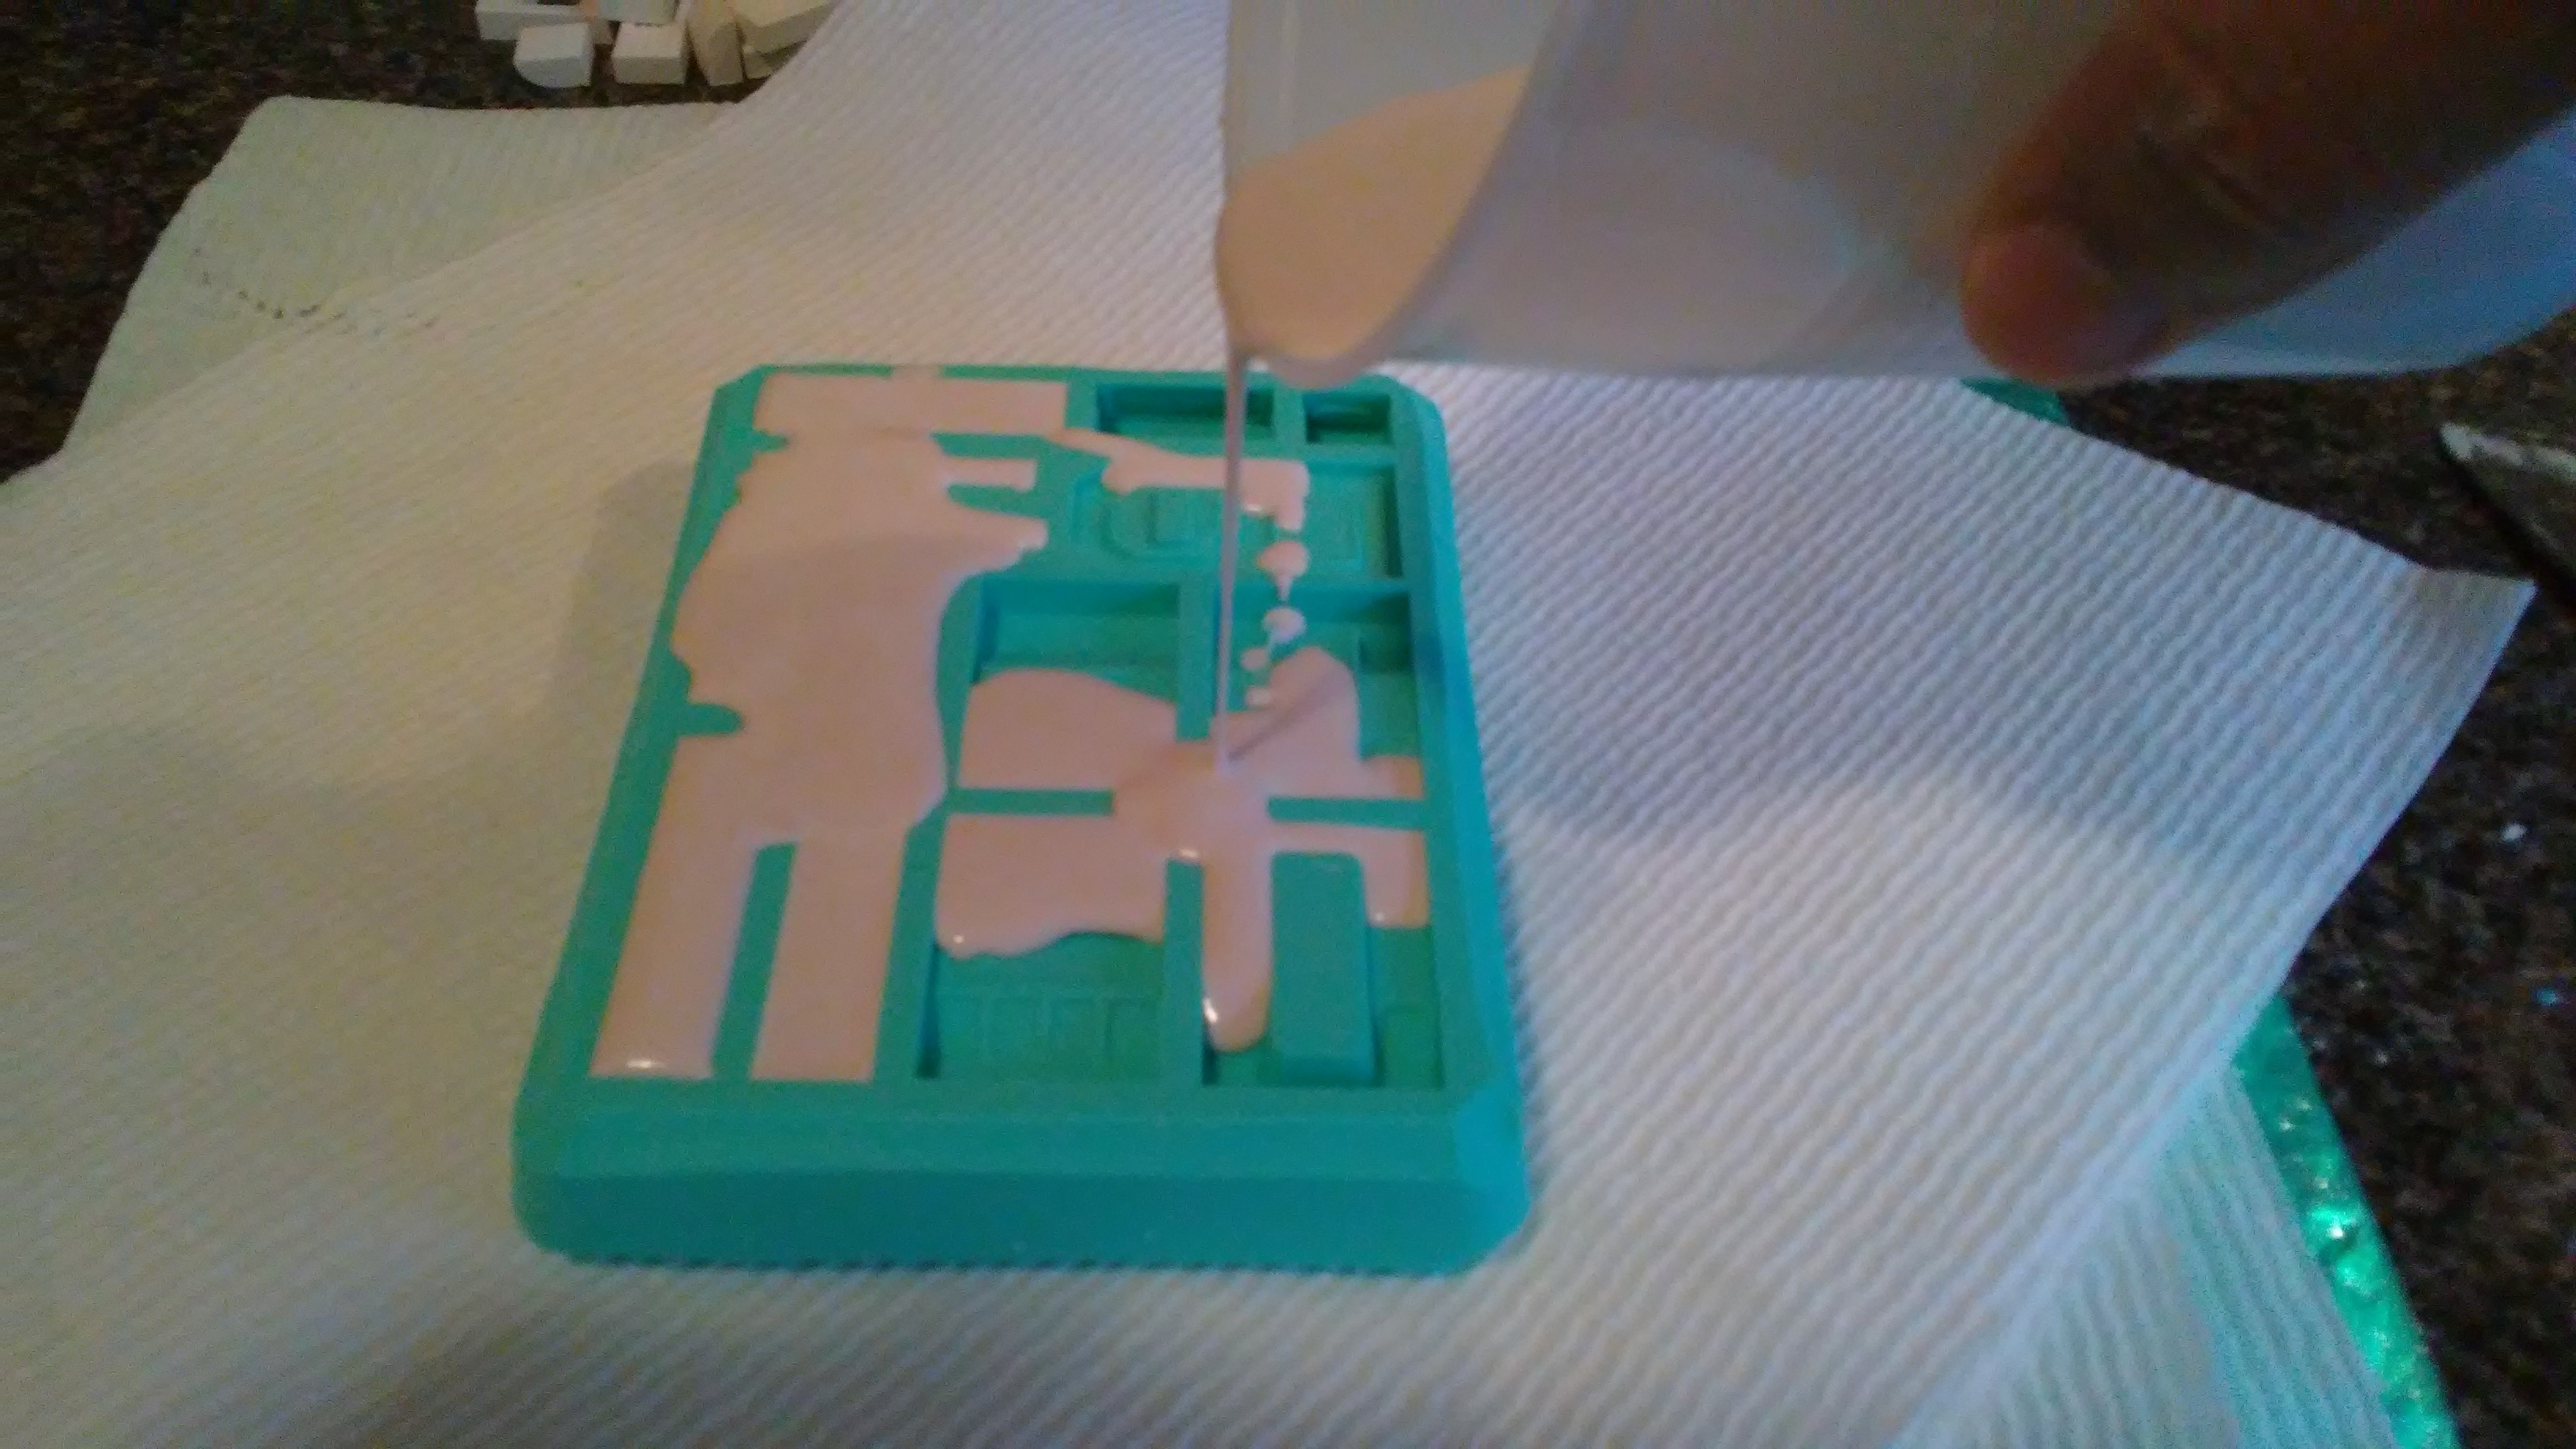
When I pour I do so over a waterproofed piece of flat cardboard with paper towels to absorb any run over. Instead of pouring into the cells you want, pour onto the ridges next to the cells you want to reduce bubbles. The slower your pour the better. You can also influence where overflow goes by “drawing” paths with your pour.
5th Step – Smooth and Steady
You’re going to be a strong, beautiful wall who don’t need no roof.

After the pour, I slide the board and mold atop it off the counter a bit to let me smack the bottom to help “burp” the mold of any air that may be trapped in the plaster. This will also level off the plaster. Once the mold has been burped you want to scrape from corner to corner, going opposite directions each scrape, to help form a flat, even back to the pieces for easy gluing later.
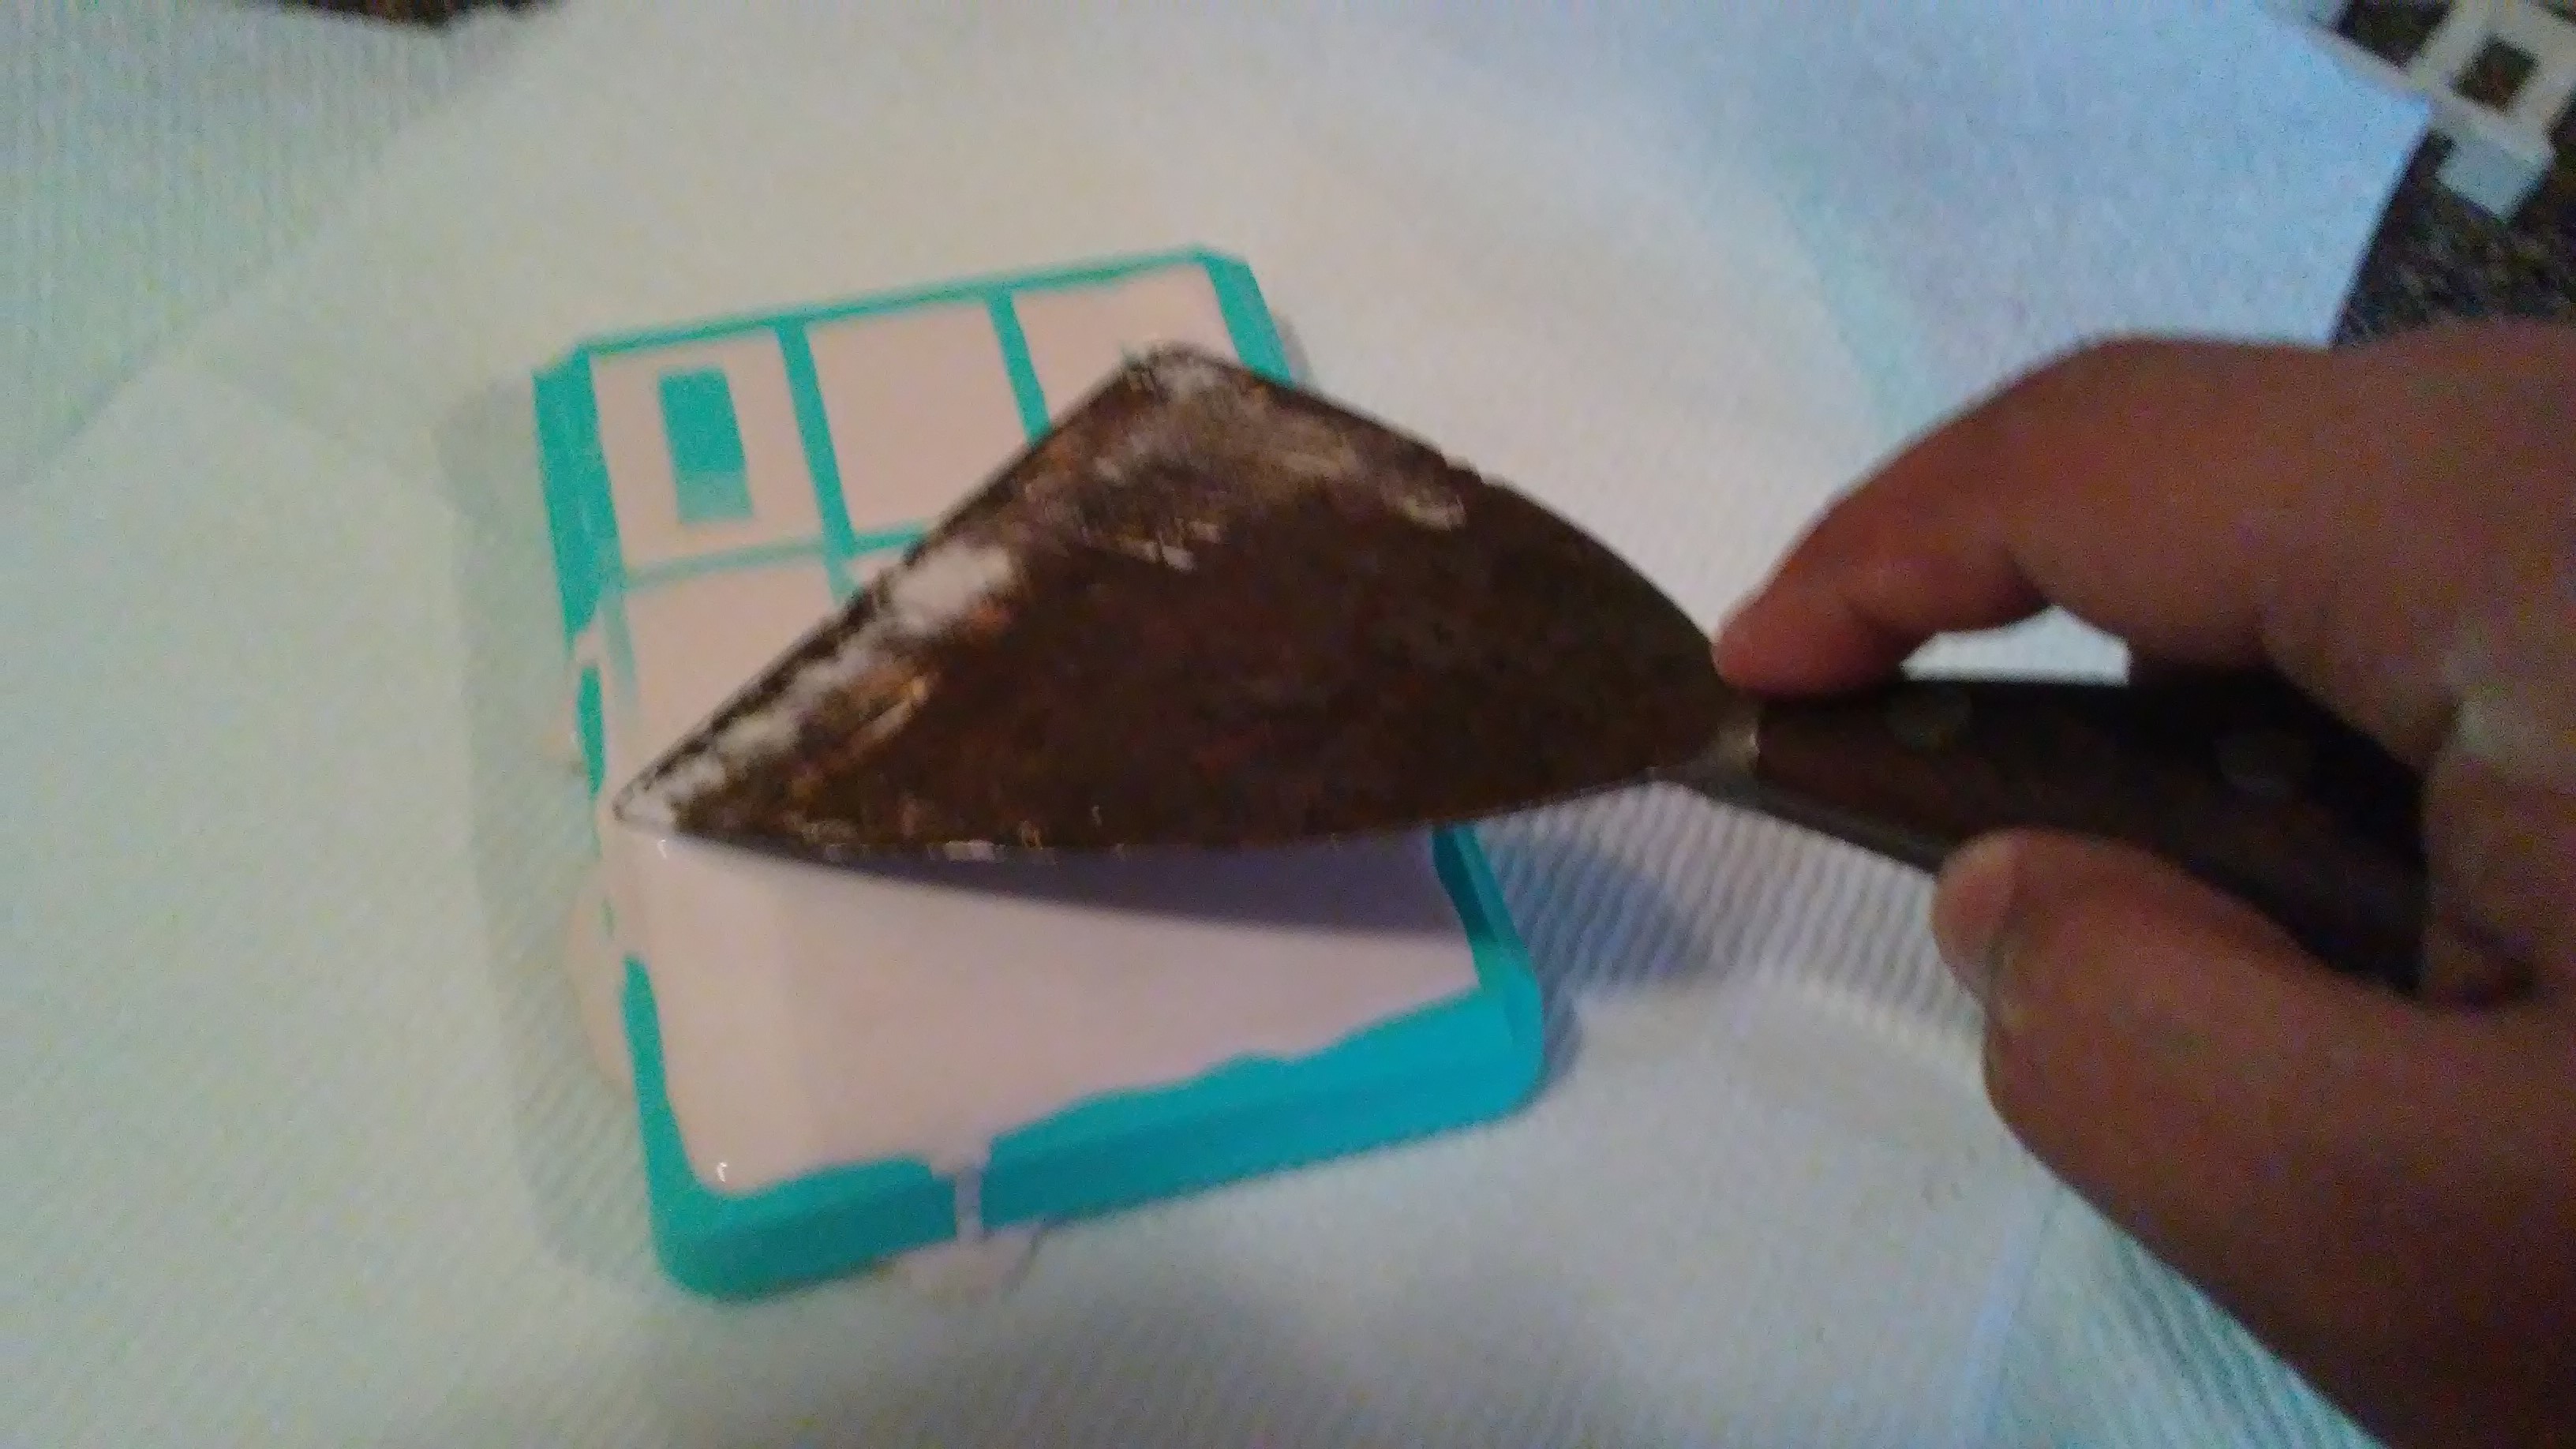
6th Step – Removal
Careful!

Once set these things come out with a slight bend to the mold. Plaster of paris is most likely to crack during this stage, especially for complicated pieces. What a beautiful wall segment.
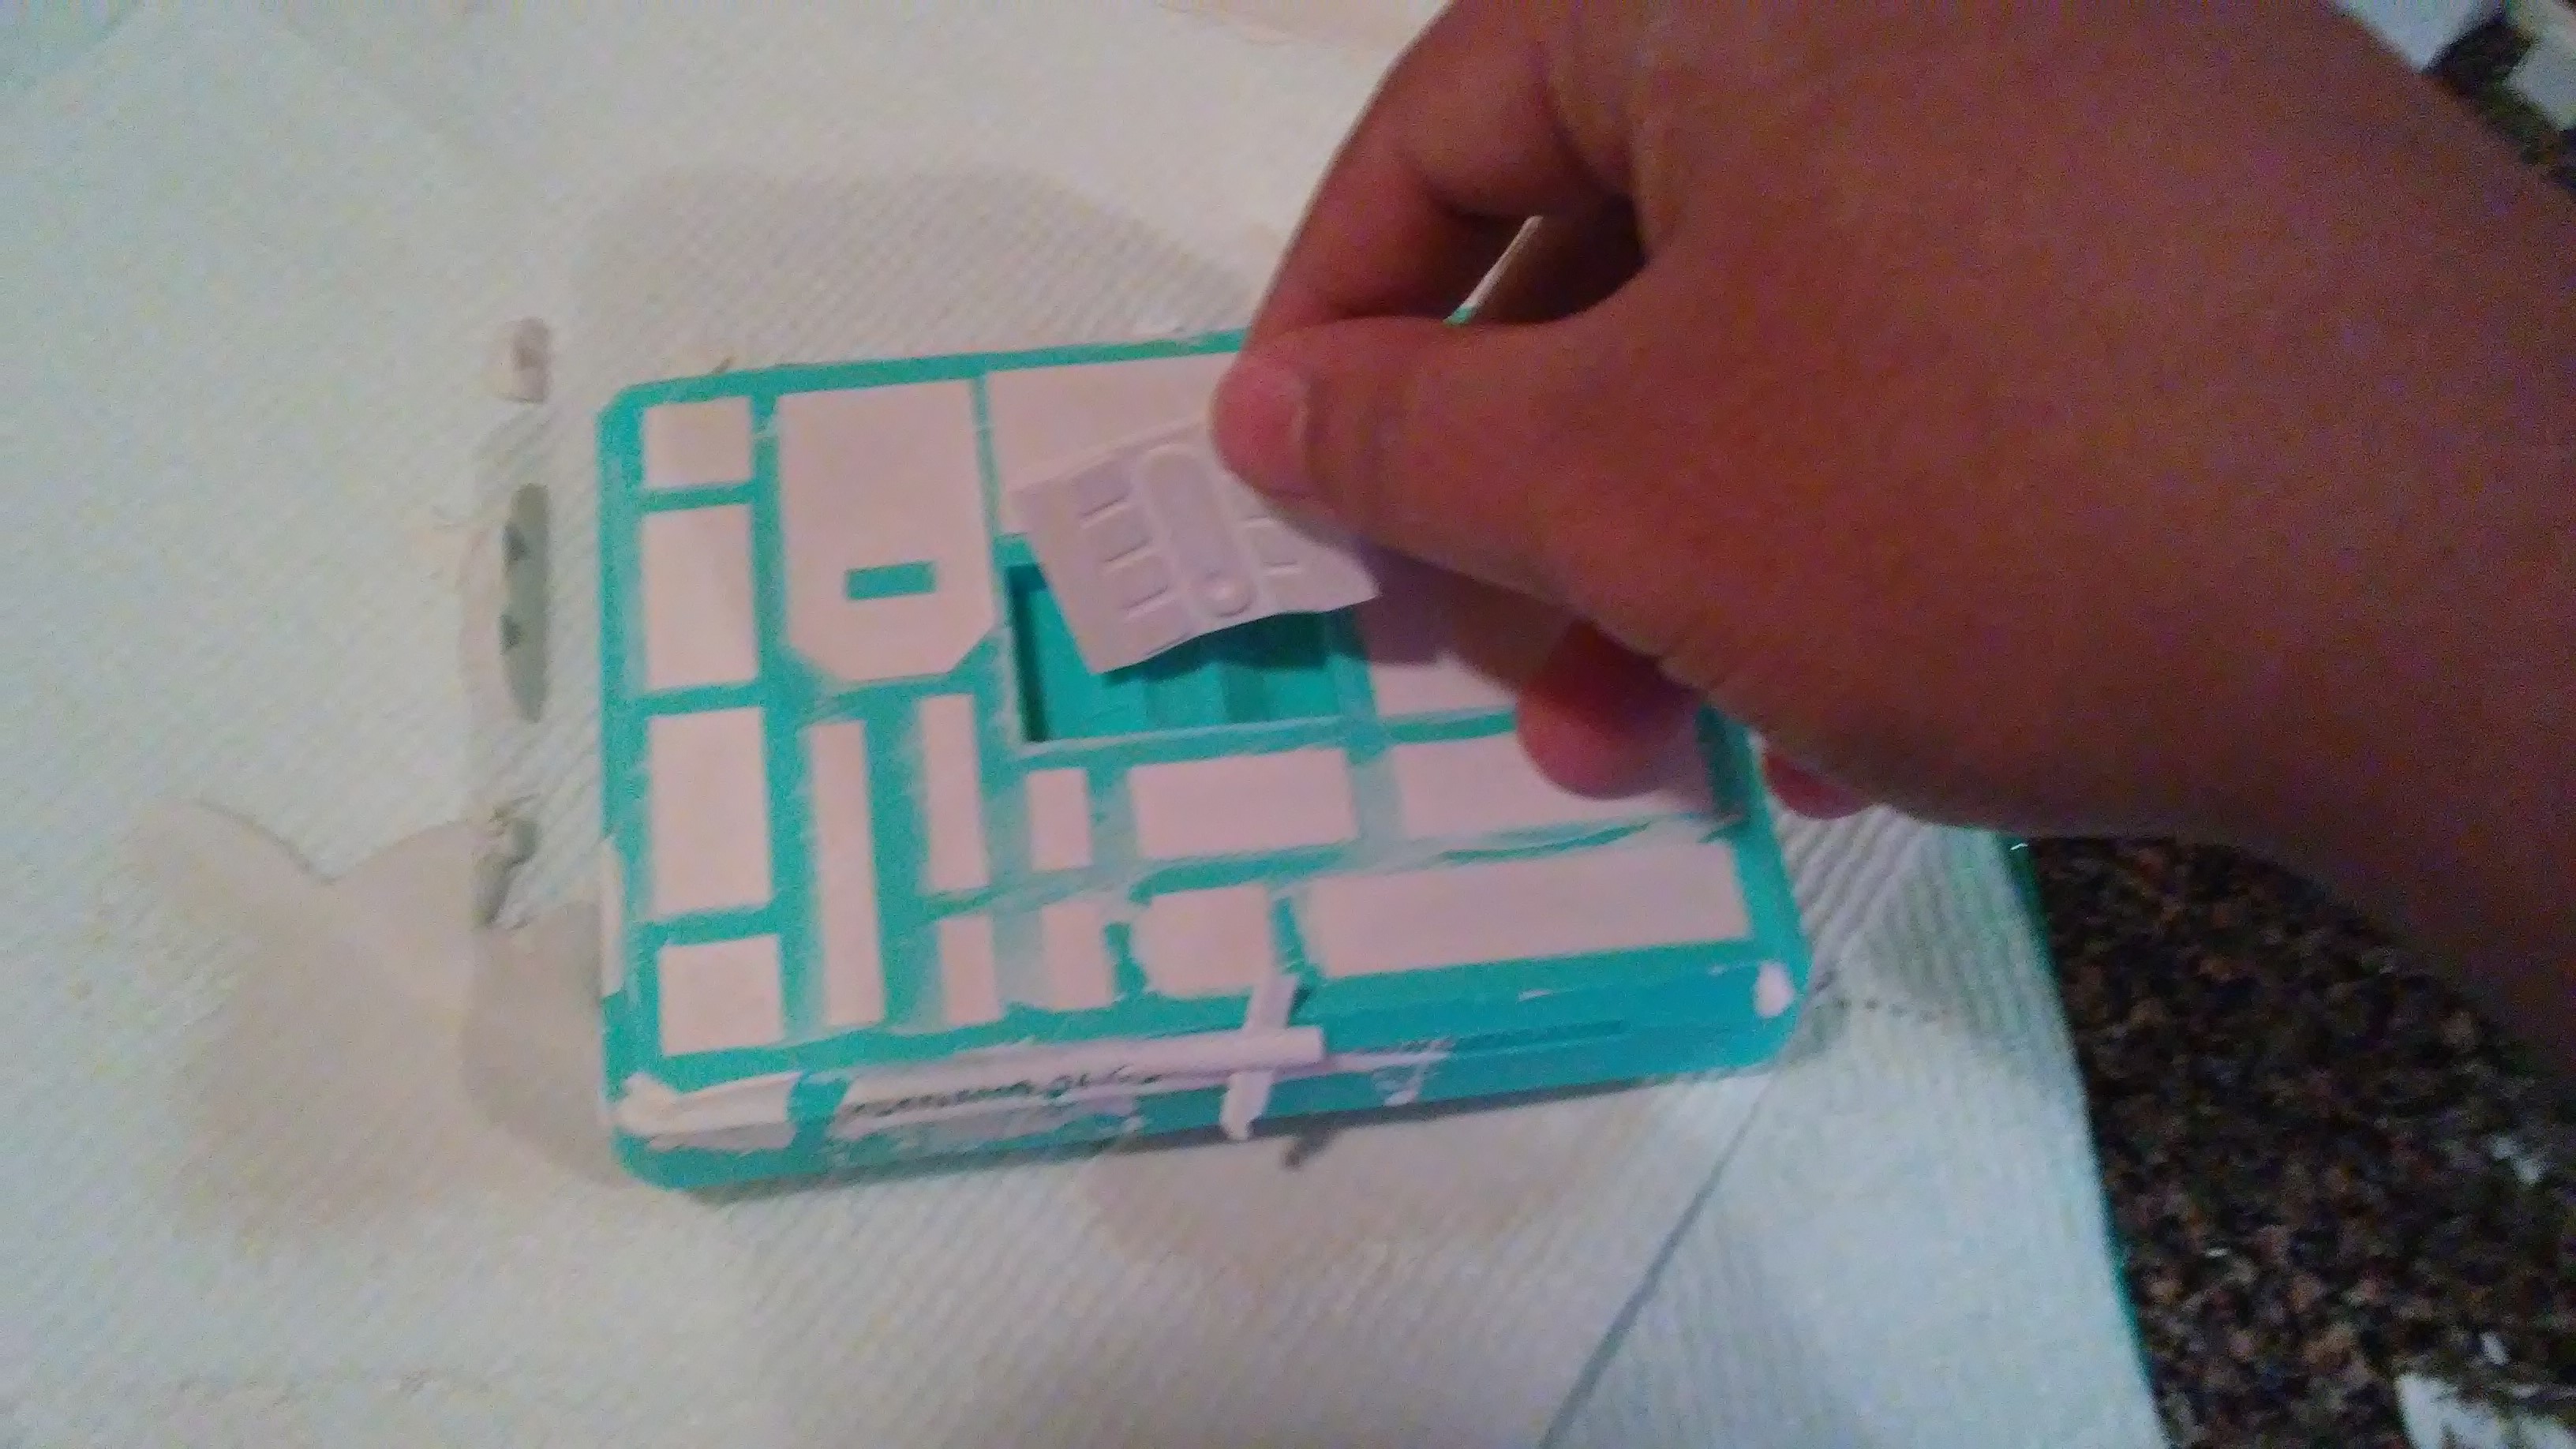
7th Step – Construction
Mostly perfect. Bubbles on the outside corners though! Good enough for my players though.
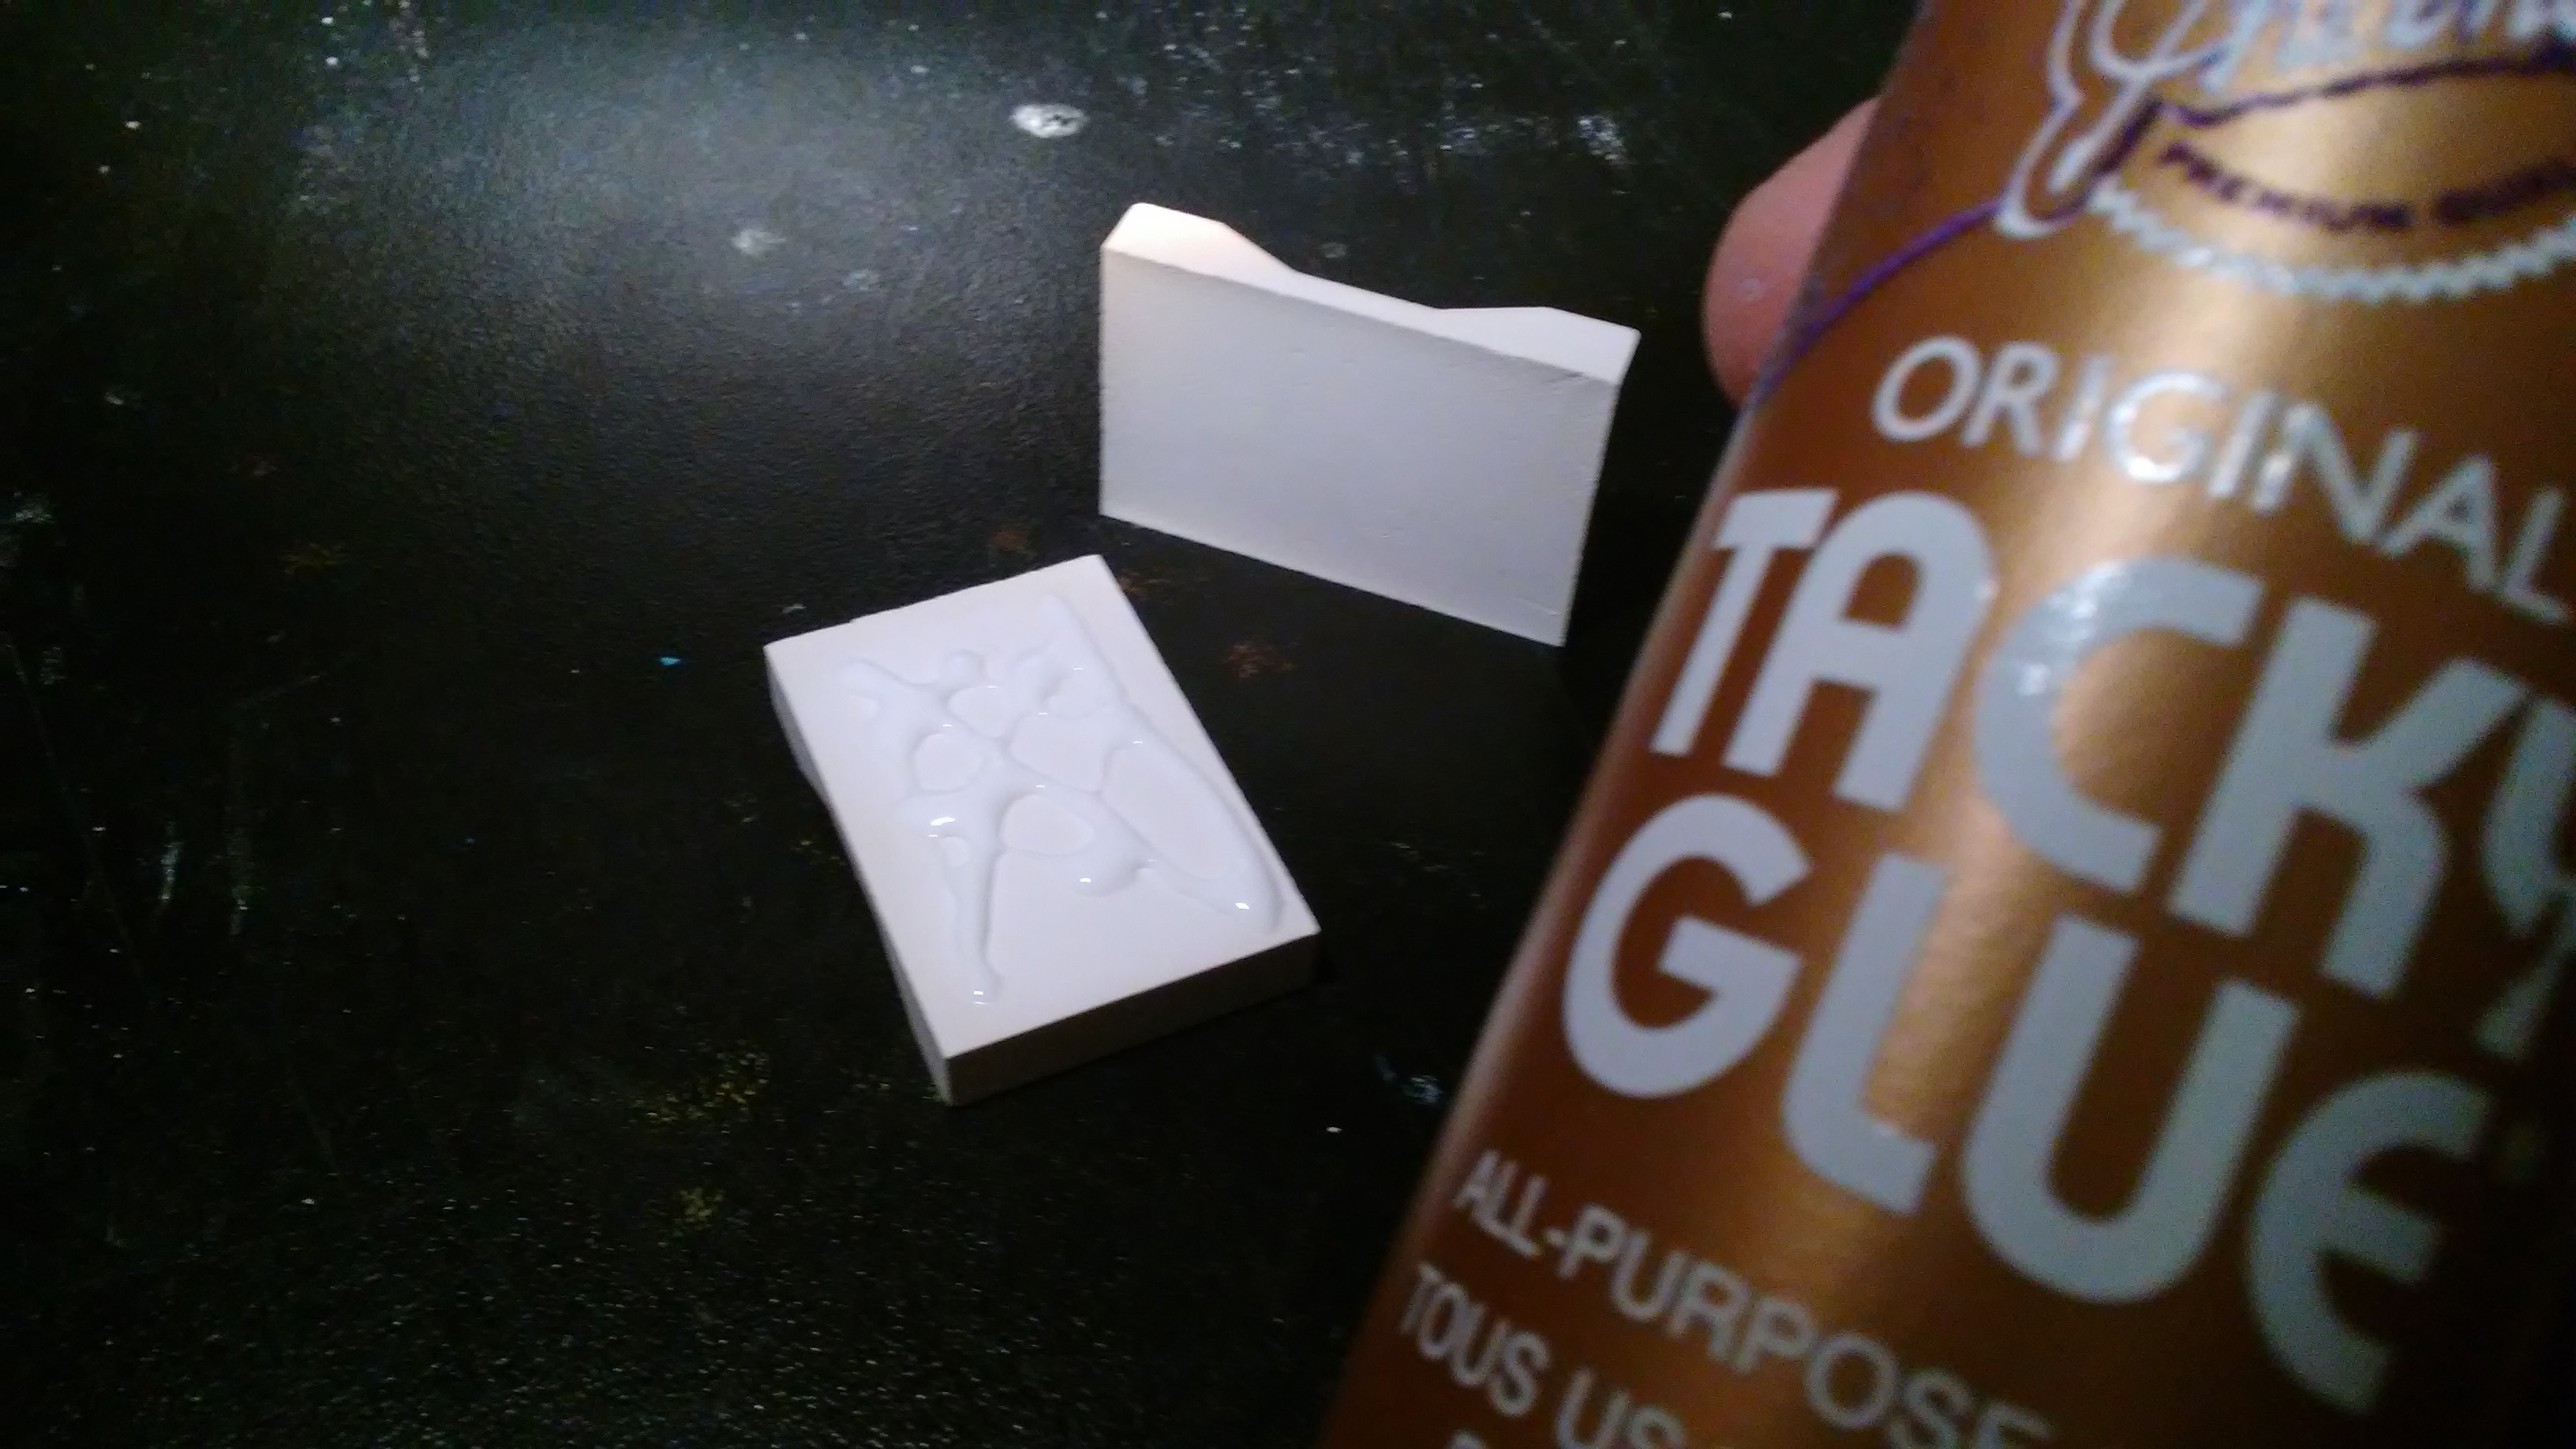
This isn’t really rocket science. I just get two wall segments and use tacky glue to put them together. I do an “X” + cardinal direction dots, none of my pieces have come apart yet. Tacky glue is much better than white glue for this task too.
8th Step – Drilling

I decided to place the magnets just below the 1/2 up point to minimize flipping. The door is marked with an “M” for master-level. I dip the magnets in an ink to press against the wall segments to get the correct height for when I drill for the magnet holes.

My drill will be the drill to pierce the heavens! this segment of wall.
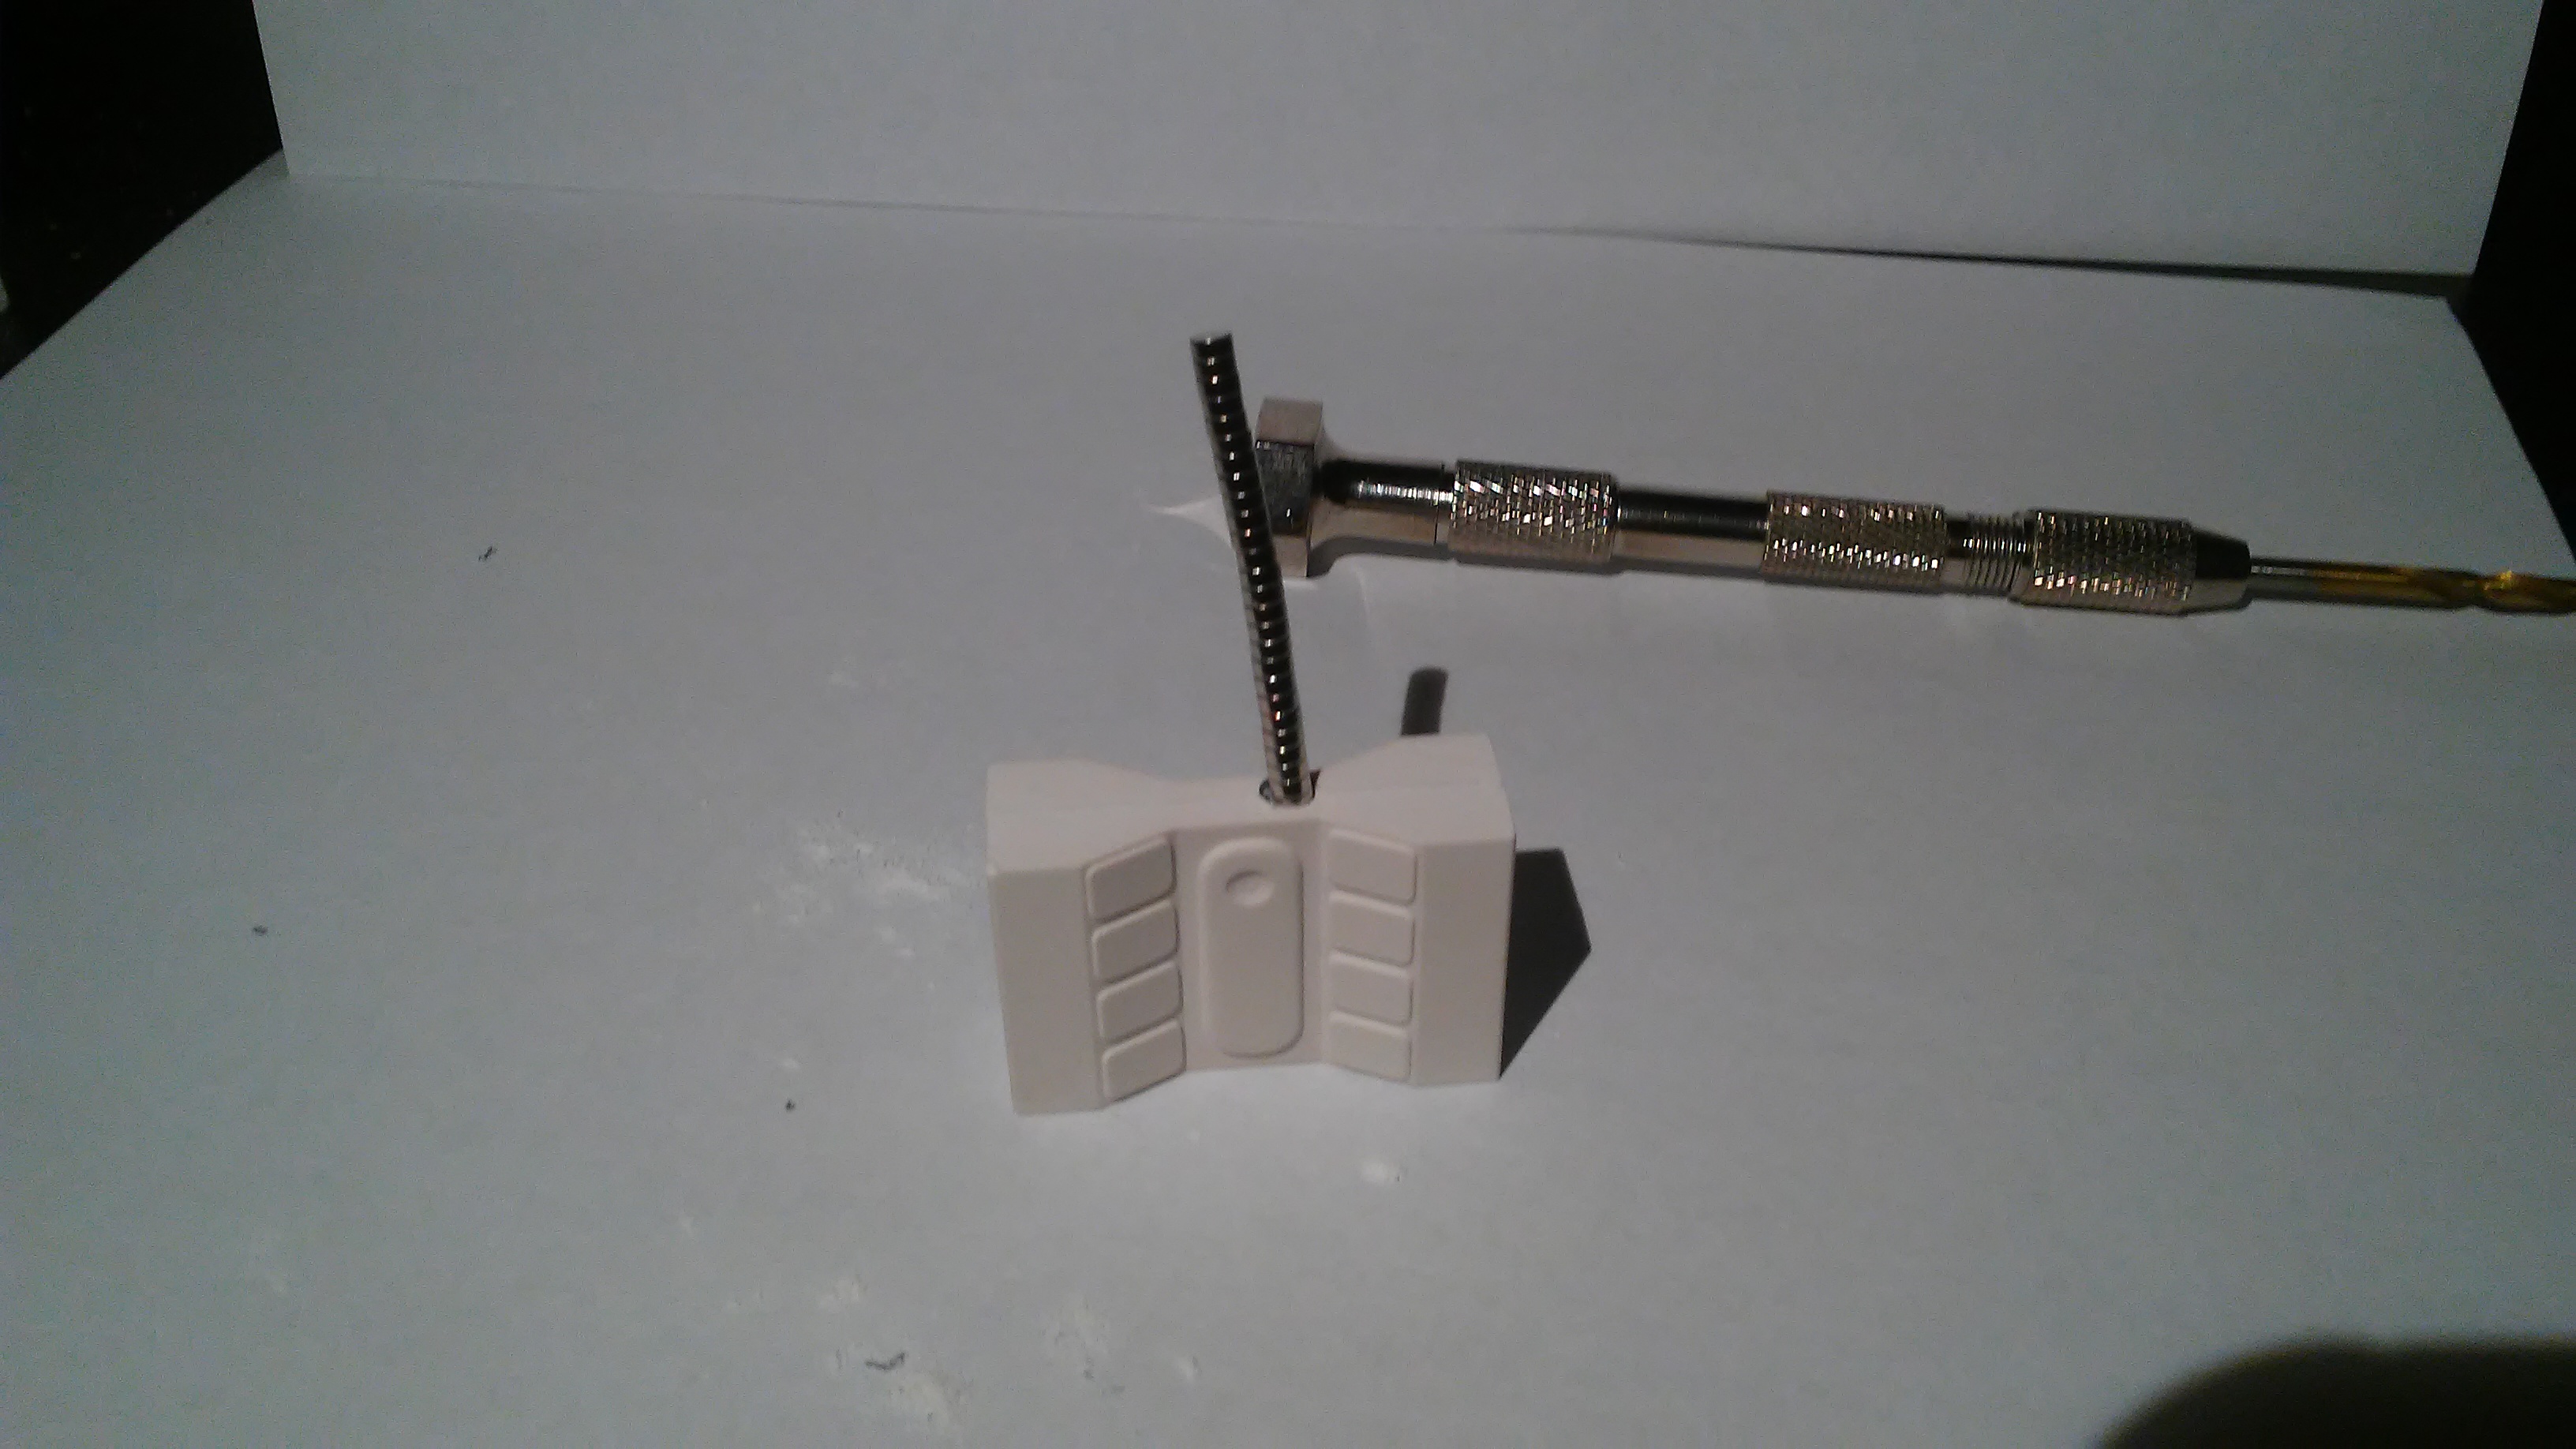
Measuring the hole depth to ensure the magnet will be flush with the side of the wall. We want the wall pieces to touch, not just the magnets, this increases stability.
9th Step – Sticky
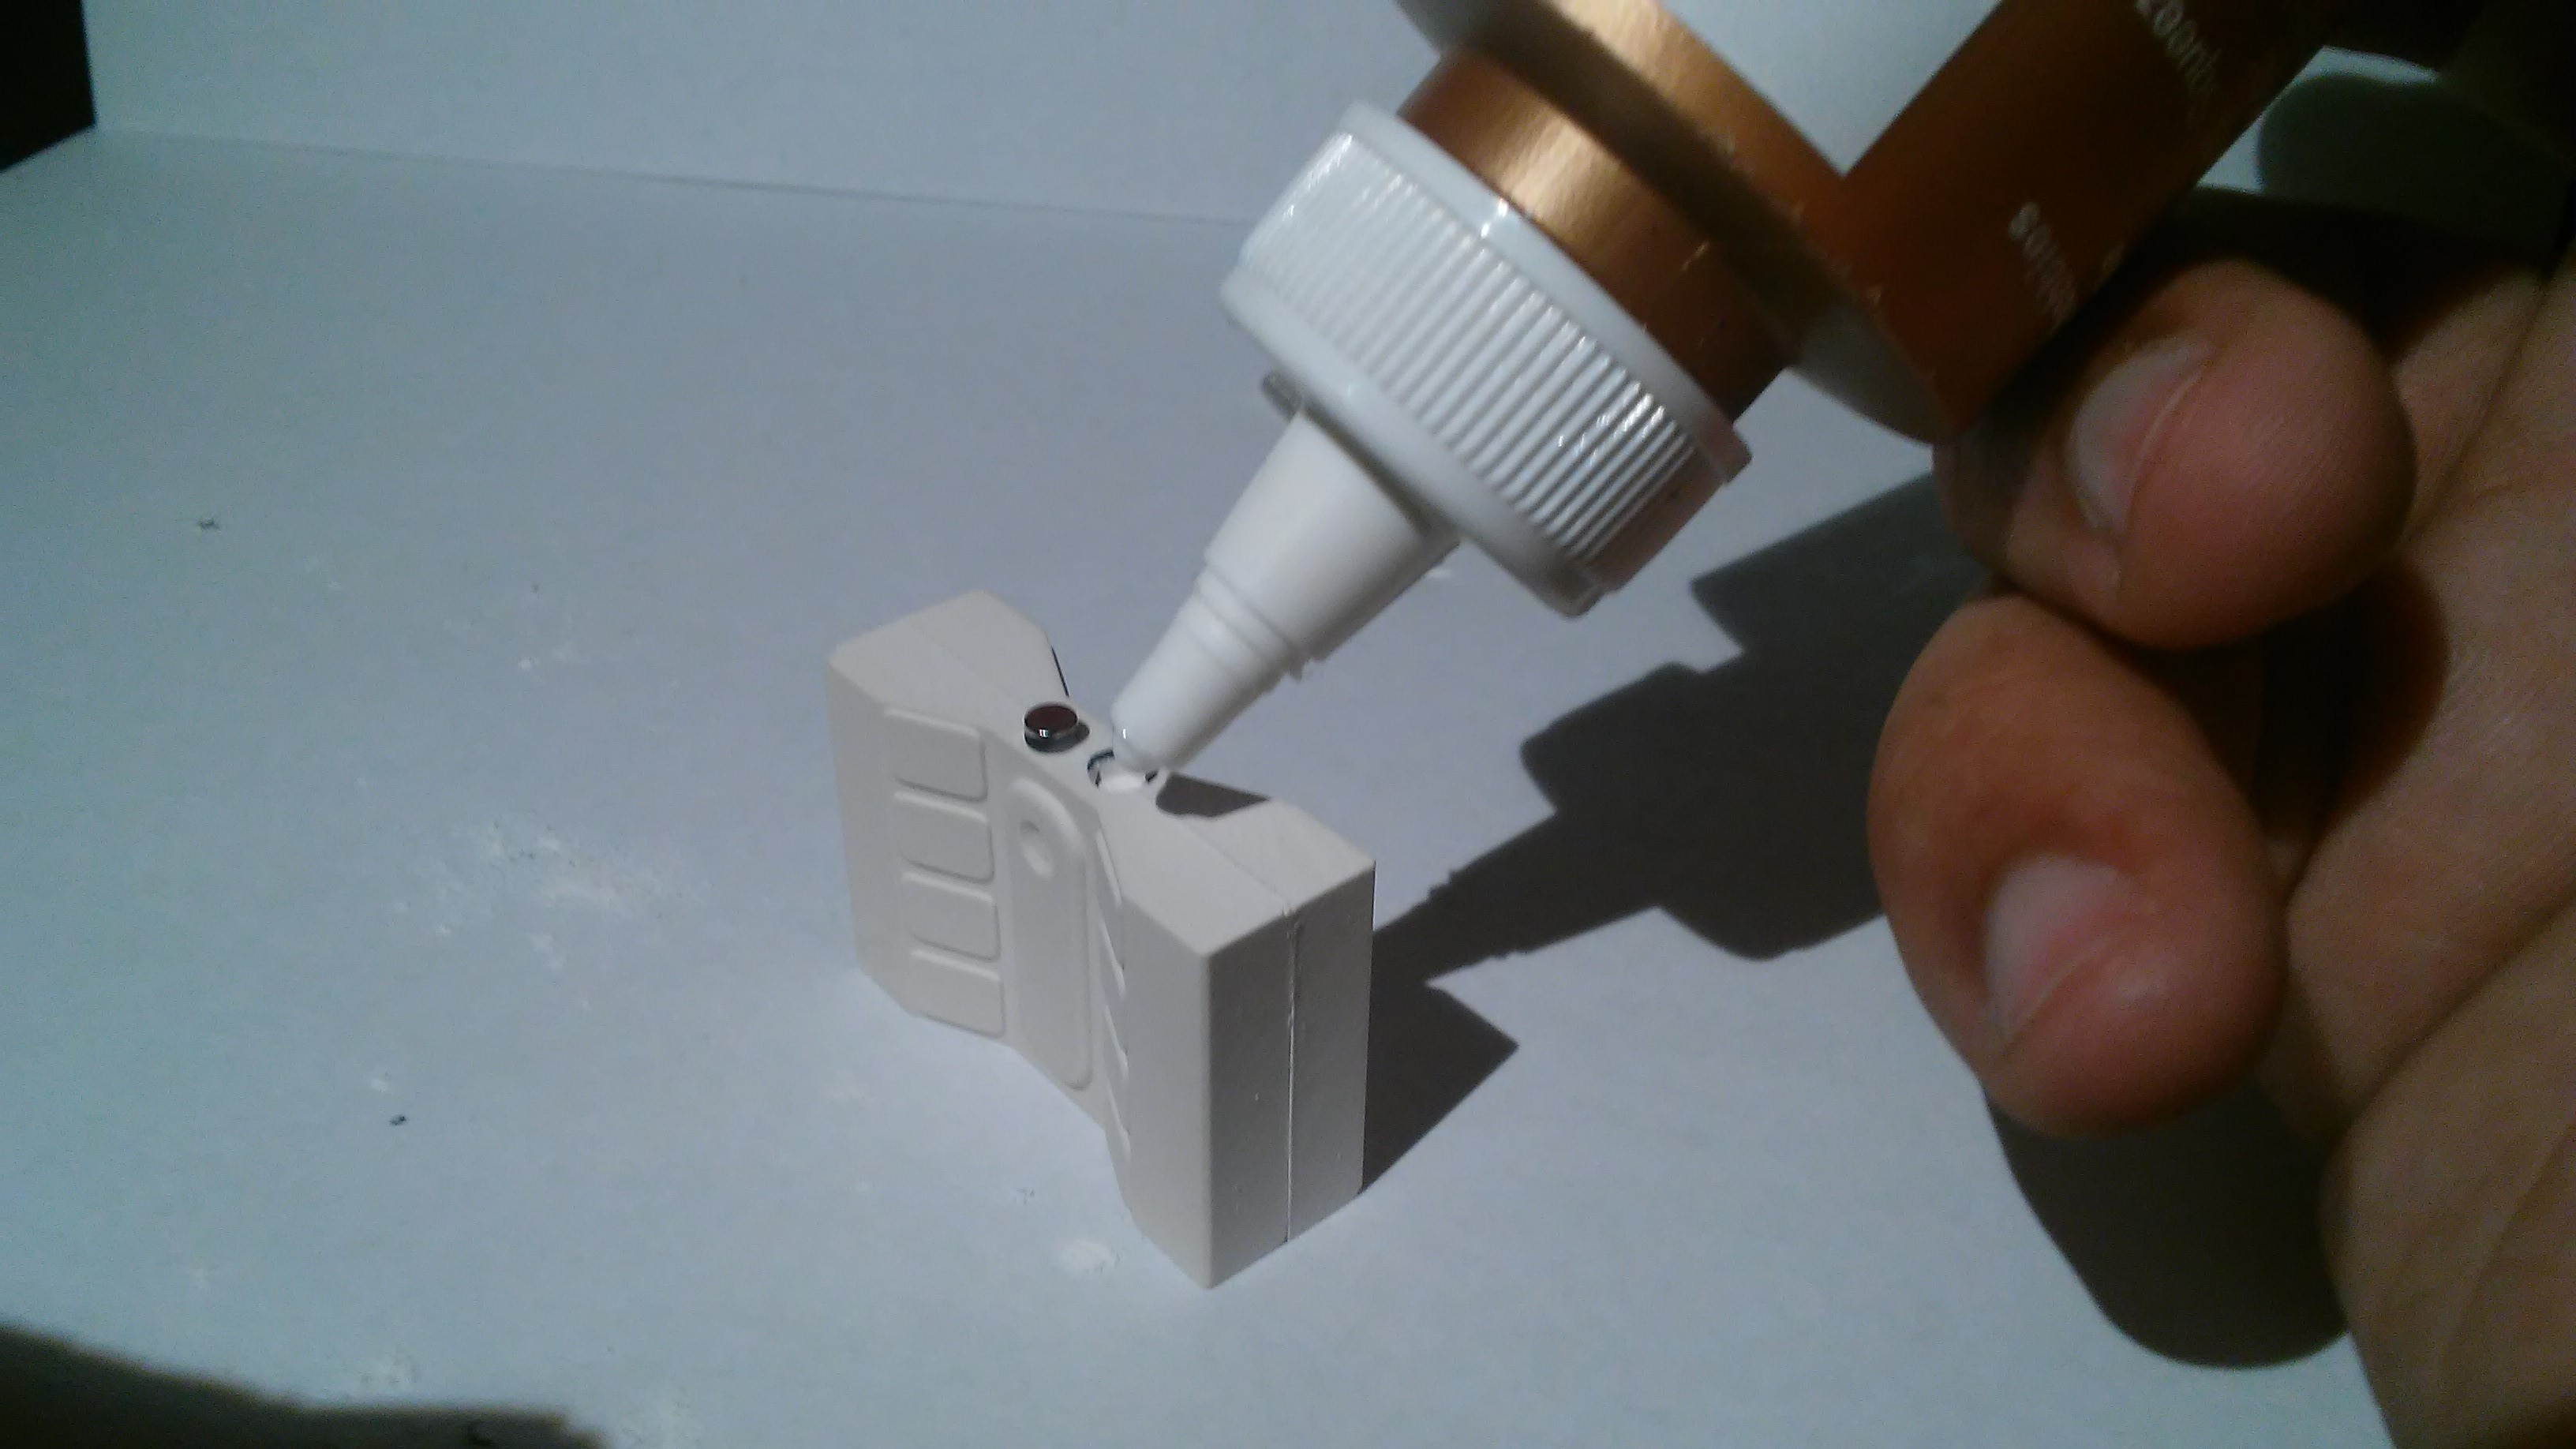
I usually use super glue, but have been out recently. In all honesty, tacky glue is a better adhesion agent than super glue as its has some bend and give as opposed to super glues strong -but fragile- bond. Just be careful with where you store drying magnets. While the glues still drying the magnets will fly off if presented with a target.
In! I mark for height, not even-ness. I just drill where the two pieces meet using the splotch for height.
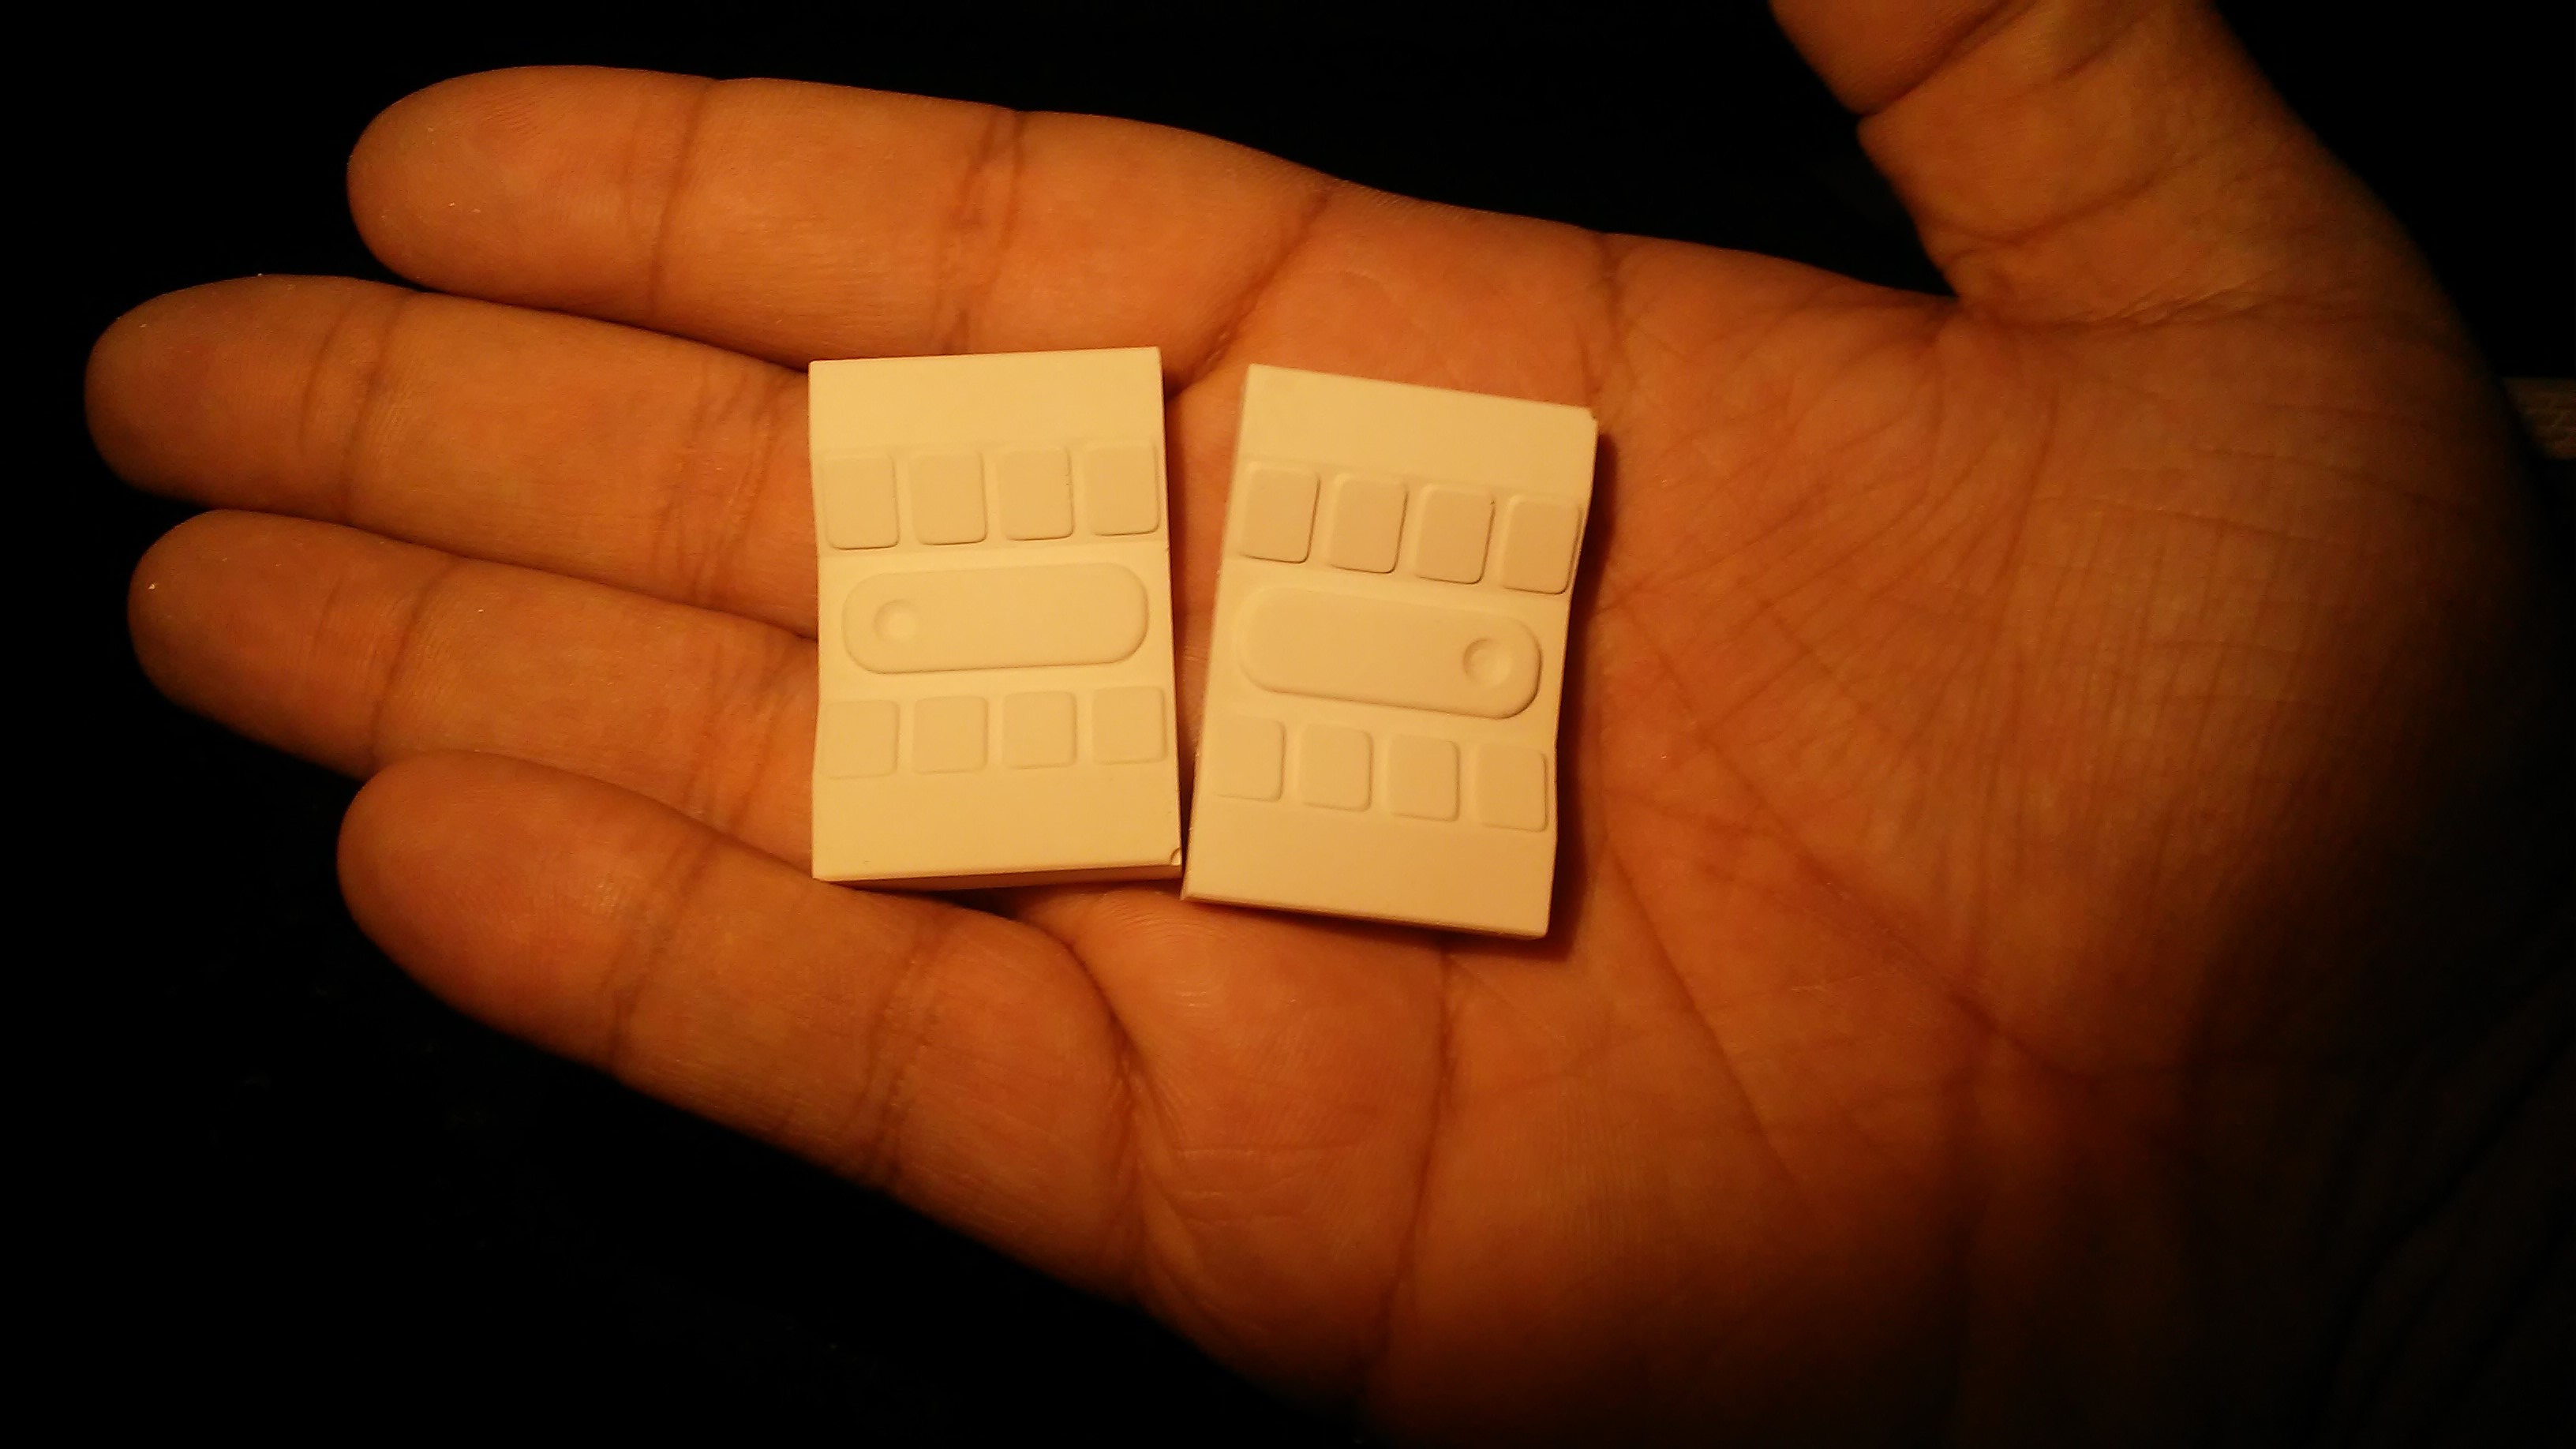
10th Step – Victory!
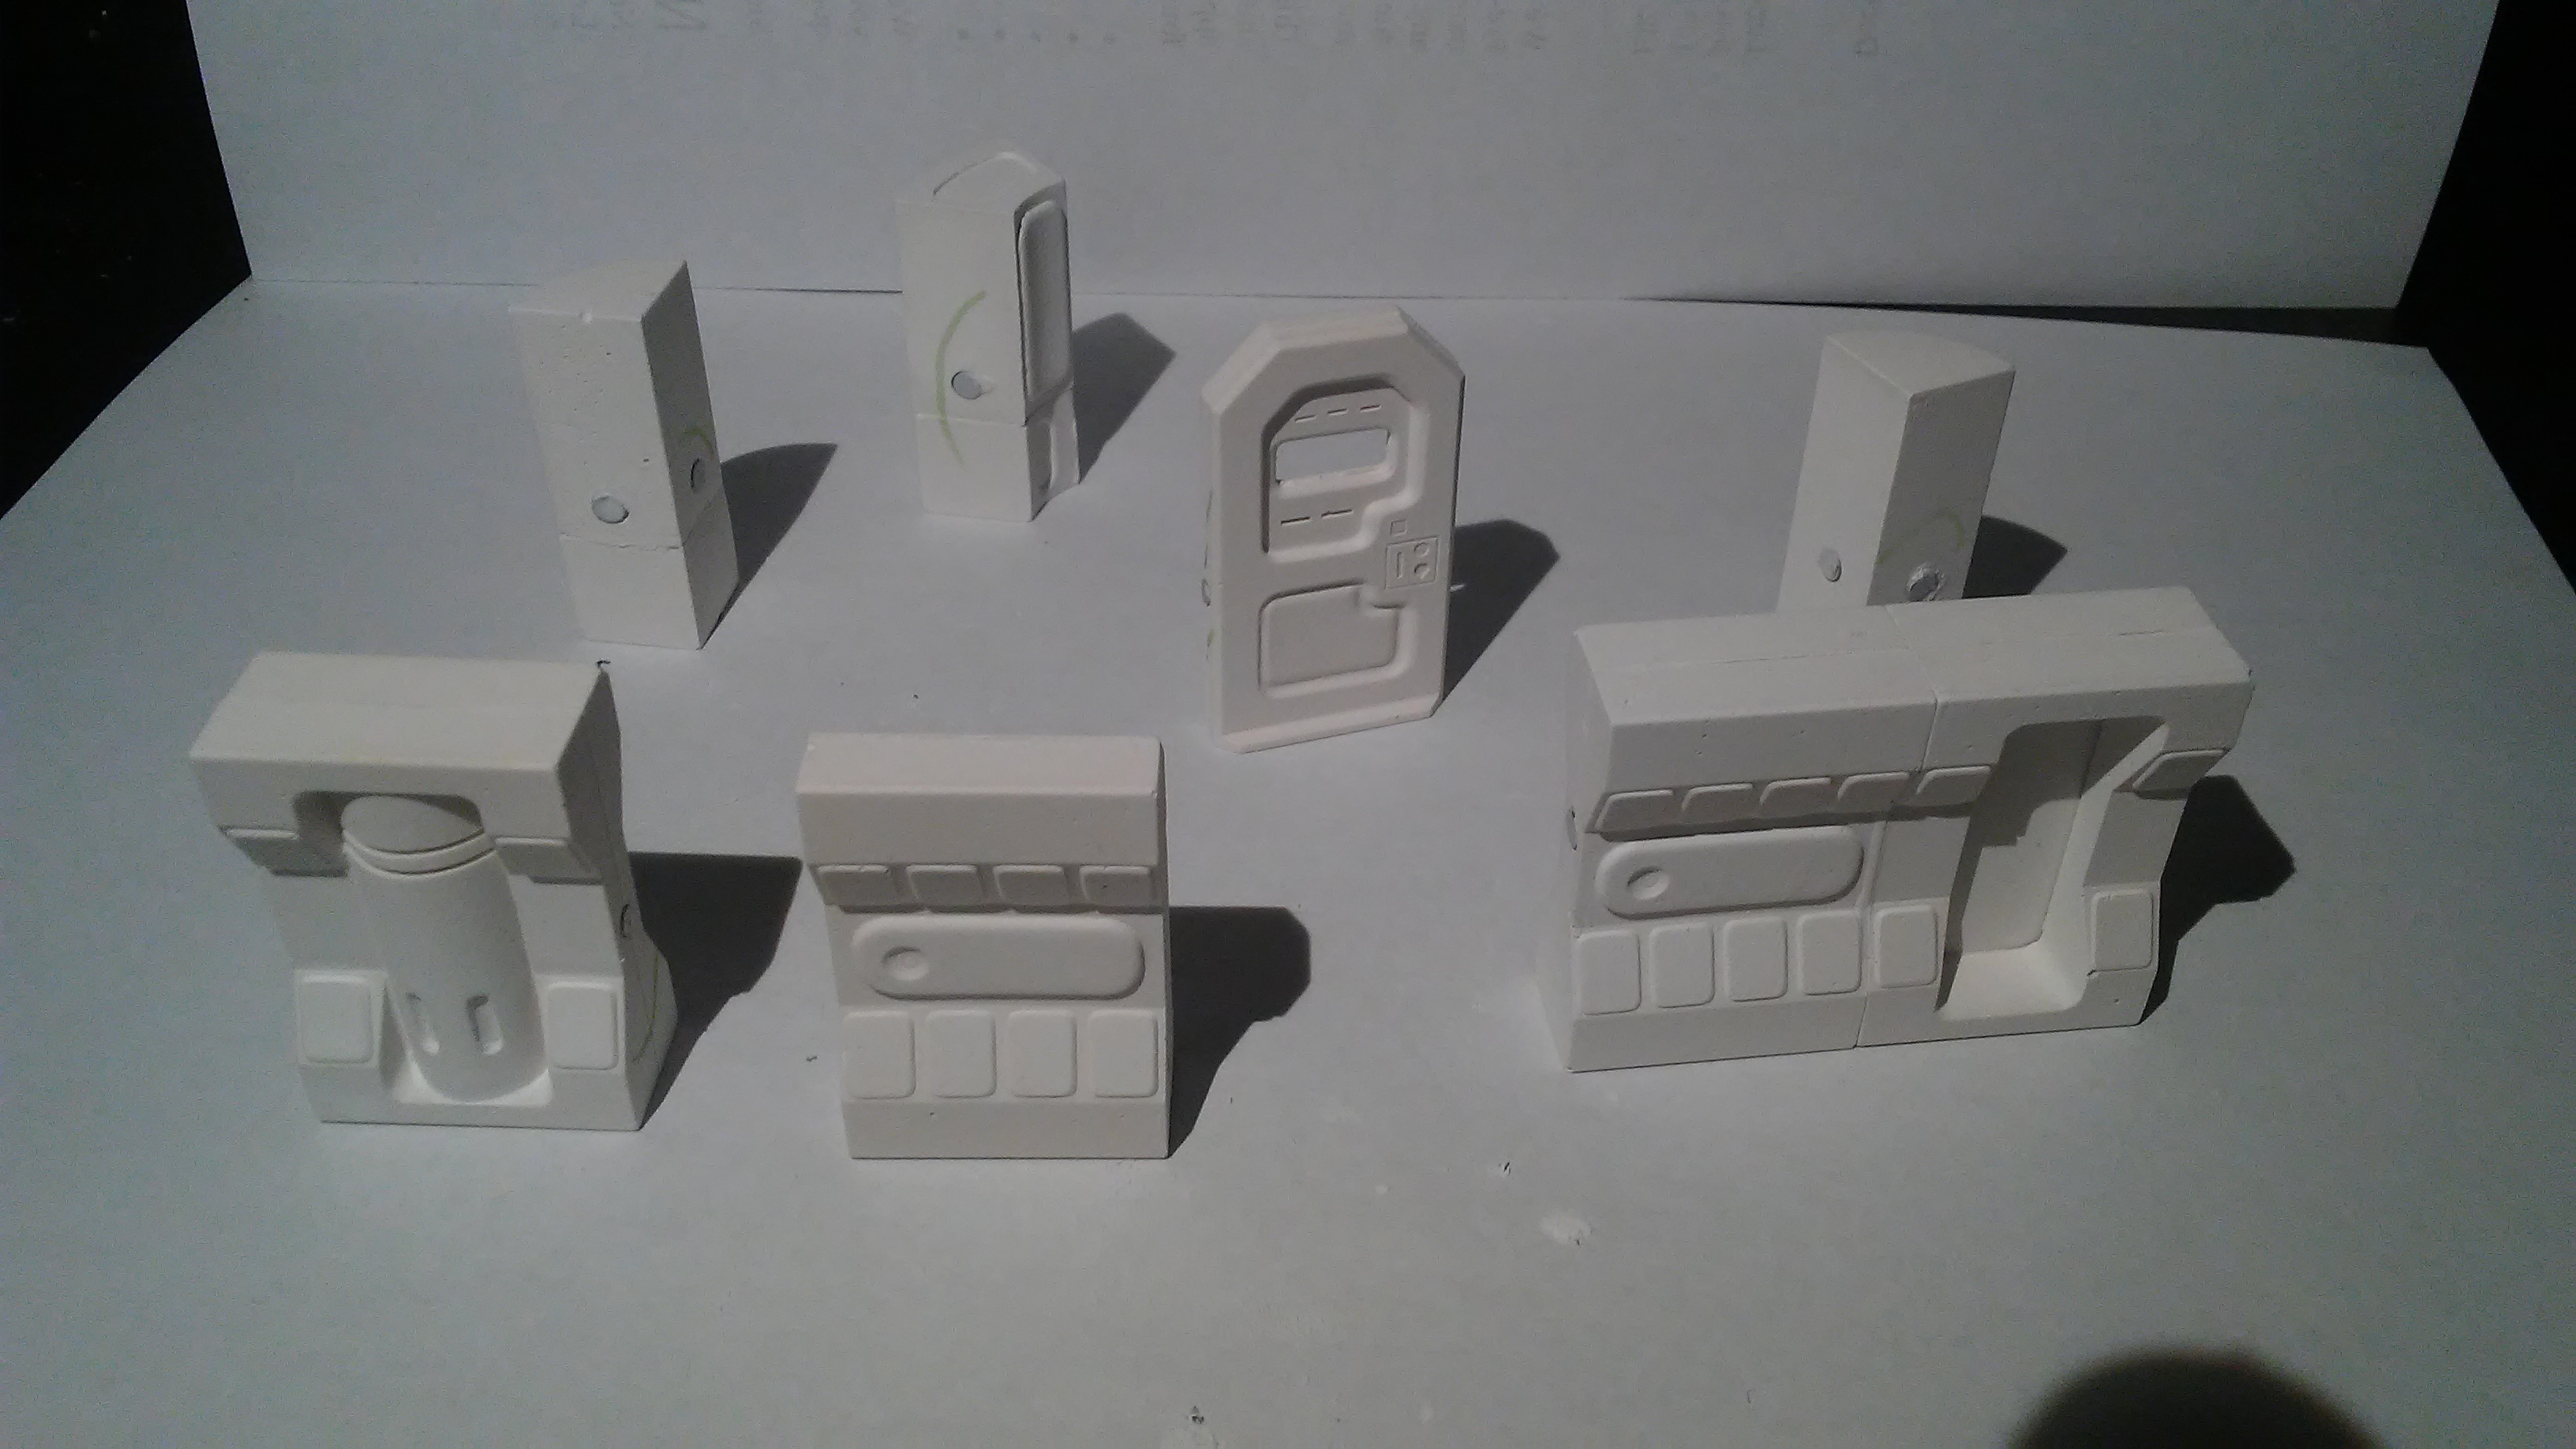
When you’re done you’ll have a bunch of bricks that you can stick together!
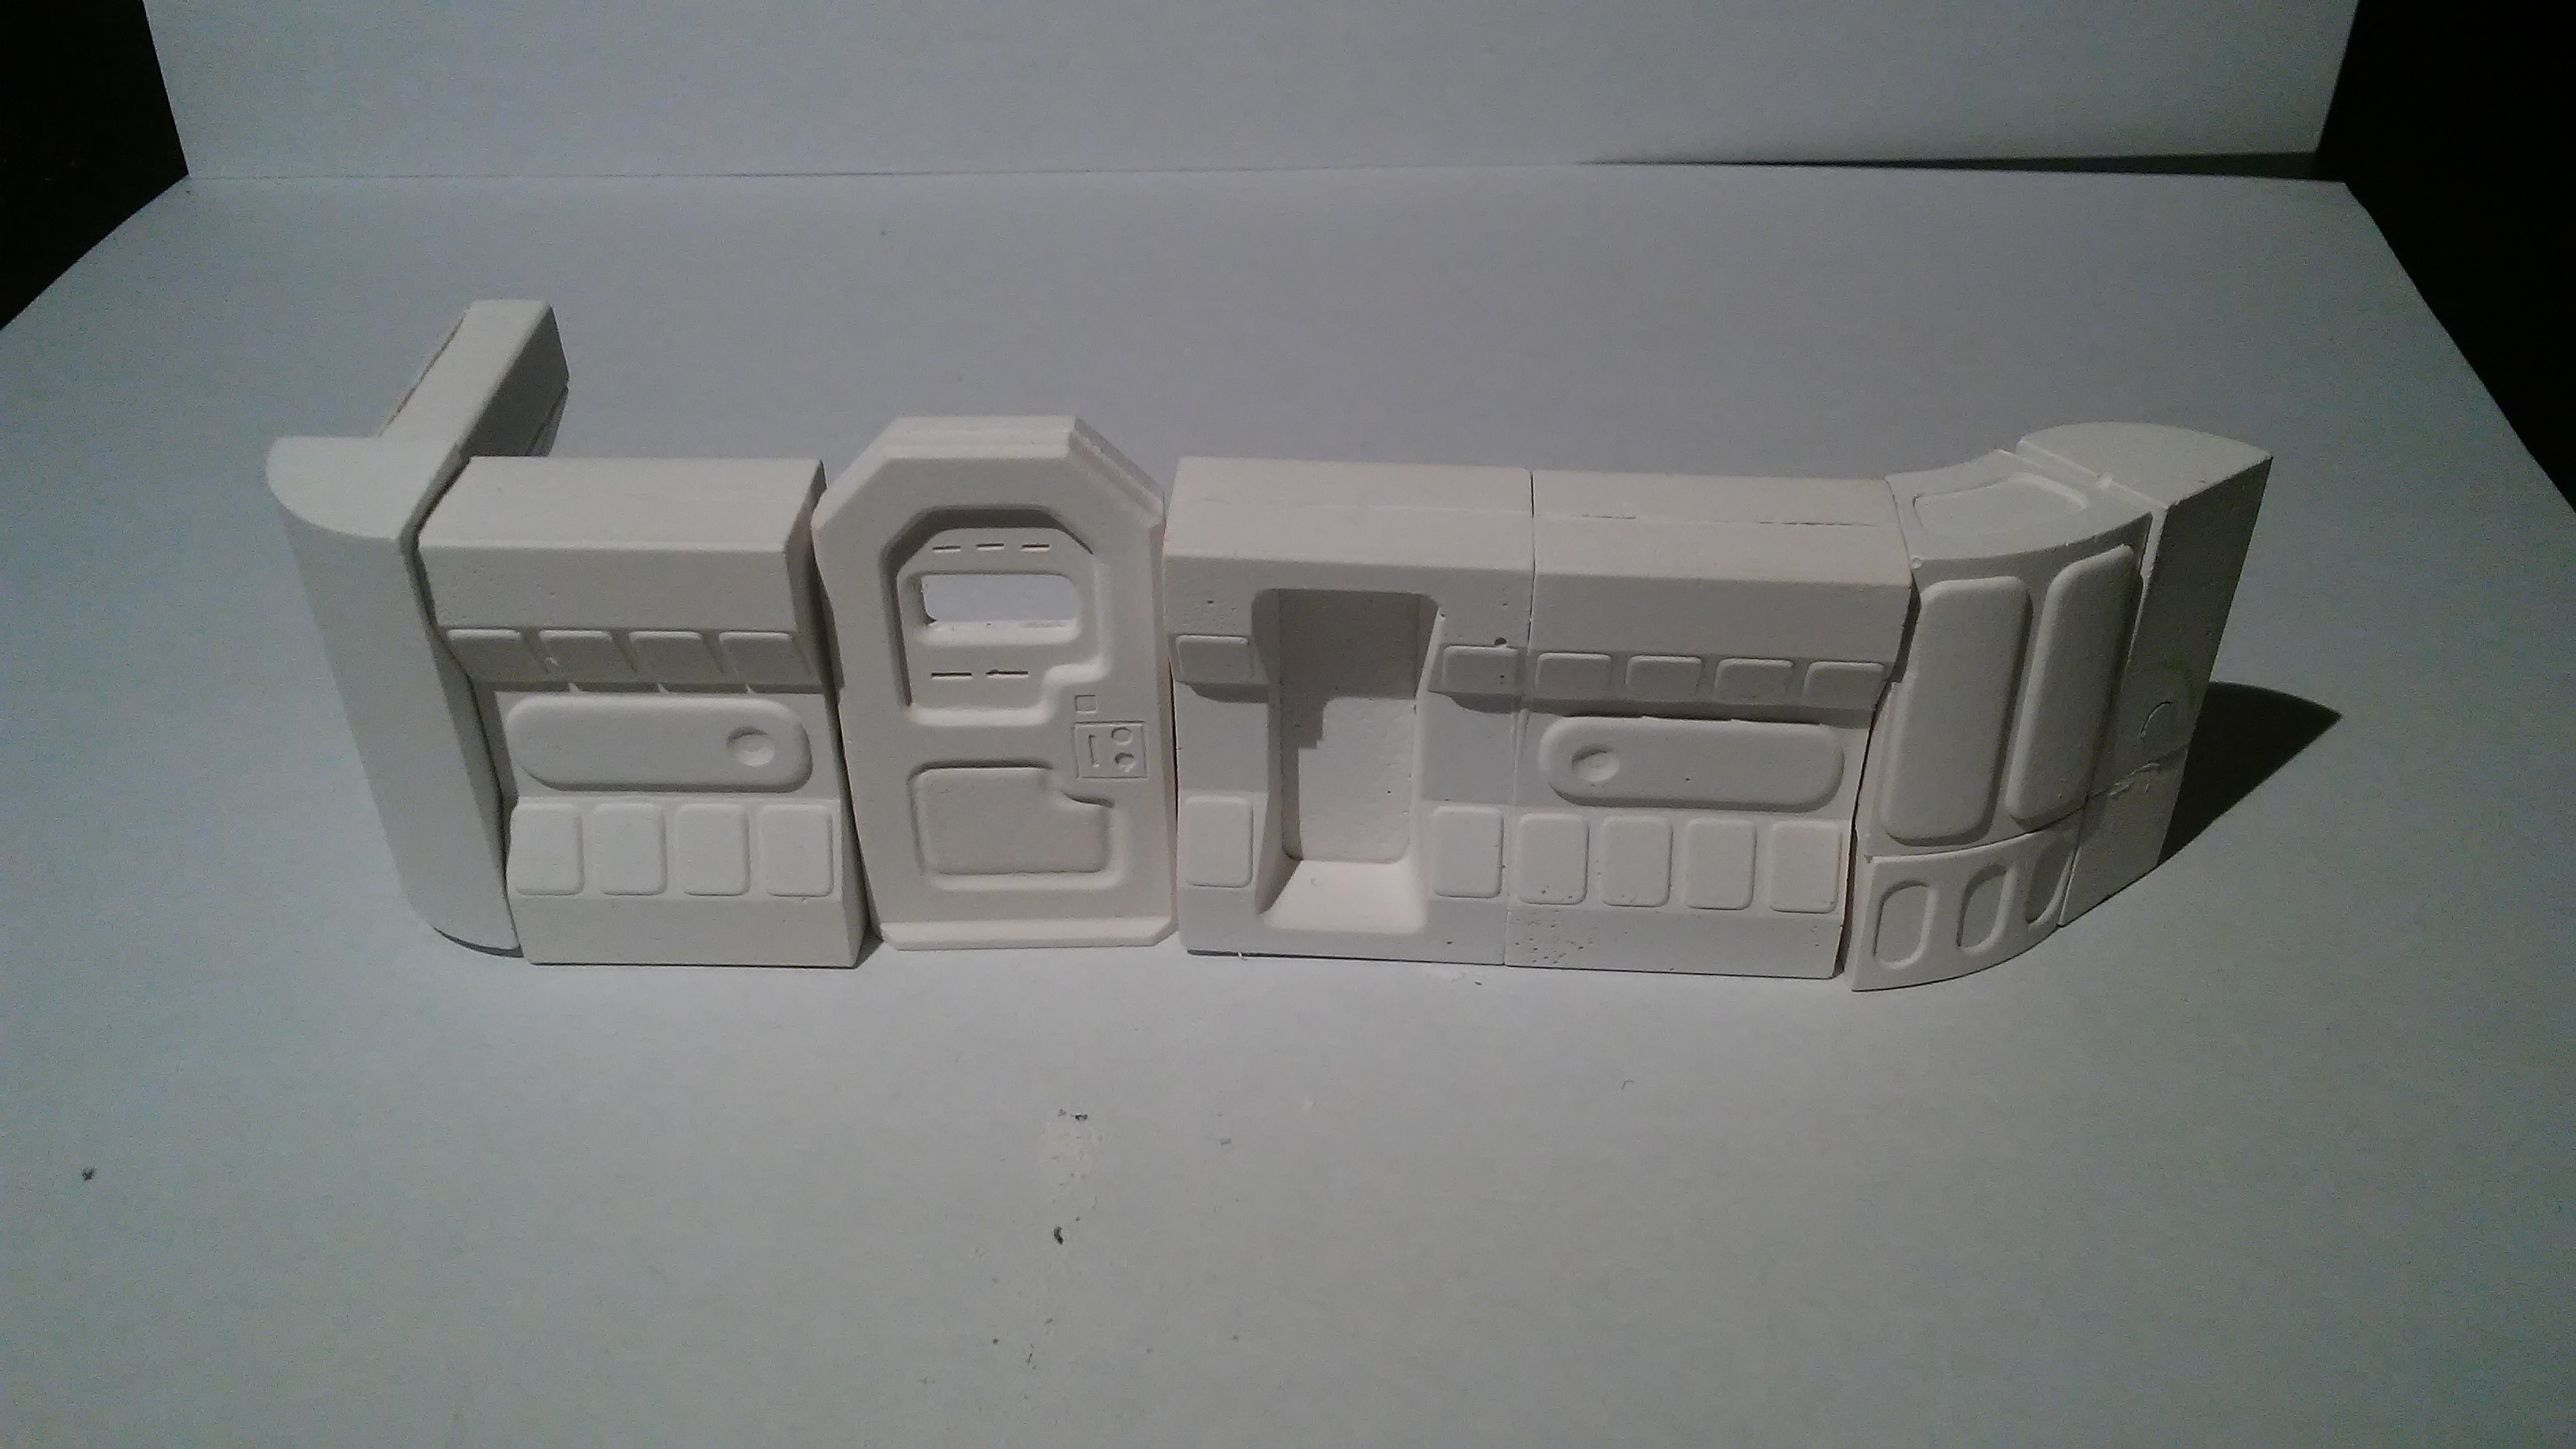
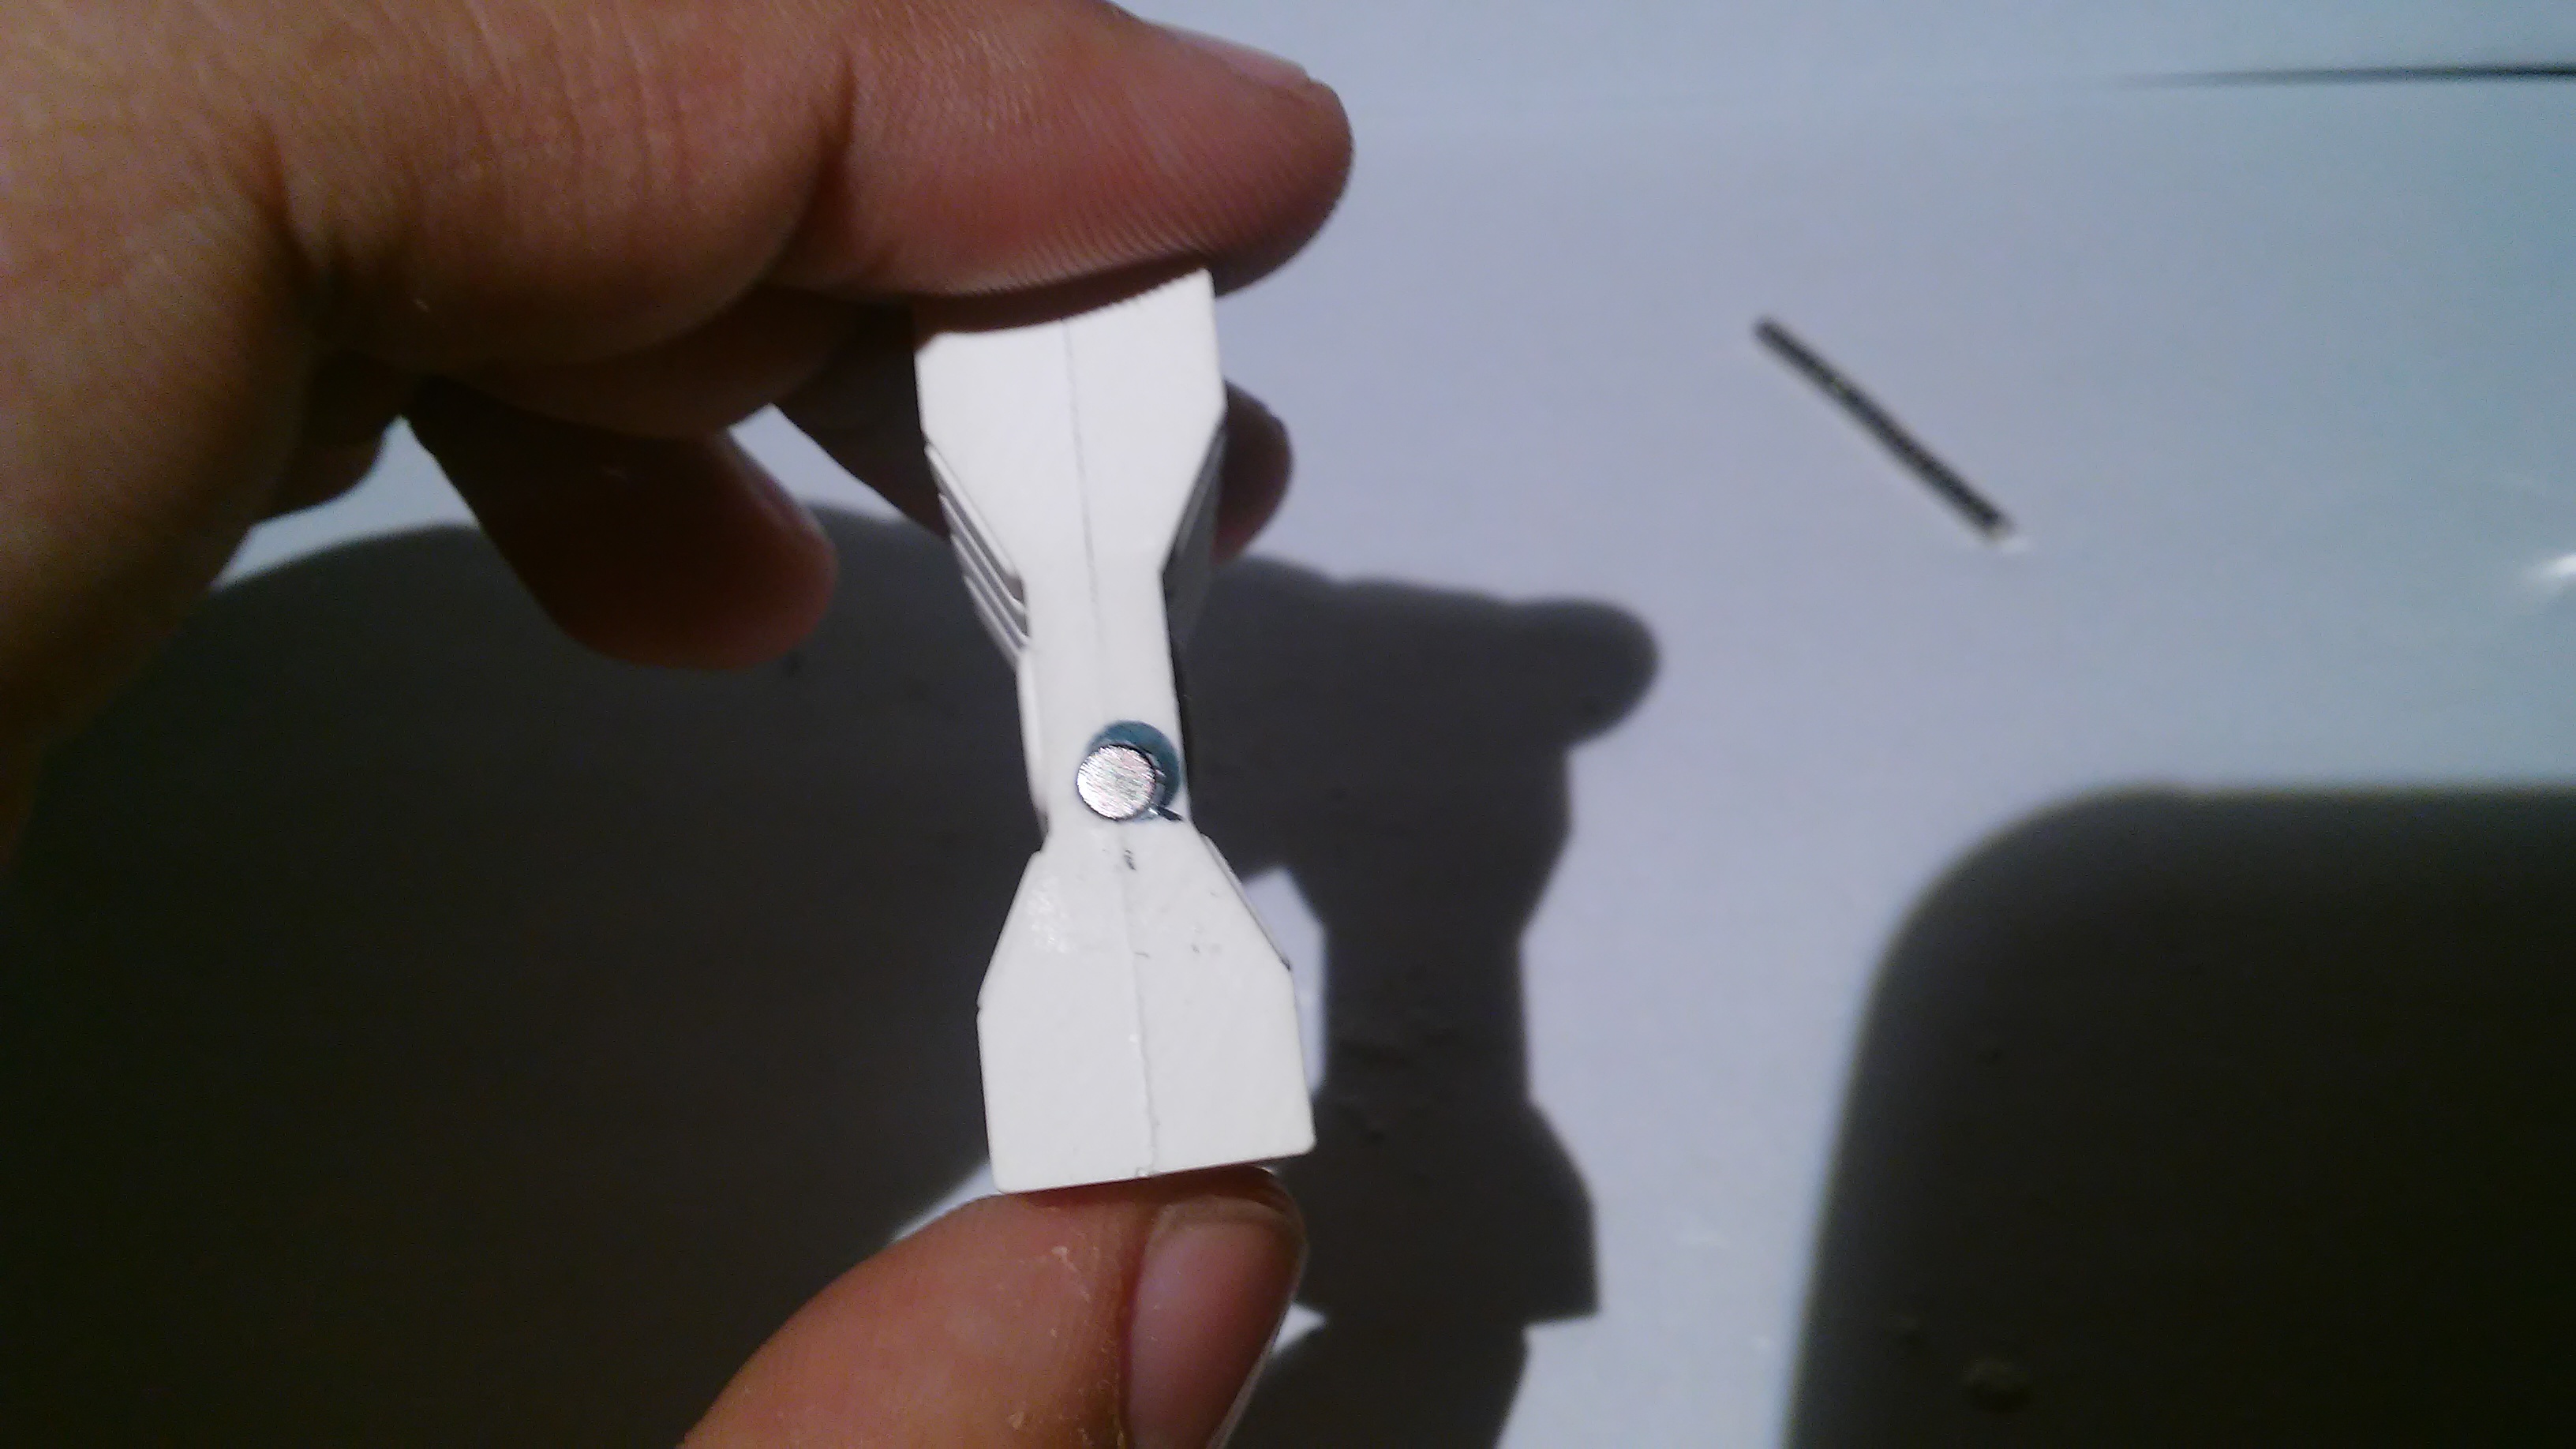
They stick nice and tight, most of the bricks have a side where they’re one inch and will fit on a grid perfectly.
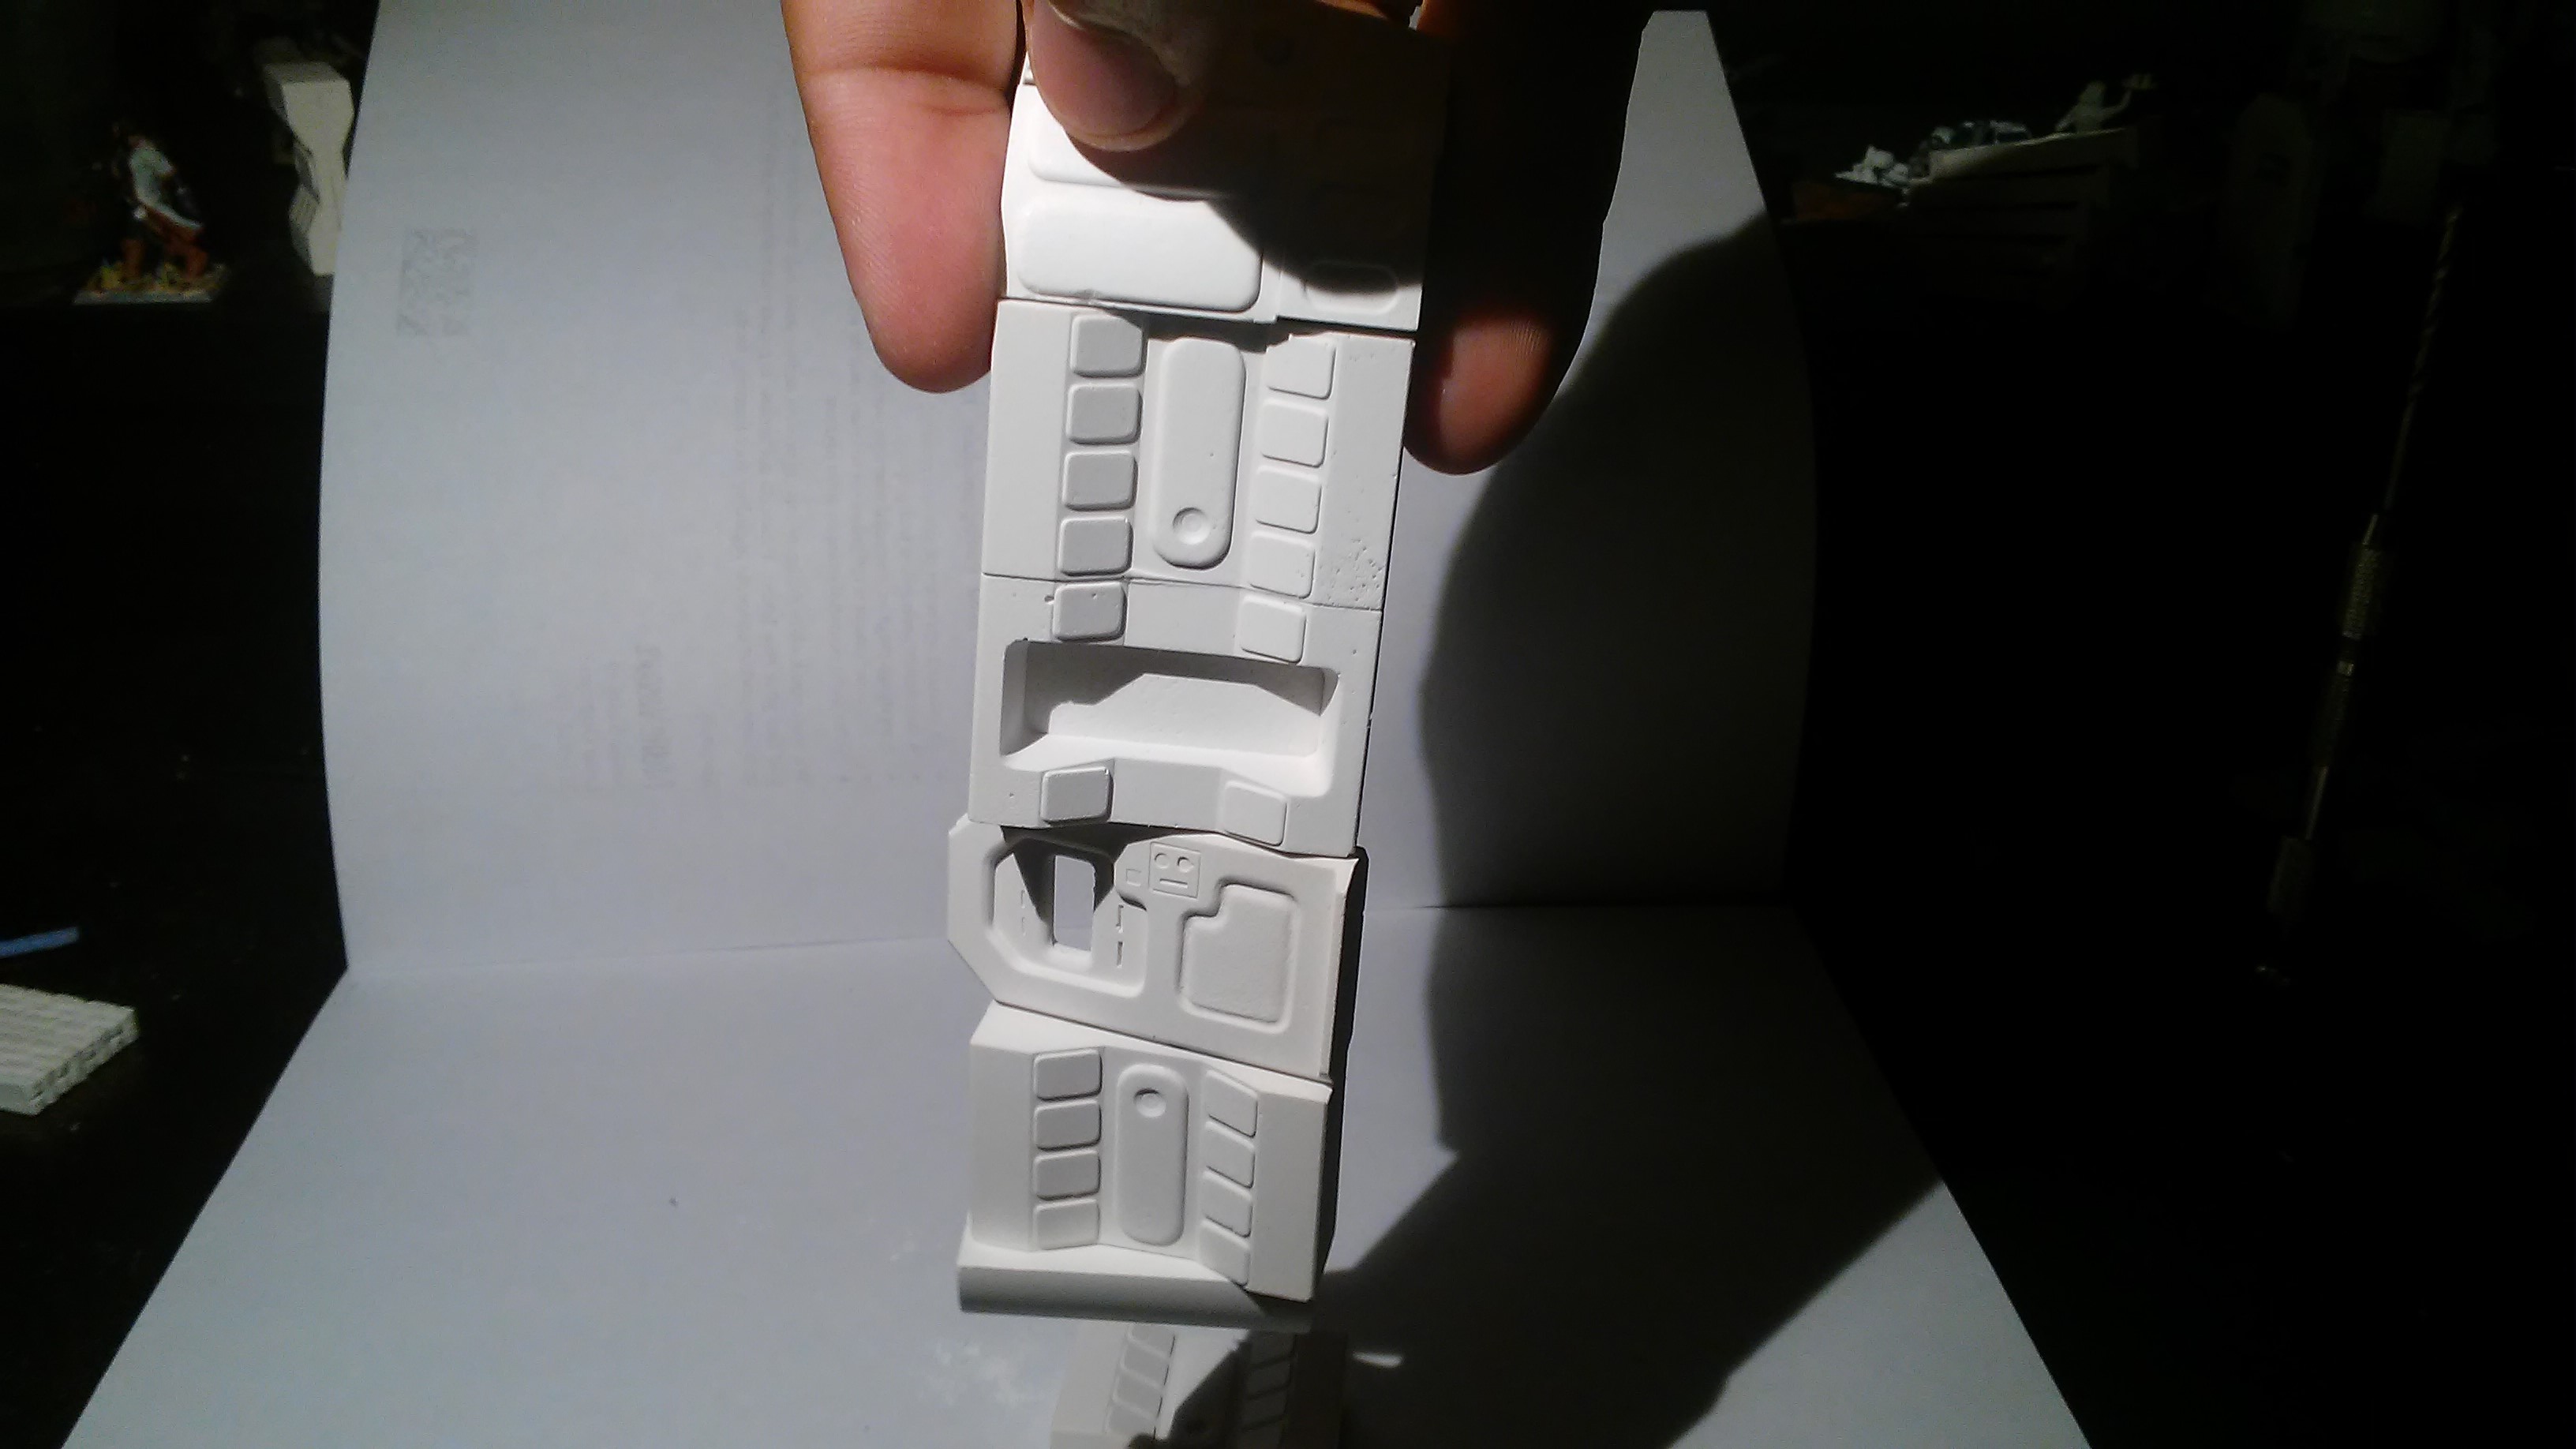
With the magnets, you’re even able to pick up entire sections, proving their bond. I generally use 3/16in diameter magnets, but 1/8 is better for use with thinner pieces like doors.
I hope you enjoyed my picture step-by-step of making these walls. I have some other plans in the works for using disc blanks to adhere too instead of other magnets to eliminate the magnet-pole issue and reduce cost. I also plan to try and make floor tiles in this way as well. If you have any questions hit me up in the comments or on the Know Direction Discord.